
Quick Answer
shade sail sagging: the short version
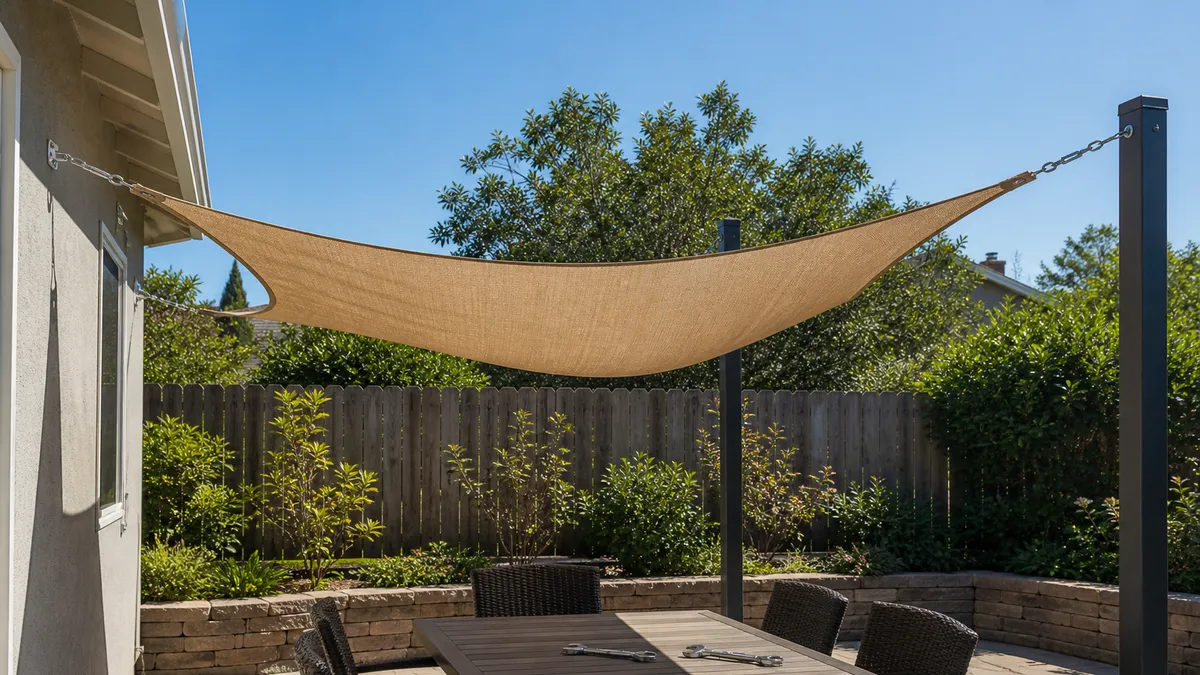
Shade-sail sagging usually comes from loose tension, oversized fabric, stretch, or a moving support. Check whether the low point is central, corner-specific, or rain-related before tightening. Unload the sail if a post, wall plate, or masonry fixing moves.
Retension a sagging shade sail only after posts and wall plates stay still; remeasure or unload it when hardware travel is gone or supports move.
Diagnosis
Most common problems
Check the symptom before buying another shade product.
Center droops but posts stay still
If the posts and wall plates do not move, even tightening may be enough.
Turnbuckles are closed and the center still droops
The fabric may be too large for the anchor span.
One corner drops after windy weather
The visible sag may be a moving anchor.
Sag appears only after rain
Wet fabric can reveal a drainage problem.
Diagnosis checklist for sagging fabric
Sagging is a symptom, not a single defect. If the fabric low point moves toward one corner, inspect that corner's support before adjusting the whole sail. If the low point sits in the center, check tension and fabric size. If sag appears after rain, look for trapped water and poor slope.
Stand back from the sail and compare each edge. A loose edge suggests tension. A bowed post suggests load movement. A fully closed turnbuckle suggests the hardware gap or fabric size was wrong from the start.
Age-related sag usually appears gradually across the whole panel. Installation sag appears immediately or after the first weather event. Keeping those timelines apart prevents replacing a young sail that was simply measured or tensioned incorrectly.
Sagging near a seam may indicate fabric wear or manufacturing issues rather than wrong spacing alone. Compare seam lines with the pull direction. If the sag follows the weave or seam, send photos to the supplier before modifying the anchors.
For example: Center droops but posts stay still. Retension evenly and check remaining turnbuckle travel. If the posts and wall plates do not move, even tightening may be enough. Stop and reassess if the support, mount or weather problem is still visible after the first fix.
Before ordering: Center droops but posts stay still. Retension evenly and check remaining turnbuckle travel. If the posts and wall plates do not move, even tightening may be enough. Stop and reassess if the support, mount or weather problem is still visible after the first fix.
- Center dip with stable posts points to tension or sizing.
- Corner dip with visible support movement points to anchor trouble.
- Wet sag points to water weight or poor slope.
- No adjustment travel points to a measurement error.
Fix table
Symptoms, first fixes and stop signs
Start with the symptom you can see before buying parts or adding more shade.
| Symptom | First fix | Why it works | Stop if |
|---|---|---|---|
| Center droops but posts stay still | Retension evenly and check remaining turnbuckle travel. | If the posts and wall plates do not move, even tightening may be enough. | Over-tightening can transfer damage into posts or wall plates. |
| Turnbuckles are closed and the center still droops | Remeasure the sail and hardware gaps. | The fabric may be too large for the anchor span. | A leaning support should be unloaded before more adjustment is attempted. |
| One corner drops after windy weather | Inspect that support before touching the fabric. | The visible sag may be a moving anchor. | Wet sag can become water pooling when slope is absent. |
| Sag appears only after rain | Check slope and water retention. | Wet fabric can reveal a drainage problem. | Over-tightening can transfer damage into posts or wall plates. |
Fixes ranked from quick to structural
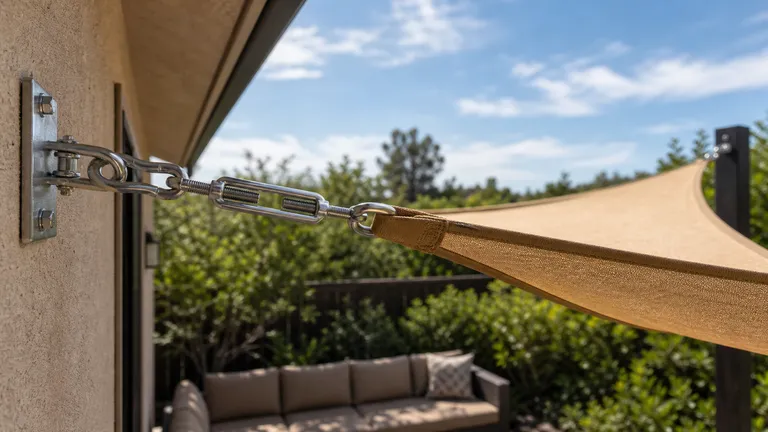
A 15 minute retension check is minor; moving a post or ordering a new sail is a larger repair. Start by balancing tension if the supports are sound. Replace mismatched hardware when the adjustment range is too short. Rebuild supports only when movement, cracking or wrong spacing is visible.
If the fabric has stretched evenly after several seasons, replacement may be reasonable. If it sagged immediately, the original measurement or hardware spacing deserves more suspicion than fabric age.
Temperature and moisture can change fabric behavior during the day. Check the sail dry, wet and after a cool night if the sag is intermittent. A fabric that only droops when wet may need slope and drainage work more than additional tension.
A diagonal measurement can reveal whether the frame is square enough for the sail. If opposite diagonals differ strongly on a rectangle, the fabric may never tension evenly. Moving a corner or post can work better than replacing the panel.
In practice: Turnbuckles are closed and the center still droops. Remeasure the sail and hardware gaps. The fabric may be too large for the anchor span. Stop and reassess if the support, mount or weather problem is still visible after the first fix.
- Low effort: balance the turnbuckles and inspect the next day.
- Medium effort: swap hardware for the correct adjustment length.
- High effort: change anchor spacing or replace an incorrectly sized sail.
This will not solve sagging
Pulling harder will not fix a sail that was cut too large for the fixing points. Extra tension also will not stabilize a post that is leaning. Adding a second cheap hook can create a new weak point instead of correcting the first one.
Avoid guessing from the ground. Measure the anchor-to-anchor spans, inspect the hardware travel and look for support movement. The right fix is usually obvious after those three checks.
The support line should be checked with the sail under normal load. A post that looks vertical unloaded can lean once tension is applied. Marking the post base and top before tensioning can reveal movement that is hard to see from the patio.
When the fix is retensioning, make small changes and watch the whole sail. Large uneven turns can move the low point and create a new drainage problem. Balanced adjustment is slower but safer.
When one corner drops after windy weather, inspect that support before touching the fabric. The visible sag may be a moving anchor, not a loose sail.
- Do not over-tighten to compensate for wrong fabric size.
- Do not ignore a moving anchor because the fabric looks like the problem.
- Do not add improvised hardware that is not rated for outdoor tension.
Preventing sag on replacement sails
Leave clear space for turnbuckles and shackles at every corner before ordering the fabric. Shade Sails LLC's fixing-point measurement guidance is useful because it keeps the fabric size tied to the hardware spacing. Recheck the post height while measuring because slope affects tension and drainage.
A replacement sail should be chosen after the supports are proven. If the original posts moved, a new fabric panel will inherit the same sag.
If a replacement is needed, do not copy the old fabric dimensions blindly. Measure the fixed points again, record hardware length and confirm the sailmaker's recommended allowance. A duplicate order can duplicate the original mistake.
Photographs help when talking to installers or suppliers. Take one wide shot of the whole sail and one close shot of each corner. The pattern of the sag is often clearer in pictures than in a phone description.
If sag appears only after rain, look at slope and water retention. Wet fabric can reveal a drainage problem that dry-day tension hides.
This won't fix it
Do not skip these checks
- Over-tightening can transfer damage into posts or wall plates.
- A leaning support should be unloaded before more adjustment is attempted.
- Wet sag can become water pooling when slope is absent.
Read Next
Related fixes
Shade Sail Guide
Use this when shade sail is closer to the real constraint than the current page.
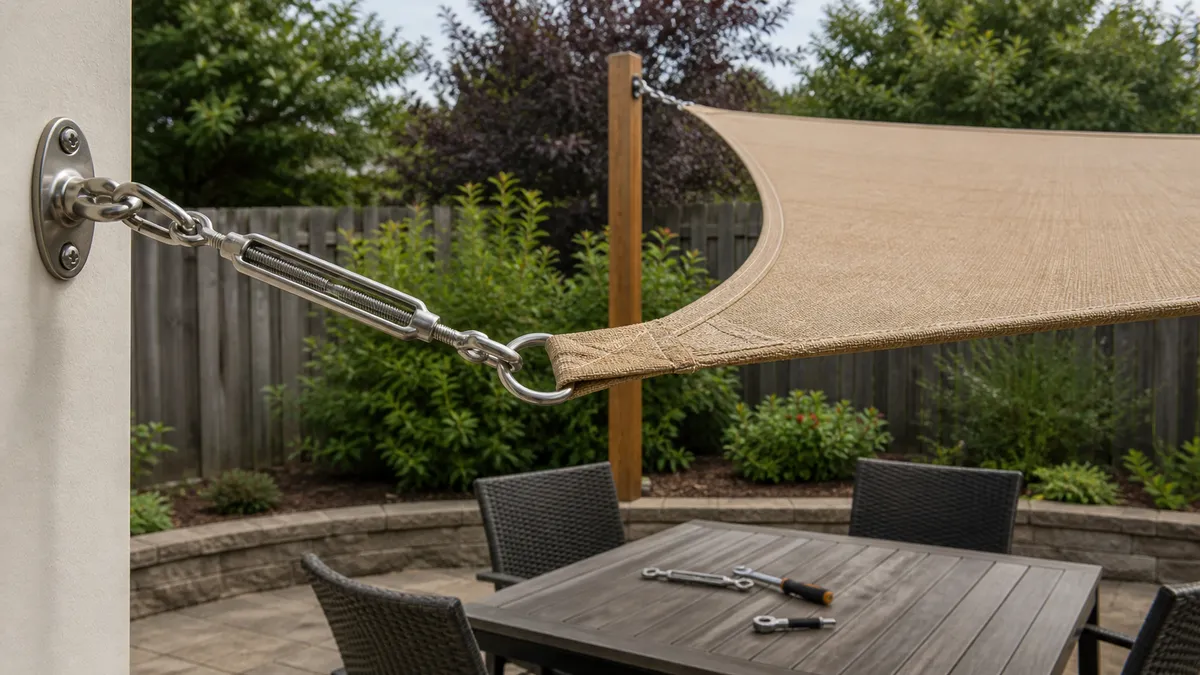
Shade Sail Tensioning Guide
Use this when shade sail tensioning guide is closer to the real constraint than the current page.
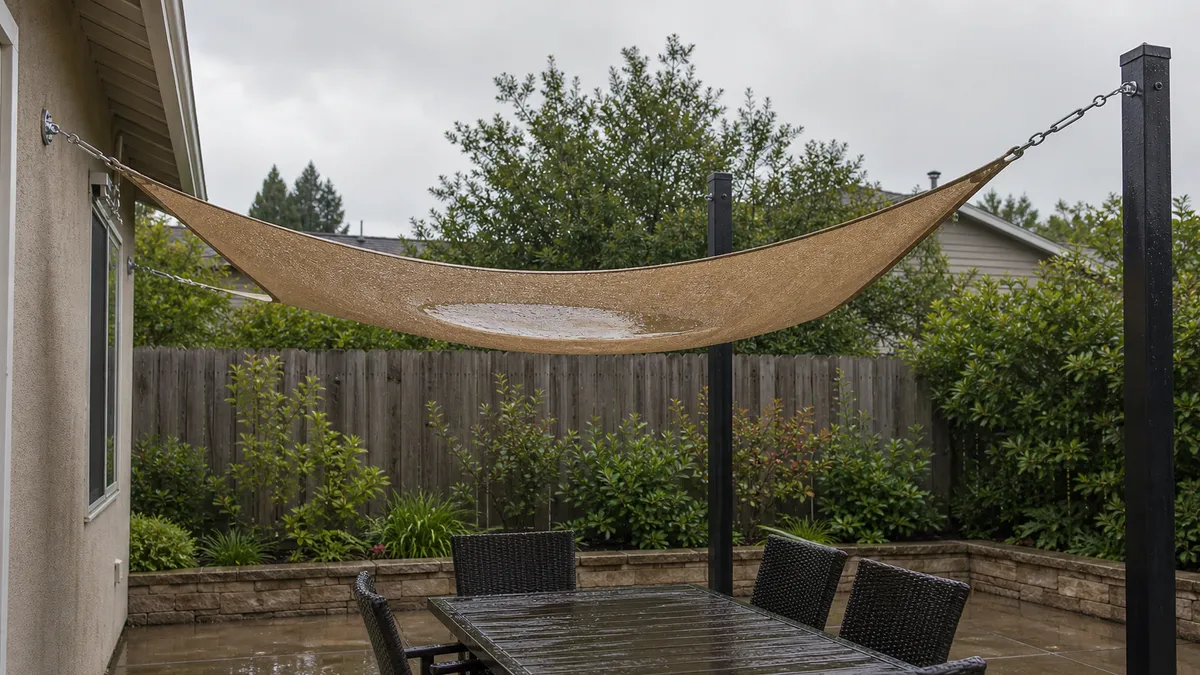
Shade Sail Water Pooling
Use this when shade sail water pooling is closer to the real constraint than the current page.
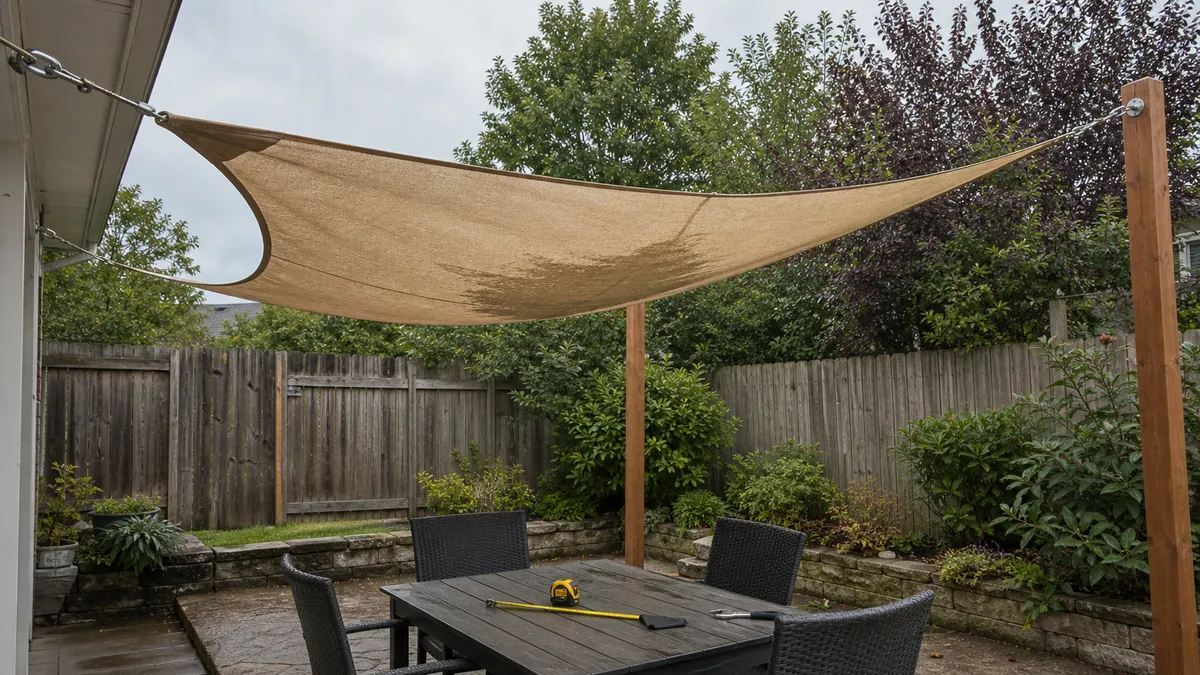
Shade Sail Installation Mistakes That Cause Sagging, Flapping and Water Pooling
Use this when shade sail installation mistakes is closer to the real constraint than the current page.
Questions
FAQ
Why is my shade sail sagging in the middle?
A center sag often means the sail has lost tension, the fabric was cut too large, or the material has stretched over time. Check whether the turnbuckles still have adjustment travel. If the supports are stable and travel remains, balanced retensioning may solve it.
Can I fix sagging by tightening the turnbuckles?
Only tighten after the supports are checked. If a post or wall plate is moving, more tension can make the damage worse. If the supports are solid, adjust opposite corners in small steps and watch whether the low point improves or simply moves.
When should I replace a sagging shade sail?
Replace the sail when the fabric has stretched beyond the hardware adjustment range or was measured too large for the fixing points. Do not order a duplicate until the anchor spacing, hardware gaps, and slope are measured again.