
Quick Answer
Quick van shade route
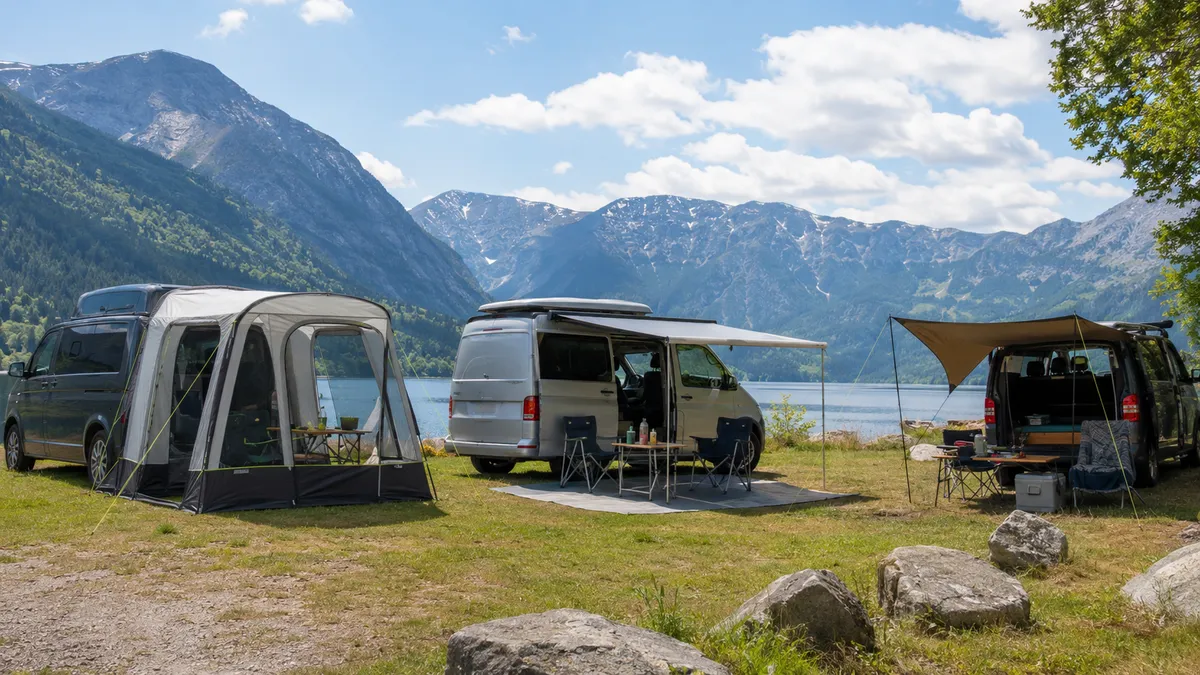
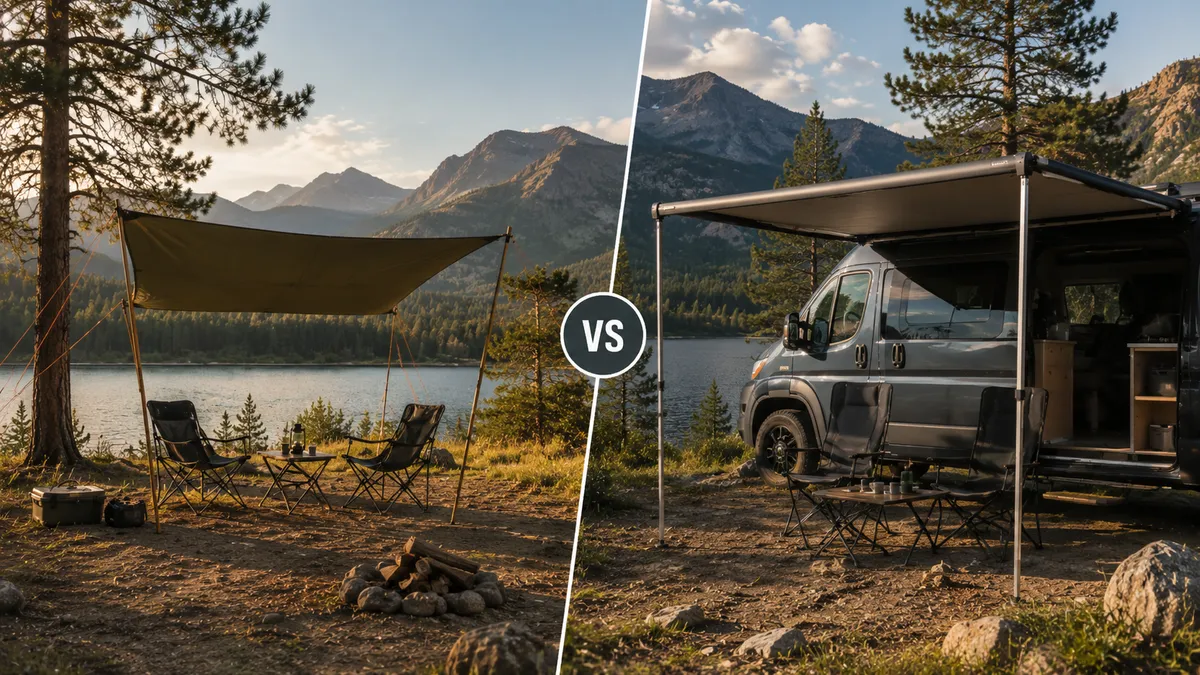
Choose the shade family by where camp happens, not by fabric size first. Use a roll-out awning when the sliding-door side has a proven rack, rail or bracket path. Use a driveaway shelter or tarp when the van leaves camp, roof load is tight, clearance fails or fast weather pack-down matters more than instant shade.
Choose a fixed roll-out awning only when the mount, sliding-door clearance and pack-down routine are proven; choose a driveaway shelter, tarp or no fixed case when any of those checks fail.
Choose First
Choose the campervan shade route first
Start with the van routine: where the sliding door opens, whether the van leaves camp, what the roof can carry and how fast the setup can be closed when weather changes.
Roll-out campervan awning
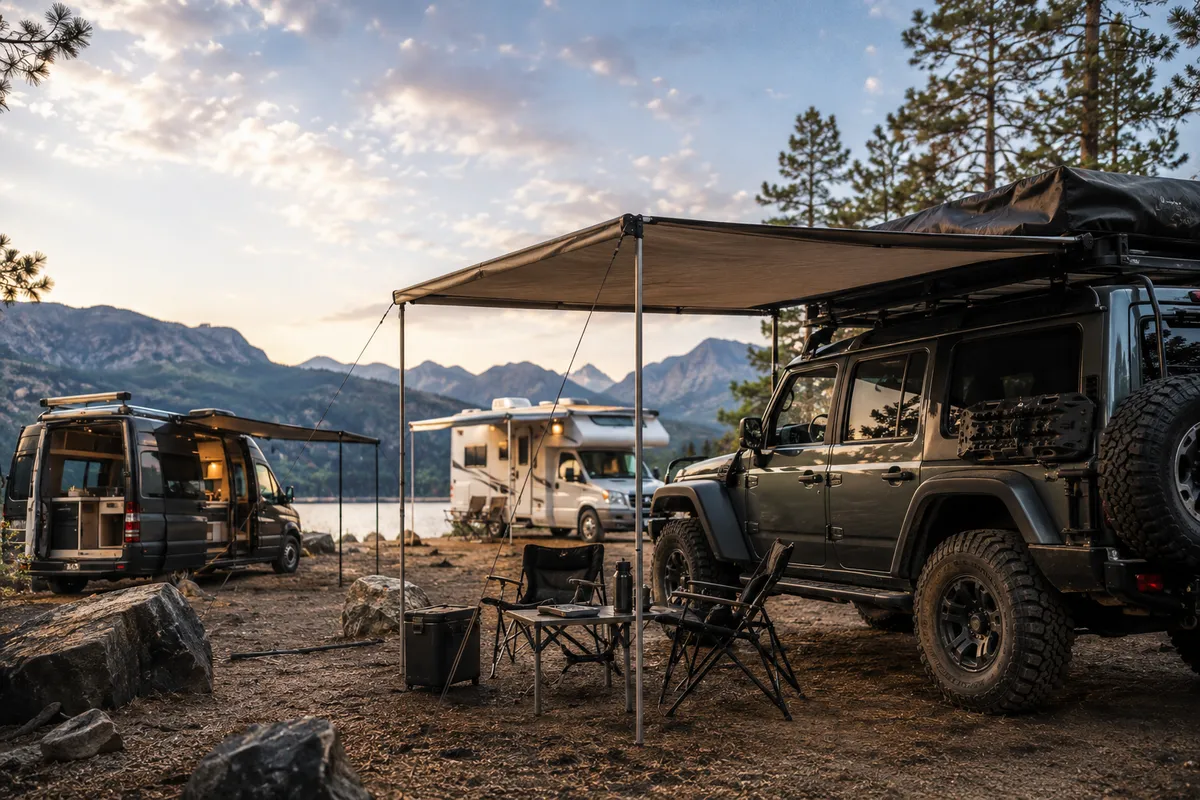
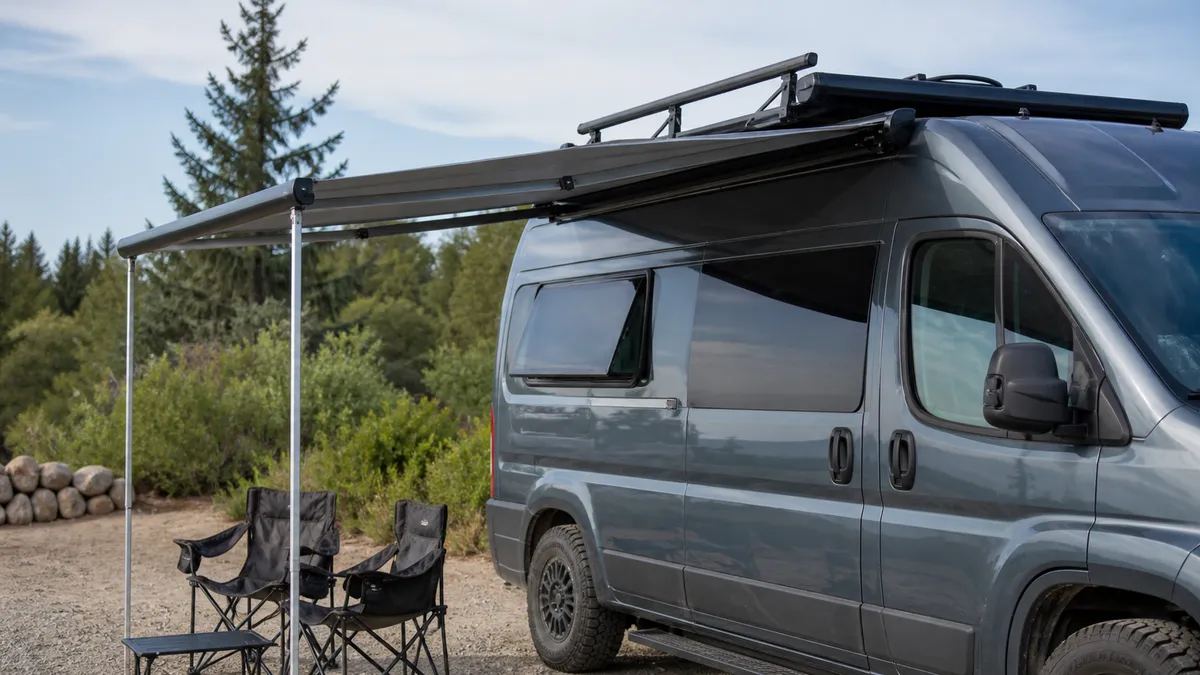
A roll-out side awning is the quick shade route for a sliding door, side kitchen, chairs or cooler that usually sit in the same place.
It belongs on the shortlist only after the roof rack, rail, platform, brackets and awning case are approved for that install.
Best when:Short stops and repeated side-door shade matter more than detached camp space.
Check first:Sliding-door sweep, case height, bracket alignment, rack dynamic limit and road-travel closure.
Watch out:A fast roll-out is still the wrong answer when the van leaves camp or the roof load chain is unclear.
Read the vehicle awning guideDriveaway shelter
A driveaway shelter keeps the pitch at camp when the van goes to town, trailheads or day trips.
Vango's driveaway guidance still requires checking fixing height, doors and vehicle fixtures before buying.
Best when:You want the living space to stay put while the campervan moves.
Check first:Kador strip, awning rail, wind-out rail, J rail, webbing straps, pitching space and drying bag.
Watch out:It adds pitching work, storage bulk and wet-fabric handling that a side cassette avoids.
Tarp or lightweight shelter
A tarp can be the better campervan shade when weight, cost, stealth or removable setup matters more than very fast deployment.
REI's tarp-shelter listings show how broad this family is, but each tarp still needs product-specific poles, anchors and wind limits.
Best when:The roof is already busy, the van is rented, or shade has to move away from the vehicle.
Check first:Pole kit, guy lines, ground anchors, attachment points, drainage direction and parked-only limits.
Watch out:Do not treat suction, magnetic or improvised anchors as wind-safe unless that exact product manual says so.
270-degree awning
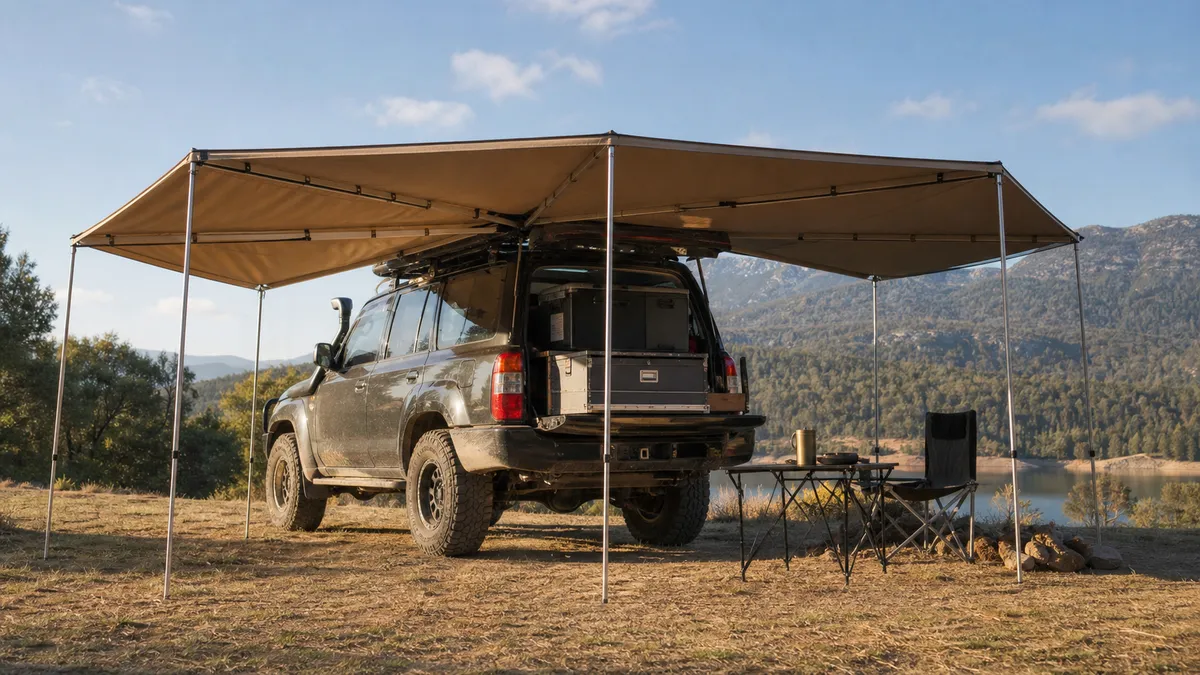
A 270-degree awning can make sense when the side door and rear hatch or tailgate are both active camp zones.
Yakima's OverNOut 270 is one example at about 80 square feet of coverage and 46.5 pounds, so treat this route as heavier roof hardware.
Best when:Side cooking, rear kitchen access and tailgate shade happen on most trips.
Check first:Rack margin, hinge load, bracket compatibility, rear-hatch movement and packed case length.
Watch out:Use this page for the route choice; use the 270 guide for deeper fit checks.
Read the 270-degree guideNo fixed awning yet
Skipping the fixed case is a valid answer when the mount, load, clearance, lease, weather routine or driveaway camp need is not settled.
Use a driveaway shelter, tarp, freestanding shelter or no awning until the van can carry the setup without guesswork.
Best when:A permanent case would fight the van more than it helps camp.
Check first:No rated mount, overloaded roof, rental limits, garage height, repeated wind or wet storage problems.
Watch out:Convenience does not compensate for unknown brackets, blocked doors or a roof already near its travel limit.
Fit the shade around the sliding door and camp tasks
Start with the van side that people actually use. Mark the proposed case line with tape, then open the sliding door, rear hatch, barn doors, pop-top, roof tent ladder, roof box lid and side kitchen as they are used at camp. Catalog projection does not prove clearance. The case, brackets and arms can still sit exactly where a door, hatch or lift roof needs to move.
Put shade over repeated tasks before picking a larger rectangle. The best shaded strip may be where the sliding door, stove, cooler, water jug, shoe mat and two chairs sit. If the awning opens over storage boxes while the cooking area stays in sun, it will feel large on paper and awkward in use.
Awning case height also changes everyday travel. Thule roof-rack safety guidance notes that roof accessories change vehicle height, and that matters for garages, ferries, low branches and roof-mounted gear. Write the new height down after installation, including brackets, solar panels, roof boxes and anything that sits above the awning case.
Pop-top and lift-roof vans need a separate movement check. Fiamma's F43van page uses campervan and lift-roof language for a reason: the awning has to fit the specific roof shape, not a generic van outline. Test the roof raised and lowered, then check where fabric, arms and legs land when the ground is not perfectly level.
- Open the sliding door with the case position marked, not only after reading the projection size.
- Check rear hatch, barn doors, roof tent ladder, roof box lid, solar panel edge and pop-top movement.
- Place shade over the side kitchen, chair line, cooler, water and door mat before choosing width.
Mounting and load chain before road travel
Treat a fixed side case as road-carried cargo. Start with the vehicle manual, then add the rack or rail instructions, crossbars or platform, bracket kit, awning case, wall kit, solar panel, roof box, roof tent and every other roof item. Thule's rack safety instructions and Yakima's weight-limit guidance both support counting carriers, accessories and load together instead of looking only at the awning case.
Dynamic road load and parked load are not the same question. Yakima describes dynamic load as the limit while the vehicle is moving, and that is the relevant number for driving with an awning mounted. A higher static campsite number does not make a heavy case safe on the highway, on corrugated roads or after brackets have loosened.
Use the weakest proven part as the limit. If the vehicle roof, factory rail, crossbar, platform slot, bracket, fastener or awning instruction is lower or unclear, that part controls the plan. Do not mount to trim, decorative rails, weak gutters or unknown bodywork. Use manufacturer-approved brackets, rails, racks and reinforced points, and get professional fitment where the structure or a powered awning is uncertain.
Road checks continue after installation. Fiamma's F80s instructions support closing the awning before driving and checking brackets after initial travel and before and after long trips. Thule also supports checking rack attachment after a short distance and at intervals. NHTSA's secure-load guidance is broader, but it reinforces the same practical duty: secure the load and double-check it before it becomes a road hazard.
- Count awning case, brackets, wall kit, rack parts, roof boxes, solar, boards and other cargo together.
- Use the moving-vehicle dynamic limit for travel decisions; do not substitute a parked static number.
- Inspect bracket alignment, fasteners and rack connections after the first drive and before long trips.
Size, projection and packed height
Size is useful only after the van clears the hardware. Some Fiamma roof-awning examples list projections around 2.0 to 2.5 meters, while the F43van product page lists model lengths such as 270 and 300 cm. Use those as examples from one maker, not a universal van-shade rule.
Projection changes standing room and drainage. A shallow pitch can feel roomy at the outer edge but drain poorly. A steeper pitch may help runoff when the manual permits it, yet it can lower the front edge into the chair line. Test the real height from the installed case, not from a drawing of a taller van.
Packed length has its own problems. A long case can block a rear hatch, compete with a roof box, sit beside a solar panel, interfere with a roof tent ladder or push the vehicle beyond garage and ferry comfort. Shorter can be better when it leaves the door path clean and keeps the bracket spread inside the rack maker's guidance.
Storage size matters for non-fixed setups. A driveaway shelter may avoid permanent roof weight, but it brings a larger fabric bag, poles, pegs, pump or air beams, groundsheet decisions and drying space. A tarp packs smaller, yet may need poles and guy lines that live somewhere inside the van.
Setup comparison
Roll-out, driveaway, tarp or 270 at a glance
Use this after the route cards when two setups still look possible.
| Setup | Best when | Check first | Watch out |
|---|---|---|---|
| Roll-out side awning | Fast shade beside the same sliding door or side kitchen | Rated rack, rail, brackets, dynamic load, case height and door clearance | It leaves with the van and must be closed before driving |
| Driveaway shelter | Camp should stay pitched while the van leaves | Fixing height, Kador strip or rail method, door position, pitching space and drying routine | More bag bulk, setup work and wet-fabric management |
| Tarp or lightweight shelter | Weight, budget, stealth or removable setup matters most | Poles, guy lines, anchors, runoff direction and product-specific attachment limits | Slower setup and more judgment in wind |
| 270-degree awning | Side door and rear hatch or tailgate are both used as camp work areas | Rack margin, bracket compatibility, side orientation, hinge load and pack-down speed | Higher weight, cost and wind surface than a straight awning |
| No fixed case yet | The mount, roof load, lease rule, clearance or weather routine is unresolved | Detached shade, driveaway shelter or no-awning trip routine | You trade instant deployment for fewer road and clearance risks |
Driveaway shelters and tarps need their own setup plan
Driveaway does not mean universal fit without checks. Vango's driveaway guide says to check vehicle fixing height, doors and fixtures before purchase, then match the attachment method. That may mean a Kador strip, fixing kit, awning channel, wind-out rail, J rail, webbing straps over the vehicle or hook-and-loop roof-bar tabs.
The benefit is camp continuity. The van can leave for groceries or a trailhead while the shelter, chairs and table remain pitched. That is valuable for longer stays, rainy camps and families who do not want to collapse the whole living area each time the van moves.
The trade is routine. A driveaway shelter needs pitching room, a repeatable reconnect point, pegging, drying space and a storage bag that may be awkward in a small van. Inflatable versions can reduce pole sorting, but they still require pump space, drying discipline and a calm pack-down plan.
Tarps are the lighter and cheaper family in many markets, but they are not automatically safer. REI's tarp-shelter listings support the broad lightweight/low-cost role, not a universal wind claim. A tarp beside a campervan still needs product-specific poles, anchors, straps, runoff and fire separation.
Real cost is the whole kit, not the fabric
Use broad price bands unless you are checking current product pages on the day you buy. Tarps often start lower as a family, while roll-out cassettes, driveaway shelters and 270-degree awnings can climb quickly before the install is complete. Exact prices move, so the important comparison is what each route forces you to add.
A fixed roll-out may need vehicle-specific brackets, rack upgrades, T-slot hardware, stronger crossbars, support legs, tie-downs, side walls, privacy panels, bug rooms, awning lights and replacement end caps. If the rack upgrade is required for the awning, it belongs in the awning budget.
Driveaway shelters move cost into a different pile: tunnel or fixing kit, groundsheet, carpet, pump for air beams, stronger pegs, storage bags and drying time. A tarp may need poles, sand or ground anchors, guy lines, webbing, repair tape and a bag that keeps wet fabric away from bedding.
The least expensive setup is the one you will actually carry, dry and use. A cheap tarp that needs a slow awkward setup may stay in the bag. A premium cassette that overloads the roof or hits a garage is not a bargain.
Budget checks
Cost items to count before choosing
Use this table as a shopping checklist without treating volatile prices as fixed.
| Cost item | Where it appears | Why it changes the decision |
|---|---|---|
| Base shade | Roll-out case, driveaway tent, tarp or 270-degree awning | Coverage, packed size, case weight and setup speed start here |
| Brackets and mounts | Rack, rail, platform, awning channel, Kador kit or roof-bar tabs | The mounting path can rule out a cheap fabric choice |
| Rack upgrade | Crossbars, platform, rail adapters or stronger hardware | A roof upgrade can cost more than the awning add-on |
| Walls, rooms and screens | Side walls, bug room, privacy panel or awning room | More comfort, more fabric surface, more storage and drying work |
| Poles, pegs and guying | Tarps, driveaway shelters, support legs and wind kits | Small hardware decides whether the setup works on real ground |
| Freight, spares and storage | Long cases, replacement arms, fabric bags and wet storage | The van still has to carry the kit after the checkout page |
Refresh exact prices before buying; this guide uses category-level cost drivers only.
Fabric, side walls and weather routine
Fabric words help only when they connect to care and weather behavior. Polyester, acrylic and coated fabrics can all appear in awning catalogs, while tarps and shelters may use coated nylon, polyester or other shelter fabrics. Check the specific manual for cleaning, drying, pitch, support legs and wall compatibility instead of assuming one fabric label makes a storm shelter.
Side walls, wall kits, bug rooms and privacy panels are useful when they match repeated routines: bugs at dusk, a visible campsite, cool wind on longer stays or a child sleeping near the door. They also add wind surface, pegs, storage bulk and drying work. Do not buy wall kits as imagined storm protection.
Rain needs a drainage plan from the manual. Fiamma guidance supports closing in rain, wind or snow and lowering one side for water runoff only where the product permits it. Dometic manuals warn against water pooling and heavy rain or severe weather. A vehicle-side awning is not a permanent rain roof.
Wind is a pack-down trigger, not a test of bravery. Guy lines, legs and supports can help in ordinary conditions, but they are not a storm plan. Dometic guidance also says not to rely on sensors as damage prevention. Close the awning before leaving camp, sleeping through changing weather or driving.
Cooking needs distance. A side kitchen can sit in shade, but grills, portable heaters and flame sources must stay away from fabric and enclosed awning rooms. Dometic's operating instructions support keeping grills, heaters and fire sources away from awnings. If that spacing cannot be kept, move the cooking setup instead of moving the fabric closer.
- Dry wet fabric as soon as practical instead of storing it wet trip after trip.
- Lower one side for runoff only when the exact awning manual permits it.
- Pack down before wind, heavy rain, snow, severe weather or unattended camp.
When not to mount fixed van shade
Do not mount a fixed side awning when the rated load chain is unclear. If the vehicle manual, rack maker, rail, crossbar, platform, bracket or awning instructions do not support the install, use parked shade until the mount is documented. A small fabric panel is still a levered load when the van is moving.
Skip the case when clearance is already tight. A sliding door that kisses the fabric edge, a rear hatch that opens into the arm path, a pop-top that needs the same side space or a garage that barely clears the roof can turn a convenient awning into a daily irritation.
Rented and leased vans need restraint. A removable tarp, driveaway shelter or freestanding shade may fit the trip better than drilling, bonding or clamping hardware to a vehicle you do not own. That does not make no-drill shade automatically compliant or wind-safe; it still needs secure attachment and product-specific limits.
Choose detached shade when the van leaves camp often. A fixed roll-out closes and travels with the vehicle, so the table, chairs and shelter disappear each time you drive away. A driveaway shelter or freestanding tarp may be slower in the morning and easier for the rest of the day.
Avoid a fixed case if most trips are windy, wet and short with no drying room. Wet fabric rolled away once is normal on a bad day; wet fabric stored repeatedly is a mildew and odor problem. If you cannot dry the setup later, carry a smaller tarp or skip the fabric for that trip.
Read Next
Narrower guides after this choice
Use these only after the campervan route is clear. They go deeper on adjacent choices without replacing the fit checks above.
Broad vehicle awning choices
Use the vehicle awning guide for cars, RVs, 4x4s, roof racks and broad mounting families.
270-degree awning fit checks
Use the 270 guide when side and rear camp zones both justify the extra weight and bracket demand.
Campervan awning vs shade sail
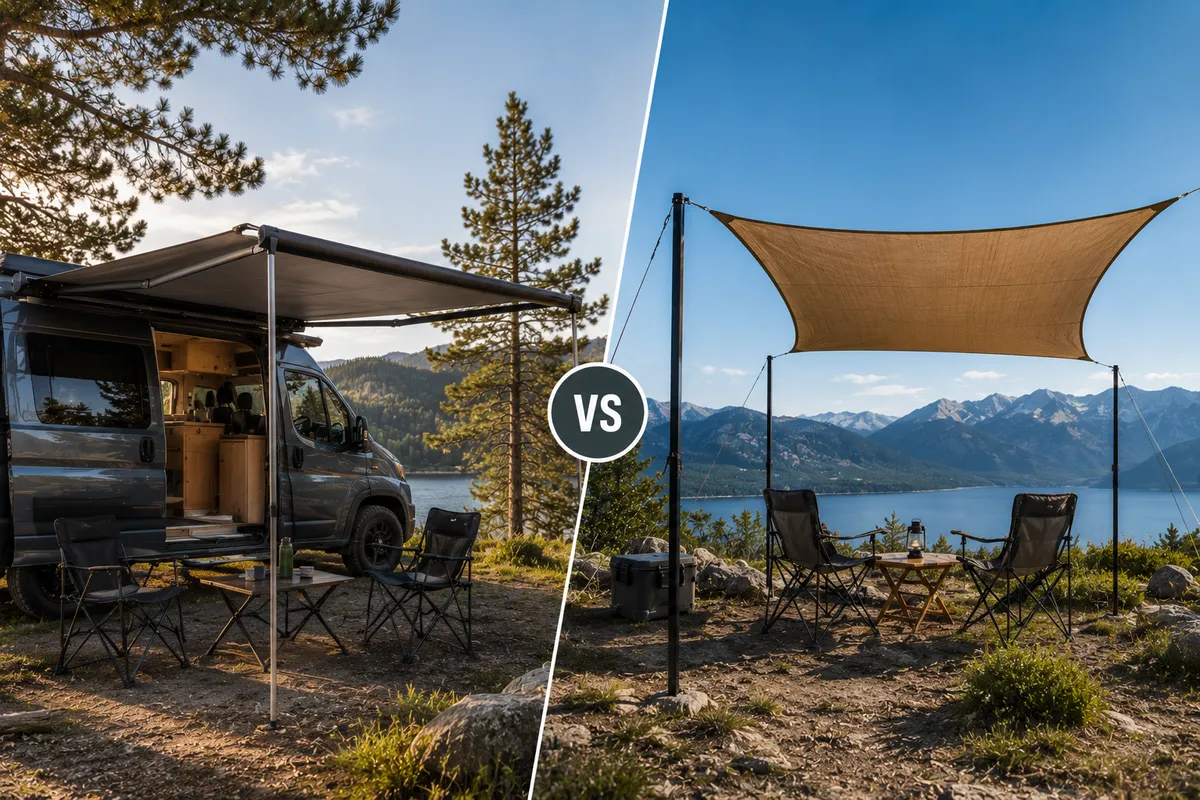
Use this comparison when fixed vehicle shade is being compared with campsite fabric and separate anchors.
Camping tarp vs awning
Use the tarp comparison when weight, price, detached shade and setup time are the unresolved trade-off.
Watch-outs
Before you buy or install
- Dynamic road load controls travel decisions; parked static capacity does not approve a moving campervan setup.
- Guy lines, legs, support poles and sensors do not make an awning storm-safe.
- No-drill shade still needs product-specific attachment points and weather limits.
- Side walls and awning rooms add comfort only when their storage, wind surface and drying work fit the trip.
Read Next
Related hub
Vehicle Awning Guide
Use this when vehicle awning is closer to the real constraint than the current page.
Van Awning Guide
Use this when van awning is closer to the real constraint than the current page.
Campervan Awning vs Shade Sail
Use this when campervan awning vs shade sail is closer to the real constraint than the current page.
Camping Tarp vs Awning
Use this when camping tarp vs awning is closer to the real constraint than the current page.
270-Degree Awning Guide
Use this when 270 degree awning is closer to the real constraint than the current page.
Questions
FAQ
What type of awning is best for a campervan that leaves camp during the day?
Use a driveaway shelter or freestanding tarp when the van leaves camp often. A fixed roll-out awning closes and travels with the vehicle, so the shade disappears when you drive away. Driveaway shelters add pitching, attachment-height and drying work, but they keep the living space in place.
Can I mount van shade without a roof rack?
Only if the awning maker and vehicle setup provide an approved rail, bracket, awning channel or other rated attachment. Do not mount to trim, decorative rails, weak gutters or unknown bodywork. If the driving mount is not proven, use parked shade such as a driveaway shelter, tarp or freestanding shelter.
How do I know if my roof rack can carry a side awning?
Check the vehicle manual, rack or platform rating, crossbar guidance, bracket instructions and awning weight together. Count brackets, walls, rack parts, solar, roof boxes and other cargo. The lowest proven part controls, and the dynamic road limit is the one that matters while driving.
Is a tarp better than a roll-out awning for a campervan?
A tarp is better when low weight, lower cost, detached shade or a rental van matters more than instant deployment. A roll-out awning is better when the same sliding-door or side-kitchen zone needs quick shade on most stops and the rack, brackets and clearance checks are already proven.
Do van awnings work in rain and wind?
They can handle ordinary shelter use only within the exact manual limits. Stow before wind, heavy rain, snow, severe weather or unattended camp. Use pitch and runoff methods only when the manual permits them, and never allow water pooling to become the load test.
Is a 270-degree awning worth it on a campervan?
It is worth considering only when the side door and rear hatch or tailgate are both active camp zones. The extra coverage brings more packed weight, bracket demand, cost and wind surface. If shade is mostly beside one sliding door, a straight awning or tarp is usually simpler.