
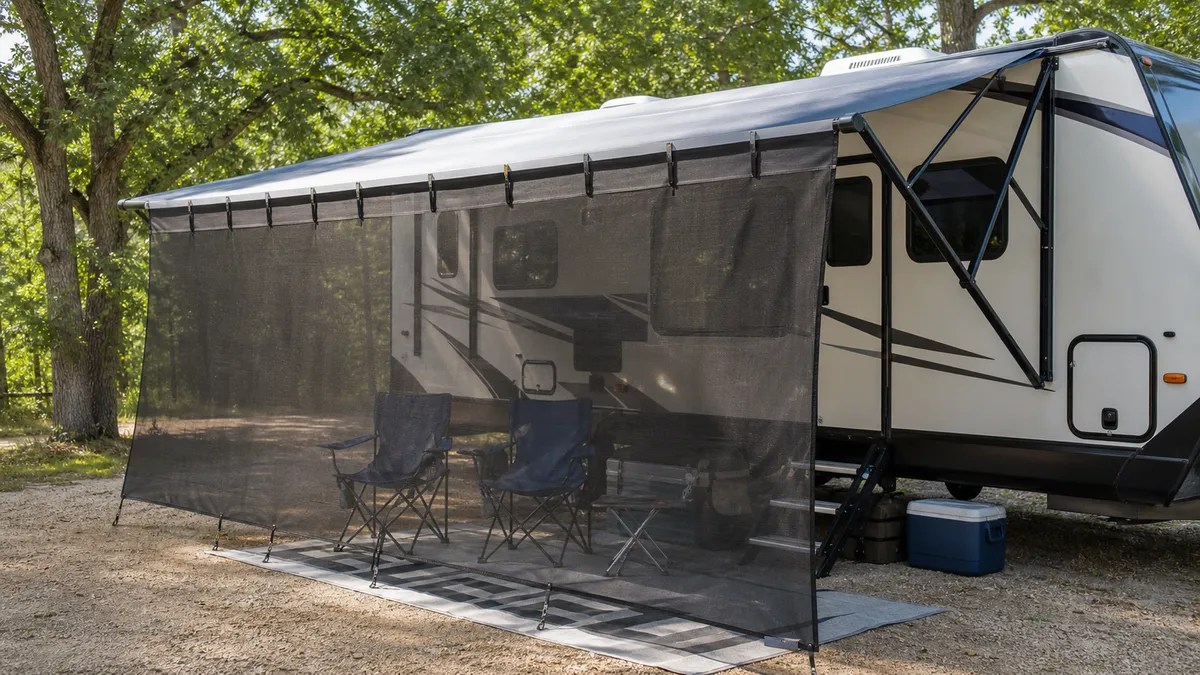
Quick Answer
RV awning shade screen: the short version
Compare RV awning shade screens only after the panel direction and fit are clear. Use a front drop shade for low sun under the awning edge and a side panel for glare from one end. Measure awning fabric width, roller tube slot, projected height, clearances and stake space, then remove panels before wind, rain, travel or leaving camp.
Choose a front drop shade when low sun comes under the awning edge; use a side panel for one-ended glare, and skip the purchase when stakes, clearance or wind routine fail.
Buying Direction
What to buy for an RV awning shade screen
Use this table after panel direction, awning fit, clearance, mesh and removal routine are known.
| Situation | Buy / use this | Why |
|---|---|---|
| Low sun comes under the front edge of the awning | Use a front drop shade panel. | It cuts front glare without turning the whole patio into a room; verify awning fabric width, projected height, roller tube slot and stake space. |
| Sun or a neighbor sightline comes from one end | Use a left or right side panel. | A side panel shields the exposed end better than a front panel; check side orientation, arm clearance, door path and tie-out cords. |
| An electric awning needs faster camp setup | Use a two-piece zipper-insert shade only where the instructions allow it. | The insert can stay in the roller tube while the main shade zips on at camp; never retract against attached panels unless the product manual allows it. |
| Airflow and outside view matter more than privacy | Use open-weave mesh. | Open-weave mesh keeps more outward view and air movement than dense privacy mesh; treat light-reduction percentages as product-specific claims. |
| Partial privacy matters more than the view | Use darker or tighter mesh, or combine front and side coverage. | Tighter mesh helps with sightlines but does not create a private room; keep panels and stakes inside the campsite boundary. |
| Bugs or an enclosed patio are the issue | Compare a screen room instead of a simple shade drop. | A screen room adds enclosure, panels and setup time; it also needs a stricter wind and pack-down routine. |
| Awning hardware is weak, the site is windy or stakes cannot sit safely | Repair the awning or use another shade method before buying a screen. | More fabric adds sail area and trip lines; bent arms, a loose rail, blocked access or exposed wind should stop the purchase. |
Screen types: front shade, side panel or room
A front drop shade fits best when low sun slides under the awning's front edge. Lippert's Solera front panel and Carefree's SunBlocker both sit in this group: a vertical mesh panel that hangs from the awning roller tube and ties down near the ground. It is built for glare and sun angle, not for replacing damaged awning fabric.
A side panel handles sun from one end. Carefree sells SideBlocker panels in left and right versions because the exposed end matters. If glare hits from the picnic-table side, a front panel can leave the harsh edge untouched. Match the panel side to the sun, the door swing, the awning arm and the path people use when stepping out of the RV.
Two-piece zipper shades can help on compatible electric awnings. ShadePro describes an insert that remains in the roller tube and a larger body that zips on at camp. That can save setup time, but it does not remove the retraction warning. The main panel still has to come off when the awning must close fast.
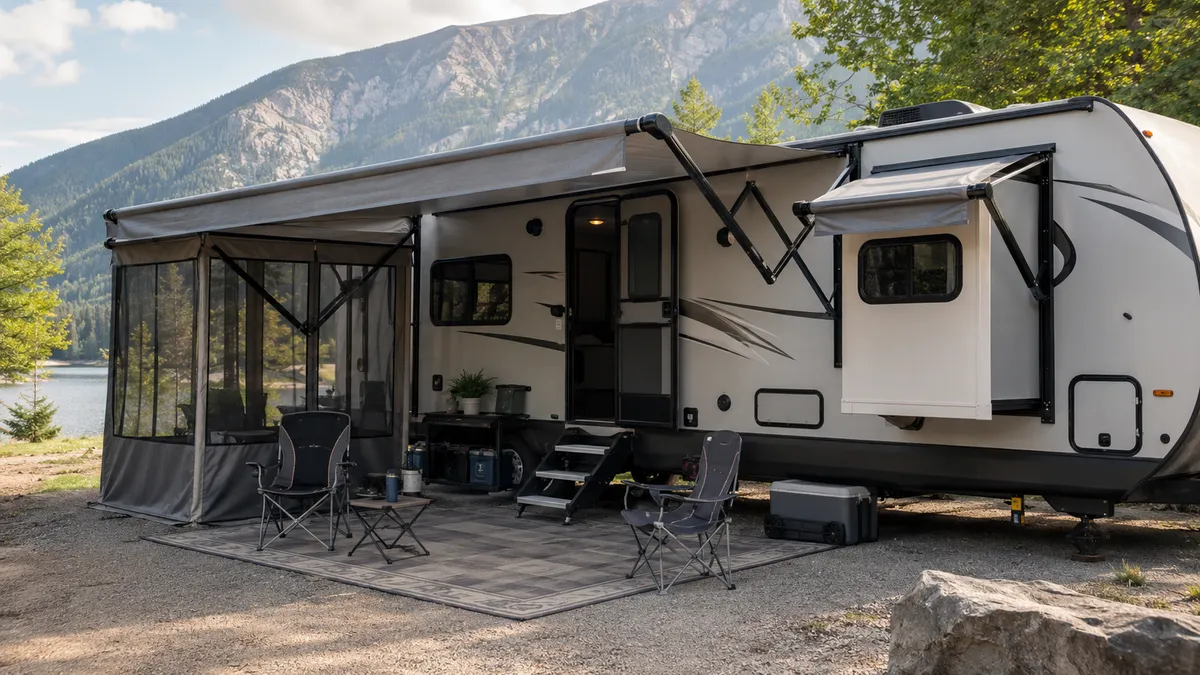
A screen room is a separate, heavier purchase than a simple shade drop: more panels, more enclosure, more attachment points and more fabric to pack down. Choose that route for bug screening or a patio-room feel only if setup time, storage length and wind removal are acceptable.
Fit checks before ordering
Measure awning fabric width, projected height, roller tube slot, drop length, side orientation and tie-out space before comparing brands. The ordered width is not the same as the shaded area on the ground. Arm angle, campsite slope, sun angle and how far the awning is extended can all change what the panel covers.
Start at the existing awning. Confirm the awning brand, manual awning or electric awning operation, roller tube shape and open accessory slot. Product pages often list broad compatibility with brands such as Solera, Dometic and Carefree, but the actual fit still comes from the awning manual and the panel instructions.
Height matters as much as width. Use the sizing chart and installation instructions for the specific screen being ordered, including how that product defines fabric width, projected height and drop length. Do not assume one brand's panel sizes transfer cleanly to another awning or accessory slot.
Clearance checks prevent bad orders. Open the entry door, screen door, storage doors and slide room before ordering. Make sure a side panel will not rub the arm, block the steps or force tie-out cords across a walking path. Also check the stored panel length; a long wet roll is awkward inside a small pass-through bay.
Fit Checks
Fit checks that decide the order
Run these checks before comparing mesh color, brand claims or accessory bundles.
| Check | What to verify | Why it matters |
|---|---|---|
| Awning fabric width | Measure the fabric or use the awning manual's sizing method. | A panel that is too wide can bind or sit poorly in the roller tube. |
| Projected height | Measure with the awning open in the position used at camp. | Drop length changes shade, stake angle and ground clearance. |
| Accessory slot | Confirm the roller tube or rail accepts the panel insert. | Many front screens rely on a usable open slot. |
| Side orientation | Choose left or right from the RV and awning position. | A side panel on the wrong end misses the glare or sightline. |
| Door and slide clearance | Open steps, entry doors, storage doors and slide rooms. | Panels and cords should not block exits or service access. |
| Tie-out space | Check where stakes, grommets, bungees and cords will land. | The screen is not practical if lines cross walkways or a neighbor's space. |
Mesh, visibility, airflow and privacy
Carefree describes its SunBlocker as open-weave woven polyester with vinyl coating that cuts almost 85% of light while keeping some view. ShadePro uses similar product-specific language for its Vista Shade. Treat those as brand-specific claims, not a universal promise for every RV awning sun shade sold online.
More open mesh usually feels better when airflow and outward visibility matter. It can reduce front glare while still letting the campsite feel open. It will not give much privacy at night with lights on inside the patio area, and it may not be enough for a neighbor sightline from one side.
Darker or tighter mesh can make the patio feel more screened, especially when paired with a side panel. The trade-off is simple: less view, less breeze and a stronger need to manage wind. Privacy and sun blocking overlap, but they are not identical. A shade screen is still mesh, not a wall.
Do not turn mesh claims into health claims. EPA sun-safety guidance treats shade as one part of protection, alongside clothing, sunscreen and UV-aware habits. A screen can reduce glare and exposure in the patio area, but it does not make the campsite a UV-free zone.
Category research
RV awning screen categories to compare
Compare screen categories after the awning rail, drop length, side exposure and storage routine are clear.
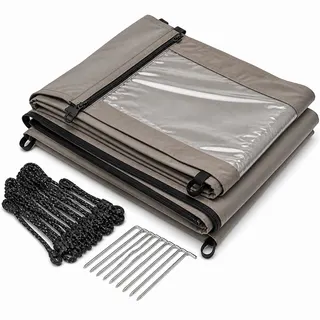
Front screen
RV Awning Shade Screen
For lowering glare and heat at the open awning edge.
- Front shade
- Good for low sun
Check:Awning width, drop length and attachment style.
Search on AmazonSide screen
RV Awning Side Shade
For blocking side sun or neighbor views at camp.
- Side privacy
- Directional shade
Check:Wind routine, side orientation and tie-down points.
Search on AmazonScreen room
RV Awning Screen Room
For more enclosed campsite living when setup time is acceptable.
- More enclosure
- More parts to store
Check:Awning compatibility, doors and pack-down time.
Search on AmazonAttachment methods and campsite setup
Common attachment points include a slide-in roller-tube insert, zipper insert, clips, straps, grommets, stakes, bungees and tie-out cords. Lippert's front panel kit lists grommets, stakes, tie-out cords, a pull rod and a storage bag. Carefree's front and side products also show how much the bottom tie-down area matters.
A slide-in front panel is simple when the roller tube slot is open and reachable. A zipper-insert shade can be faster after the insert is installed. A side panel may use loops, bungees or cords around the roller bar and bottom stakes, so check arm clearance, cord angle and fabric size together.
Turn the power switch off during setup when the specific instructions call for it, and do not retract an awning against attached panels unless that screen's instructions explicitly allow it. A wind sensor, remote, wall switch or helper can move the awning at the wrong time if the screen is still tied down.
Keep stakes and cords out of the way. National Park Service camping guidance emphasizes staying within the assigned campsite area. Stakes and trip lines should not cross the campsite boundary, a public path, the RV steps, an emergency exit, a neighbor's pad or the route to the road.
Wind, rain and when not to buy
A shade screen adds sail area to the awning fabric, roller tube, arms, stakes and tie-out cords. Carefree's Freedom awning manual says wind and rain effects are unpredictable and advises retracting the awning when wind or extended rain is expected, and when leaving it unattended. Add-on screens should make that habit stricter, not looser.
Remove the panel before gusts, thunderstorms, extended rain, travel, sleeping away from the awning or leaving camp. The National Weather Service tells people to secure loose outdoor objects before high wind. Its severe-thunderstorm threshold gives weather context, but it is not a screen rating. Follow the awning and screen manuals first.
Rain does not turn mesh into a rain room. Wet panels can pull on grommets, stretch tie-outs, splash through the weave and force wet storage. A screen room adds even more fabric area, so it needs a faster pack-down trigger than a small front panel.
Do not buy yet if the awning rail is loose, fabric is torn, arms are bent, the roller tube sags, the campsite is exposed, the ground will not hold stakes or cords would block access. Keep grills, heaters and flames away from awning and screen fabric; Carefree's manual warns that awning fabric is not fireproof.
Cleaning, drying and storage
Carefree care instructions call for clear water, a soft brush, natural soap when needed, no harsh detergents and thorough drying before rolling. Use the product manual for the exact mesh, coating and zipper care. Harsh cleaners can damage coatings, stitching or printed instructions on the panel.
Rinse dust and pollen before scrubbing. Work from the top down, keep grit away from zippers and clips, and let the mesh dry fully before it goes into a bag. Wet storage is where mildew odor and stained mesh usually start.
Inspect the panel before the next trip. Look for torn mesh near grommets, stretched cords, rusty stakes, cracked bungees and zipper teeth that skip. A small tear is easier to repair before the panel is tied to a moving awning in a windy campsite.
Store the screen where it will not kink the insert or crush the zipper. Keep the pull rod, stakes and tie-out cords together so setup does not turn into a campsite search after sunset.
Watch-outs
Before you buy or install
- Do not leave a tied-down screen on an awning that may need fast retraction.
- Do not roll an electric awning against attached panels unless the product instructions allow it.
- Do not use a shade screen as a rain shelter or storm-rated wind screen.
- Keep grills, heaters and open flames away from awning and screen fabric.
Read Next
Related guides if your situation is different
Questions
FAQ
Do I need a front RV awning shade screen or a side screen?
Use a front drop shade when low sun comes under the awning's front edge and hits the seating area. Use a side panel when glare or a sightline comes from one end. Check left or right orientation, arm clearance, door swing and where the tie-out cords will land.
How do I measure for an RV awning shade screen?
Start with awning fabric width, projected height, roller tube or accessory slot fit, desired drop length and the room available for stakes. Then open the entry door, storage doors and slide room. Use the sizing chart and installation instructions for the specific screen being ordered.
Can I leave a shade screen on an electric RV awning?
Only leave any insert or panel in place when the product instructions allow it. Turn the awning power off during setup when the specific instructions call for it, and do not retract against tied-down panels unless the screen instructions explicitly allow it. Accidental retraction can pull against fabric, stakes and cords.
Does an RV awning shade screen give real privacy?
It can give partial privacy, especially with darker mesh, tighter weave or a side panel aimed at one sightline. It is not a private room. Night lighting, viewing angle, mesh color and campsite spacing all change what people can see through the panel.
Should an RV awning shade screen stay up in wind or rain?
Remove it before gusts, thunderstorms, extended rain, travel or leaving camp. A screen adds sail area to the awning and tie-outs. Do not invent a wind rating from the fabric alone; follow the awning manual, screen instructions and the weather forecast.
How should I clean and store the mesh?
Rinse with clear water, use a soft brush and mild or natural soap only when the manual allows it, and avoid harsh detergents. Let the mesh dry before storage. Check zippers, grommets, stakes, bungees and tie-out cords before the next trip.