
Quick Answer
Shade sail fixing kit: the short version
Buy a shade sail fixing kit only after the anchor points, sail shape, material exposure and corner-to-anchor gap are known. A kit can supply turnbuckles, shackles and eye plates, but it does not prove that a wall, post, masonry joint, fascia board or fastener can carry a tensioned sail.
Buy a fixing kit only when the anchor surface is already proven; pause and solve the wall, post or masonry attachment first if any fixing point is uncertain.
Buying Direction
What to buy after the anchor checks
Use this after confirming anchor points, sail corner count, metal exposure and turnbuckle room.
| Situation | Buy / use this | Why |
|---|---|---|
| Anchors and posts are already confirmed | Buy a complete fixing kit matched to the number of sail corners. | Count pad eyes or eye plates, turnbuckles, shackles and snap hooks before checkout so a triangle kit is not used on a rectangle sail. |
| Coastal air, pool splash or long wet exposure | Prioritize clearly listed 316 stainless steel shade sail fixings. | Coolaroo shows 316 stainless accessories for corrosive exposure, but stainless still has to match the hardware size and manufacturer instructions. |
| The existing sail has little adjustment room | Buy separate turnbuckles and matching D shackles instead of a one-size pack. | A turnbuckle that starts fully closed leaves no useful tensioning range for initial setup or later retensioning. |
| Brick, concrete, timber, fascia or house wall is not confirmed | Choose the surface anchor first, then buy the connector hardware. | Pad eyes and eye bolts only work when the material behind them can carry the load from the sail corner. |
| Fast removal before storms matters | Compare deliberate quick-release connectors that still match the rest of the kit. | A snap hook or carabiner can make removal faster, but convenience does not replace rated hardware or solid anchors. |
| Large span, waterproof fabric, public area or high-wind exposure | Do not buy the kit yet; get structural, installer or local-code advice first. | Redland City Council flags design-certification issues for some shade sails, including tie-downs, footings, wind resistance and material stability. |
What should be in a shade sail fixing kit?
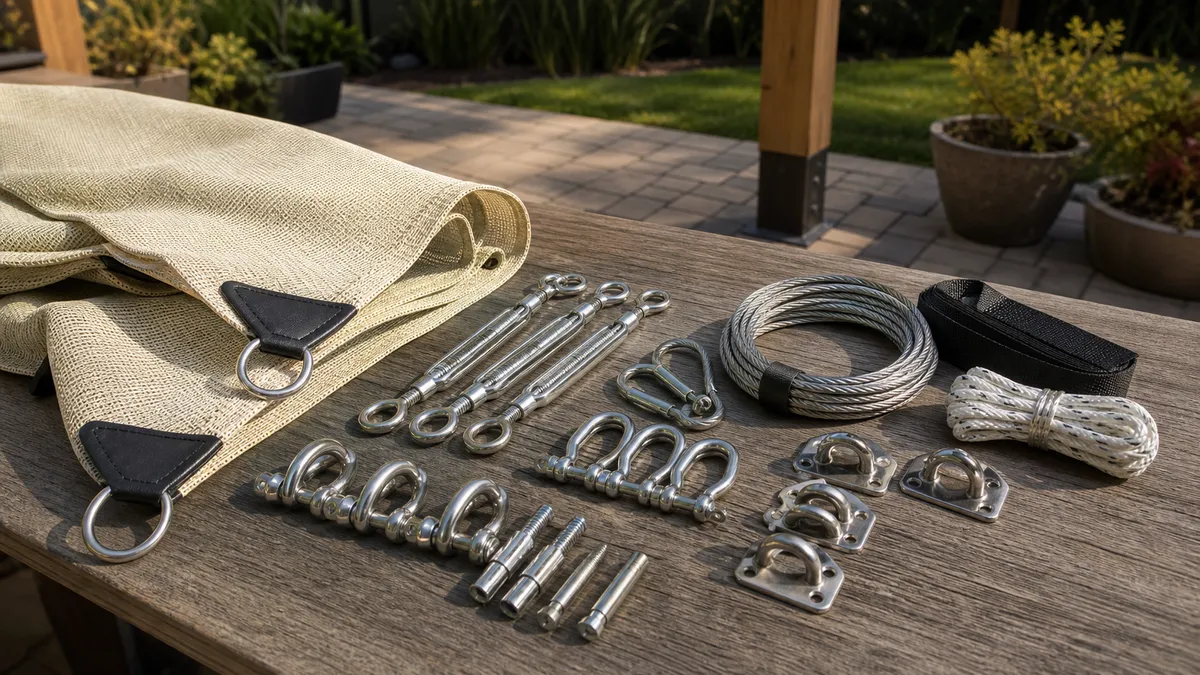
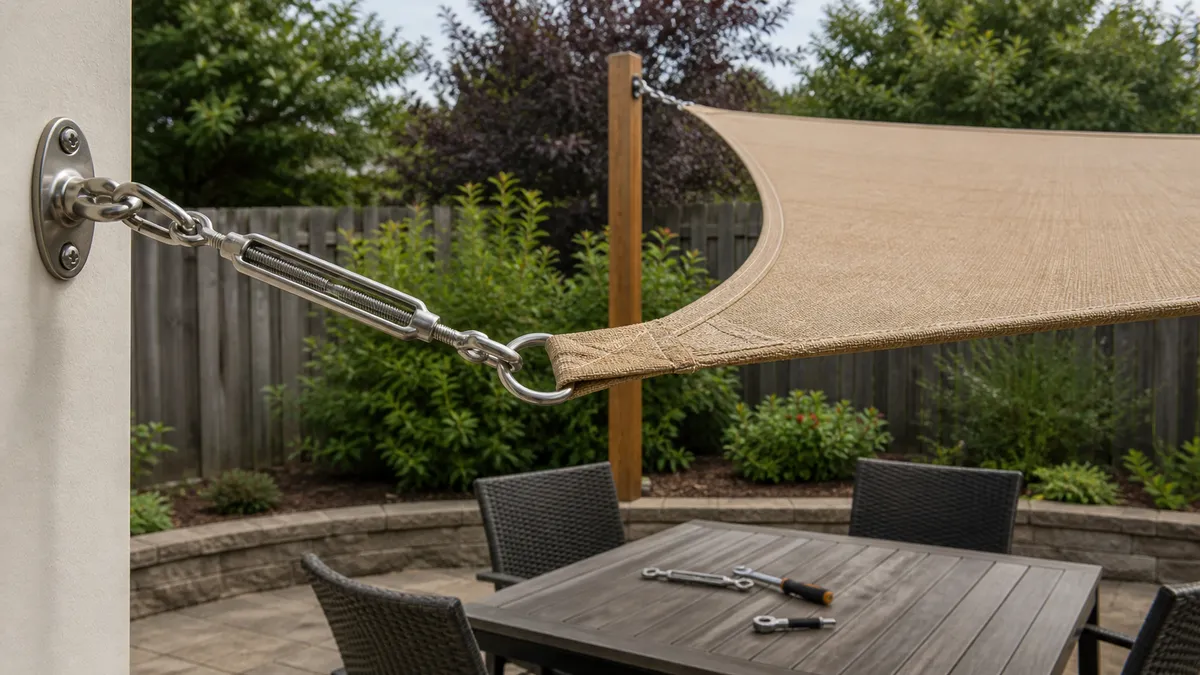
A shade sail mounting kit is mainly connector hardware. It usually sits between the sail corner and the fixed anchor: turnbuckle, D shackle, snap hook or carabiner, pad eye, eye plate, shade sail eye bolt, and the screws or anchors that suit the surface. ShelterLogic and Coolaroo manuals treat those pieces separately from posts, wall backing, fascia support and footings. Mississippi State University Extension also frames the job around anchoring points, posts, hooks and turnbuckles, so the kit is only one part of the installation.
Separate the purchase into two groups. Sail-corner connectors join the D-ring or fabric corner to the tensioning hardware. Structure anchors fasten into timber, masonry, concrete, a steel post or a reinforced fascia detail. Buying more shiny metal does not fix a weak fence post, cracked concrete edge or unknown brick wall.
Wire rope is not a default part of every kit. Tenshon's wire rope method uses cable clamps, corner D-rings and turnbuckles in a specific sequence. Use wire rope and a cable clamp only when the sail maker or hardware design calls for that layout, not as a long shortcut from one bad anchor point to another.
- Count the sail corners before comparing packs.
- Match each connector to the anchor, not just to the sail fabric.
- Reject any outdoor kit that hides the metal grade, thread size or fastener type.
Hardware checklist
Fixing-kit parts and what each one must match
Use this to understand each part's job, not as a shopping list for every sail.
| Part | Job in the load path | Confirm before buying | Do not use it to fix |
|---|---|---|---|
| Turnbuckle | Adds controlled tension between the anchor and the sail corner. | Thread size, closed length, open length and usable adjustment range. | A sail measured too large or an anchor that moves. |
| D shackle | Creates a controlled link between a ring, eye plate or turnbuckle end. | Pin size, jaw width, metal grade and fit through the sail corner ring. | A misaligned anchor that twists the hardware sideways. |
| Snap hook or carabiner | Allows faster removal when the rest of the hardware still fits. | Closure style, rated outdoor use and compatibility with the corner hardware. | Storm safety or weak anchors. |
| Pad eye or eye plate | Provides a fixed eye on a flat structural surface. | Backing material, bolt pattern, fastener type and pull direction. | Thin cladding, trim, fascia skin or decorative boards. |
| Eye bolt or post eye | Gives a single eye through or into a post, beam or approved backing. | Thread engagement, washer/backing detail and the actual material behind it. | Unknown masonry or a loose timber post. |
| Screws, bolts or masonry anchors | Fasten the eye plate or bracket into the supporting surface. | Surface type, embedment method and manufacturer instructions. | Buying a kit before confirming the wall or post. |
| Wire rope and cable clamp | Extends or assembles a cable-based layout when the sail design requires it. | Clamp count, rope diameter, thimble use and turnbuckle position. | A long leader used to cover a wrong sail size. |
Match the kit to sail shape, anchor type and tensioning room
Start with shape. A triangle has three corners; a rectangle or square has four. That sounds obvious until a cheap pack includes two turnbuckles, one snap hook and a handful of screws without enough corner hardware for the sail in front of you. Coolaroo guidance supports at least one fixing accessory per corner, and it describes at least two tensioning devices per sail.
Do not buy a turnbuckle only by its closed length. Mighty Covers says to leave adjustment room, and that matters after the fabric settles. If every turnbuckle starts almost fully closed, there is little travel left when the sail sags, flaps or needs seasonal retensioning.
Leave a real corner-to-anchor gap for the hardware. Coolaroo and Shade Sails LLC both discuss allowance for fittings and the hardware footprint, but their numbers should be treated as brand guidance rather than a universal rule. Long rope or cable leaders from several corners can add movement in wind, so solve a bad measurement before adding extensions.
- Triangle and rectangle kits need different connector counts.
- Leave turnbuckles with adjustment travel after the first tensioning.
- Use the sail maker's measuring guide before ordering a bigger hardware pack.
Stainless, galvanized or coated hardware
Choose 316 stainless steel when the sail sits near coastal air, pool splash, regular wetting or a long seasonal install. The reason is corrosion resistance, not magic strength. The shackle, turnbuckle, pad eye and eye bolt still have to fit the sail ring, anchor plate and manufacturer's instructions.
Galvanized steel or coated steel can be acceptable only when the listing gives clear material, size and outdoor-use guidance for the exposure. A vague phrase such as heavy duty does not tell you whether the threads, pins, screws or plates belong outside on a tensioned sail.
Watch mixed-metal kits. A stainless turnbuckle paired with unknown screws or a coated eye plate can leave the weakest part hidden in the wall or post connection. If the fasteners are missing, too short, or wrong for masonry, concrete or timber, the kit is incomplete even when the visible connectors look solid.
- Prioritize clear material grade over marketing language.
- Inspect the hidden fasteners as closely as the shiny connectors.
- Do not treat a coated connector kit as a substitute for specified posts and anchors.
Material guide
How to read metal claims before checkout
The material label should help you decide exposure and compatibility, not imply storm safety.
| Listing says | Usually worth considering when | Still confirm | Reject when |
|---|---|---|---|
| 316 stainless steel | Coastal, poolside, wet or long-season exposure. | Hardware size, thread travel, pin fit and fastener material. | The listing skips dimensions or approved outdoor use. |
| Galvanized steel | The exposure is moderate and the manufacturer allows outdoor shade-sail use. | Coating quality, compatible fasteners and inspection access. | Corrosion exposure is high or the coating is already damaged. |
| Coated steel | The part is specified for the exact use and will be inspected. | What metal sits under the coating and how scratches are handled. | The listing hides the base metal or thread details. |
| Heavy duty only | Rarely enough by itself. | Actual dimensions, material grade and manufacturer instructions. | No grade, no size, no anchor guidance and no weather-removal warning. |
Category research
Shade sail hardware categories to compare
Search hardware categories only after anchor material, sail size and corrosion exposure are clear.
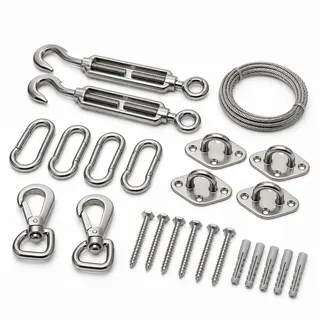
Fixing kit
Shade Sail Hardware Kit
For basic corner hardware when anchors are already verified.
- Common hardware bundle
- Good starting list
Check:Material grade and load path.
Search on Amazon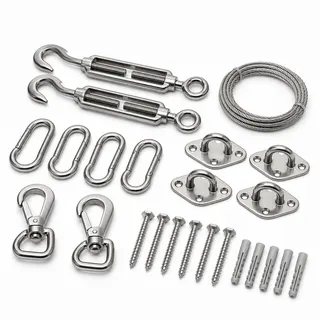
Tensioning
Stainless Steel Turnbuckle
For adjusting corner tension after the sail is sized correctly.
- Tension control
- Corrosion resistance
Check:Thread size, working load and stainless grade.
Search on Amazon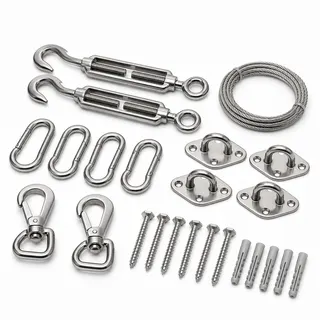
Wall plate
Shade Sail Pad Eye
For connecting hardware to a suitable structural surface.
- Fixed connection point
- Needs real substrate
Check:Fasteners, wall material and backing.
Search on AmazonThe anchor surface decides the kit
A pad eye fits a flat surface only when the structure behind it can carry the pull from the sail. That might be a solid timber beam, a properly detailed post, a suitable masonry anchor or an engineered wall plate. It is not automatically the visible board, siding, trim or decorative face you can reach with a drill.
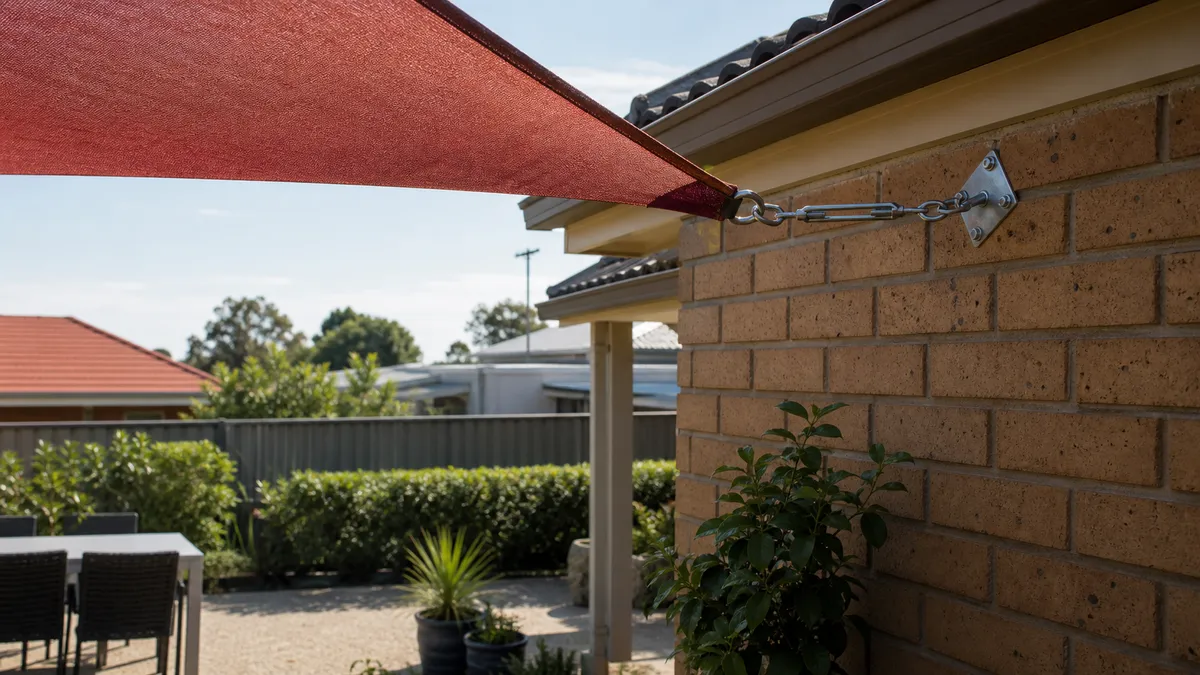
Fascia needs special caution. Coolaroo strongly recommends fascia support, and Mighty Covers says fascia screws need to hit rafter tails or an added structural support board. Do not treat fascia trim as a normal anchor point just because the kit includes screws that are easy to drive.
Masonry and concrete also need more than the kit photo. Unknown brick, cracked concrete, loose mortar, hollow block, rental walls and old repairs should stop the purchase until the right anchor method is known. Use the wall-anchor guide for the deeper surface decision, then return to the fixing kit once the anchor type is settled.
- Stop before drilling thin cladding, trim, loose posts or unknown masonry.
- Confirm rafter-tail or support-board backing before any fascia attachment.
- Use surface-specific anchors before comparing extra turnbuckles.
Cheap kit warnings and when a kit is not enough
The cheapest kit is risky when it hides the metal grade, uses thin plates, includes indoor-style snap hooks, skips masonry anchors, gives no useful turnbuckle range or claims strength without instructions for the actual surface. Missing fasteners are not a small detail; they often decide whether the shade sail fixings can be installed at all.
Do not use a larger kit to make a bad layout work. Shade Sails LLC warns against long cable or rope leaders from several corners because they can add movement in wind. If the sail is too small, too large or too far from its anchor points, fix the measurement before adding wire rope, extra shackles or improvised extensions.
Stronger hardware does not make a sail storm-proof. ShelterLogic, Coolaroo and Mighty Covers all include bad-weather removal language for strong wind, storms, snow or long unattended periods. For large spans, waterproof fabric, roof or house attachment, public areas, high wind or any local approval question, pause the purchase and get structural or installer advice.
- Reject vague load claims that do not name the part, surface and installation method.
- Remove the sail when the manual calls for removal; corrosion-resistant metal is not wind permission.
- Get help before permanent, waterproof, public, roof-attached or high-wind installations.
Watch-outs
Before you buy or install
- Do not attach a tensioned sail to fascia trim, fence boards, thin cladding, cracked concrete, loose posts or unknown masonry.
- Do not use long wire rope or rope leaders to hide a wrongly measured sail.
- Do not assume stainless hardware makes the sail safe in strong wind, storms, snow or long unattended periods.
Read Next
Related guides if your situation is different
Shade Sail Guide
Use this when shade sail is closer to the real constraint than the current page.
Shade Sail Wall Anchors
Use this when shade sail wall anchors is closer to the real constraint than the current page.
Shade Sail Tensioning Guide
Use this when shade sail tensioning guide is closer to the real constraint than the current page.
Questions
FAQ
What should be in a shade sail fixing kit?
A normal kit may include turnbuckles, D shackles, snap hooks or carabiners, pad eyes or eye plates, eye bolts and some screws or anchors. It may still omit the correct masonry anchors, timber bolts, post hardware or fascia support needed for your surface.
Do I need stainless steel fixings for a shade sail?
Choose clearly listed 316 stainless steel for coastal air, pool splash, wet exposure or a sail that stays up for long seasons. Do not buy stainless only for the label. The hardware size, pin fit, thread travel and fasteners still have to match the sail and anchor.
How much gap should I leave for turnbuckles and shackles?
Leave enough corner-to-anchor gap for every fitting plus usable turnbuckle adjustment, then follow the sail maker's measuring guide. Do not start with the turnbuckle fully closed, and do not rely on long cable leaders to rescue a sail that was measured wrong.
Can I use a fixing kit on brick, fascia or timber?
Only when the surface and backing are suitable for the load. Solid timber, approved masonry anchors and reinforced fascia details are different from trim, siding, fence boards, hollow brick or loose mortar. Confirm the wall or post anchor before buying more connector hardware.
Should I take the shade sail down in wind?
Many shade sail manuals tell you to remove the sail for strong wind, storms, snow or long unattended periods. A better turnbuckle or stainless shackle can resist corrosion, but it does not turn a fabric sail into a permanent storm-rated structure.