
Quick Answer
The short version on flapping
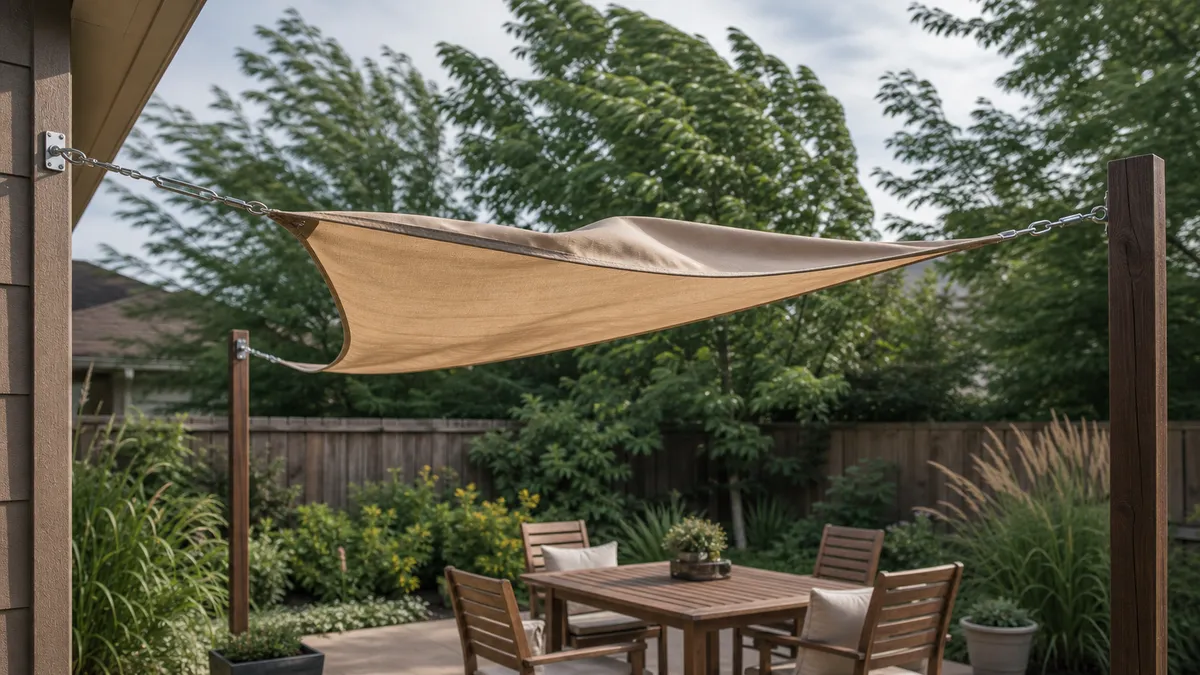
Treat shade sail flapping as a symptom, not just noise. In calm weather, check tension hardware, turnbuckle travel, anchor movement, stretched fabric, sail size and gust exposure before tightening. Stop if a post, wall plate, hook, seam or fitting moves, bends or tears, or if a storm or high wind watch is forecast.
Diagnose the moving part first; retension only when supports are solid and hardware still has travel, and take the sail down before storms or high-wind watches.
Diagnose shade sail flapping in wind before tightening anything
Start where the sail moves, not at the hardware store. Edge flutter, whole-sail pumping and corner slap point to different causes. Mississippi State University Extension says each corner needs a matching anchor point, and posts must be sturdy enough for both the sail and wind. If a post or wall fitting moves, tightening can pull harder on that weak point.
Do the first inspection in calm weather. Look for wrinkles, sag, a corner that jumps, a turnbuckle that is already closed, rust around a shackle, or a wall plate that has shifted. Coolaroo links a rigid sail with little or no wrinkling to reduced movement, while Shade Sails Canada notes that fabric can stretch over time from sun, rain and temperature changes.
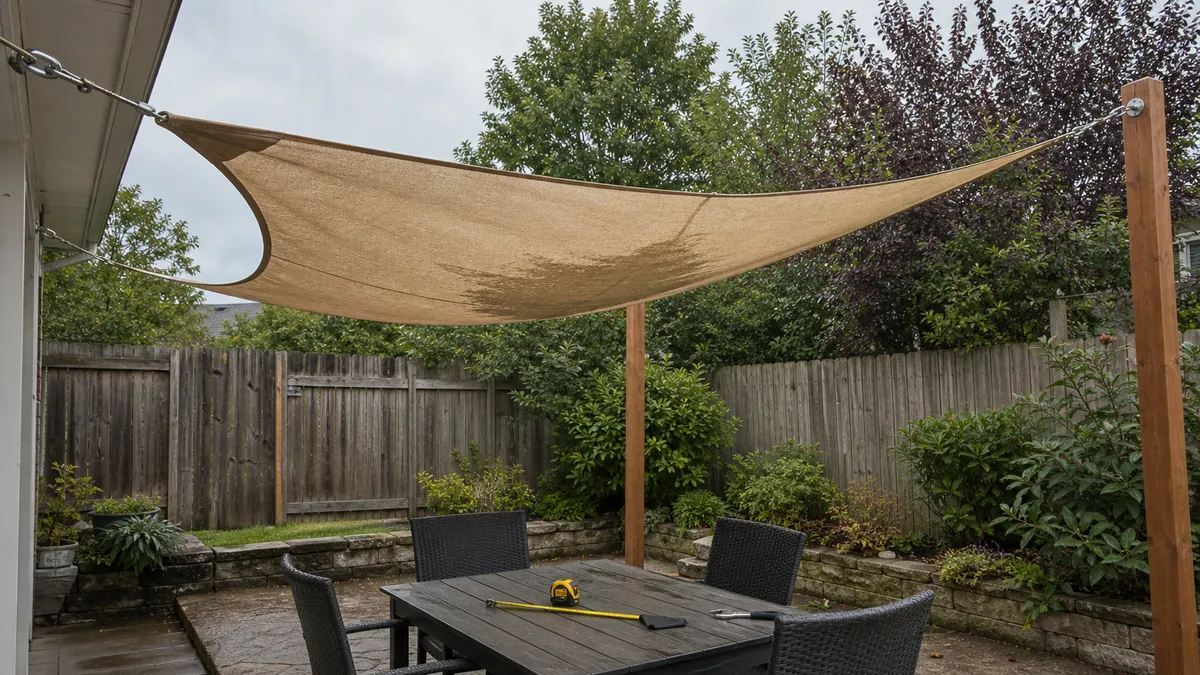
Do not mistake every curved edge for failure. Shade Sails LLC says ready-made sails often have curved edges with about 10 percent edge deflection. A smooth curve with no snapping is different from a loose belly that pumps upward in gusts.
- Edge flutter usually starts with slack, poor tensioning room or stretched fabric.
- Whole-sail pumping points to gust exposure, oversized fabric or weak tension.
- Corner slap often starts with a long rope or chain leader, poor alignment or missing tension hardware.
- Anchor movement is a stop sign; do not keep adding force.
Diagnosis
Symptoms, likely causes and stop signs
Match the movement you can see or hear before choosing a fix.
| What you see or hear | Likely cause | Check before fixing | Do not keep tightening if |
|---|---|---|---|
| Loose edge flutter with visible slack | Under-tension, stretched edge or no adjustment range | Check whether the turnbuckle still has travel and whether the corner ring lines up with the anchor. | The turnbuckle is already closed or the fabric edge has permanent stretch. |
| Whole sail pumps up and down | Gust funnel, oversized fabric, weak tension or flexible supports | Watch the posts and wall plates while the sail is unloaded and again in light wind. | A post flexes, masonry cracks, or the sail is too large for the anchor spacing. |
| One corner snaps or slaps | Missing tensioner, undersized fitting, long leader or poor corner alignment | Compare that corner with the quiet corners and measure the rope, chain or cable length. | The corner is extended with a long leader while other corners are also extended. |
| Post, wall plate, hook or eye moves | Anchor or load-path failure | Inspect the support, fasteners and surrounding surface before touching the tensioner. | Any support shifts, bends, pulls away, cracks or cannot be inspected safely. |
| Flapping started after months | Fabric stretch, loosened hardware, corrosion or anchor movement | Inspect seams, corner rings, shackles, turnbuckles and anchors for wear. | Rust, corrosion, torn stitching or frayed fabric appears at a loaded corner. |
| Curved edge but no snapping | Normal curved-edge cut may be visible | Check whether the edge is smooth and quiet or actively fluttering. | The curve has become a moving belly or the corners no longer hold shape. |
| Flapping only before storms or from one wind direction | Gust exposure, not just loose hardware | Look for open corners, roof gaps, side yards, pool edges or deck rails that funnel gusts. | A high wind watch, advisory, storm forecast or unsafe access makes adjustment risky. |
Check tension and hardware before replacing the sail
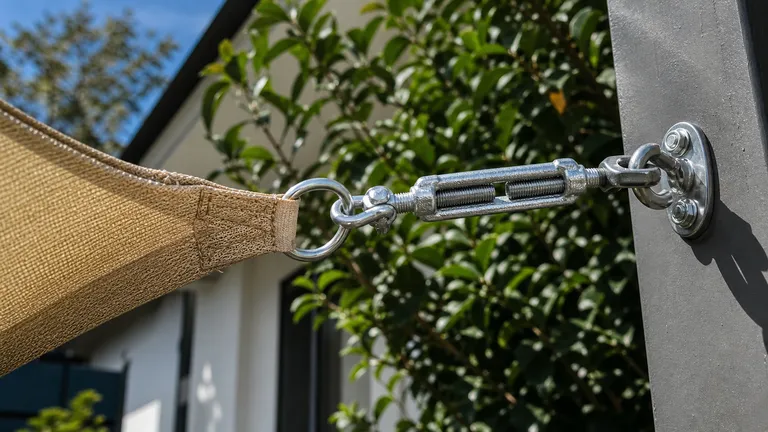
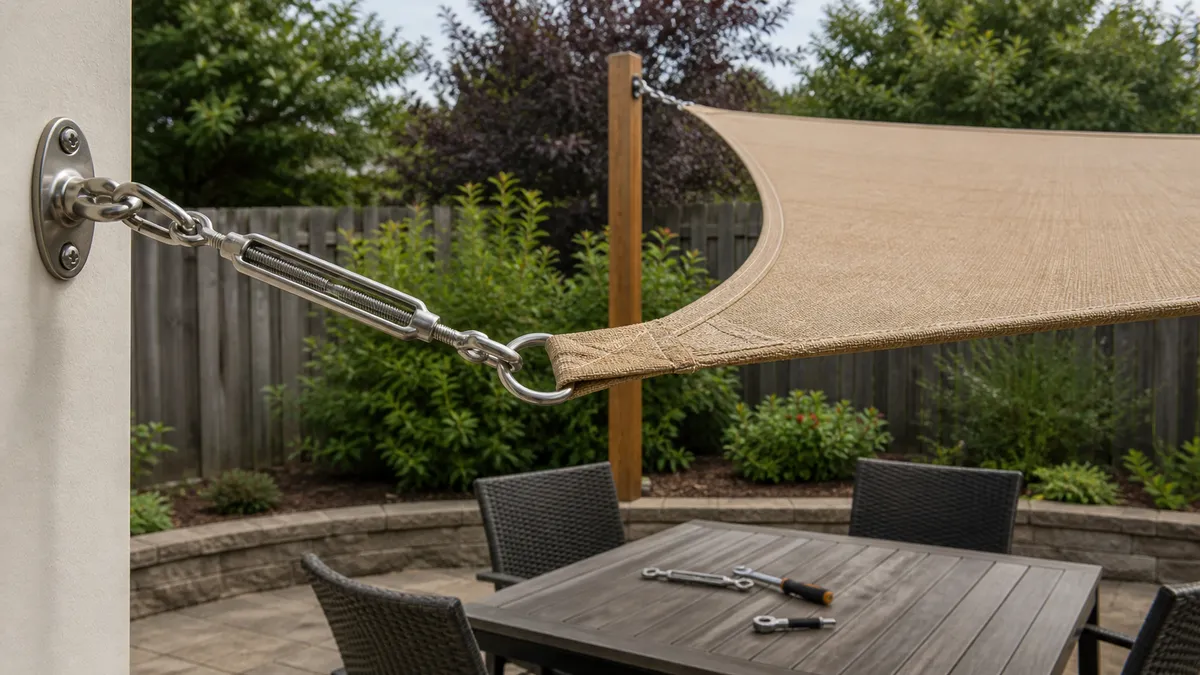
Turnbuckles can help when the anchors are solid and the hardware still has room to shorten. Mississippi State University Extension lists turnbuckles and chain as normal shade-sail hardware and says to tighten until no slack remains. The Home Depot-hosted care manual also lists pad eyes, eye bolts, snap hooks, carabiners and tensioning cords as common parts.
First check how much adjustment is left. Shade Sails LLC recommends a support footprint about 18 inches larger than the sail so fittings have space to work. If the turnbuckle is already closed, the fix may be shorter hardware, better corner alignment, or a correctly sized sail. More force on a closed fitting does not create adjustment room.
Tighten evenly and stop before the fabric or hardware is overstressed. Shade Sails Canada recommends small, equal increments and warns that over-tightening can stress hardware, fabric and anchor points. Use the shade sail tensioning guide for the detailed adjustment sequence rather than treating flapping as a reason to crank one corner hard.
- Reasonable hardware fixes include turnbuckles, D-shackles, pad eyes, eye bolts and snap hooks sized for the installation.
- A missing or undersized tensioner can leave one corner noisy even when the other corners look tight.
- A closed turnbuckle means the setup is out of adjustment range; it does not by itself prove the supports are weak.
When anchors, posts or walls are the real problem
Flapping can show a load problem. Shade Sails LLC gives about 100 lb of pretension per sail point before wind is added, and also gives wind-load context of roughly 5.5 to 15 lb per square foot of sail divided between corners. Those numbers are not universal limits, but they explain why every corner matters.
Do not pull harder on a moving support. Mississippi State University Extension advises securing posts in concrete and choosing posts sturdy enough for wind. Coolaroo says fixing points must be structurally sound and regularly inspected. A wobbly fence post, loose masonry joint, fascia board, cracked wall, bent eye bolt or rusty fitting needs repair or replacement before tension is added.
Unknown wall construction is another stop point. A wall plate may look solid while fasteners are only biting trim, veneer or weak mortar. If the anchor cannot be inspected from both the fitting and the support side, keep the sail down until the load path is confirmed.
- Post movement means stop adjusting and unload the sail.
- Bent hardware means replace the part and check why it bent.
- Rust or corrosion near a loaded corner changes the job from retensioning to repair.
Fabric, size and wind exposure causes
A sail can start quiet and become noisy months later. Shade Sails Canada says fabric can stretch from sun, rain and temperature changes, which reduces tension. If the fabric now reaches the anchors with no take-up left, the cause may be stretched cloth, wrong sizing, or anchor spacing that never left enough room for fittings.
Bigger fabric is not a flapping cure. Shade Sails LLC's wind-load context shows why area matters: more square footage can add more load at the same corners. A larger or heavier sail on weak anchors can pump harder, pull fittings farther and make the next gust louder.
Wind direction matters too. Open deck corners, pool edges, side yards and roof gaps can create gusts that lift one part of the sail. If flapping appears only in one wind direction or before weather fronts, check exposed-site suitability before buying new hardware. For rain-adjacent movement, the Home Depot-hosted manual gives a 20 to 30 degree runoff angle; a flat waterproof sail can sag, pump and hold water.
- Stretched fabric often shows as wrinkles, sag or renewed flapping after a season.
- Poor sizing often shows as no turnbuckle travel at installation or after the first retension.
- Turbulent exposure often shows as movement from one direction while calmer wind leaves the sail quiet.
Fixes ranked by effort and cost
Use the cheapest fix only when it matches the symptom. Retensioning helps a slack sail with solid anchors. It does not fix post movement, rust, a torn corner, an oversized panel or a gust corridor.
Only shop for hardware after diagnosis: turnbuckles, shackles, pad eyes, eye bolts, snap hooks, carabiners, low-stretch rope and replacement fabric. Match each part to the anchor and sail instead of treating it as a universal fix.
Fixes
Ranked fixes after the diagnosis
Move down the list only when the lower-effort fix does not match the cause.
| Fix | Effort/cost | Use when | Watch out |
|---|---|---|---|
| Inspect corners, seams, fittings and supports in calm weather | Low | The symptom is new, intermittent or tied to one corner. | Do not adjust a sail while it is loaded by gusts. |
| Retension existing turnbuckles evenly | Low | Supports are solid and each turnbuckle still has travel. | Stop if a support moves or the fabric starts to distort. |
| Add or replace proper turnbuckles, shackles, pad eyes, eye bolts or snap hooks | Medium | A corner lacks real adjustment hardware or a fitting is undersized. | Match the part to the anchor and sail load; do not buy by shape alone. |
| Shorten excessive rope, chain or cable leaders and correct corner alignment | Medium | One corner slaps because the connection is long or pulls from a poor angle. | Shade Sails LLC warns against long extensions at multiple corners. |
| Replace corroded, bent or damaged hardware | Medium-high | Rust, corrosion, bending or worn pins appear near a loaded corner. | Find the cause of the damage before installing the same weak part again. |
| Replace stretched or wrongly sized fabric | High | The sail has no adjustment range left or the cloth keeps a loose belly. | A larger sail can add load and leave even less tensioning room. |
| Move anchors, rebuild posts or use a removable setup for exposed wind | High | The site funnels gusts or the supports are in the wrong places. | Permanent exposure needs a design that can be inspected, unloaded or removed before bad weather. |
Fixes that will not solve shade sail flapping
Do not add bungee cords to quiet a snapping sail. Elastic movement can hide the symptom while allowing more travel at the corner. Rope, chain or cable leaders also need care. Shade Sails LLC warns that extending two or more corners with long leaders can make the sail move excessively in wind and create shock loads.
Do not buy a heavier or bigger sail for weak supports. Extra fabric can increase corner load, and waterproof fabric without slope can add water weight. If the same posts, wall plates or eye bolts are already moving, new cloth only gives the wind more material to pull.
Do not release a loaded corner casually. Shade Sails Canada's take-down guidance says to loosen turnbuckles before unclipping corners and notes that final corners can become heavy. If the sail is snapping or pulling hard, wait for calm weather or get help rather than fighting a loaded fitting.
- More tension on a moving anchor is not a repair.
- Multiple long rope or chain extensions make movement worse.
- Waterproof fabric without slope can turn a wind problem into a water-load problem.
- Mid-storm adjustment is not a safe troubleshooting step.
When to take the shade sail down
Some flapping problems need removal, not repair. Shade Sails LLC says sails not engineered for permanent use should be taken down in windy conditions. The Home Depot-hosted manual and Coolaroo both tell installers to remove sails during severe weather, storms or strong winds.
Use forecasts as early triggers. The National Weather Service tells people to secure or put away loose outdoor items before high wind or severe thunderstorm watches, and its severe thunderstorm watch guidance includes possible winds of 58 mph or higher. That is not a shade-sail safe-speed promise; it is a reason not to wait until the fabric is already loaded.
Take the sail down if a corner cannot be inspected safely, if a turnbuckle has no travel left, if seams are torn, if fabric corners are frayed, or if hardware is bent or corroded. Plan removal in calm weather, and use a removable setup if the site often reaches those triggers.
- Remove before a high wind watch or advisory when the sail is not designed for permanent exposure.
- Remove before storms or snow, following the product manual.
- Stop adjustment when posts, anchors, fittings, seams or fabric corners move or show damage.
- Loosen tension before unclipping corners; do not start with a loaded snap hook or carabiner.
This won't fix it
Do not skip these checks
- Do not keep tightening if a post, wall plate, hook or eye moves.
- Do not use bungee cords or several long rope and chain leaders to quiet corner slap.
- Do not buy a larger sail to fix weak anchors or missing turnbuckle travel.
- Do not adjust or unclip a sail while gusts are loading the fabric.
Read Next
Related fixes
Shade Sail Guide
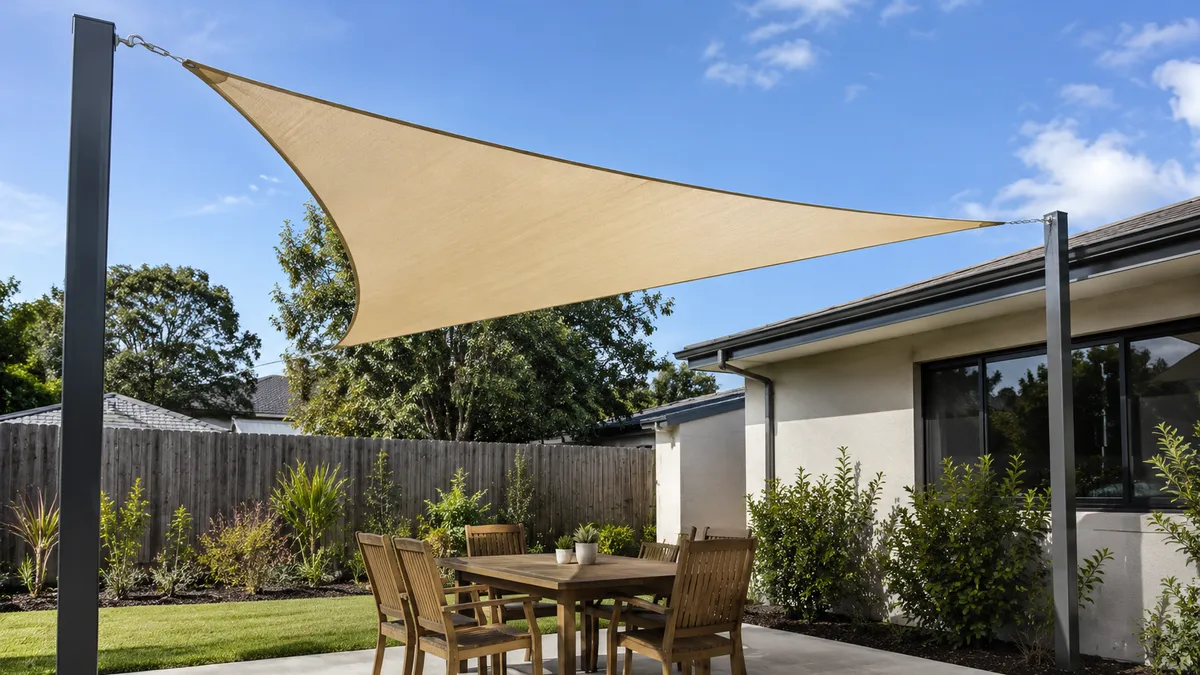
Use this when shade sail is closer to the real constraint than the current page.
Shade Sail for Windy Areas
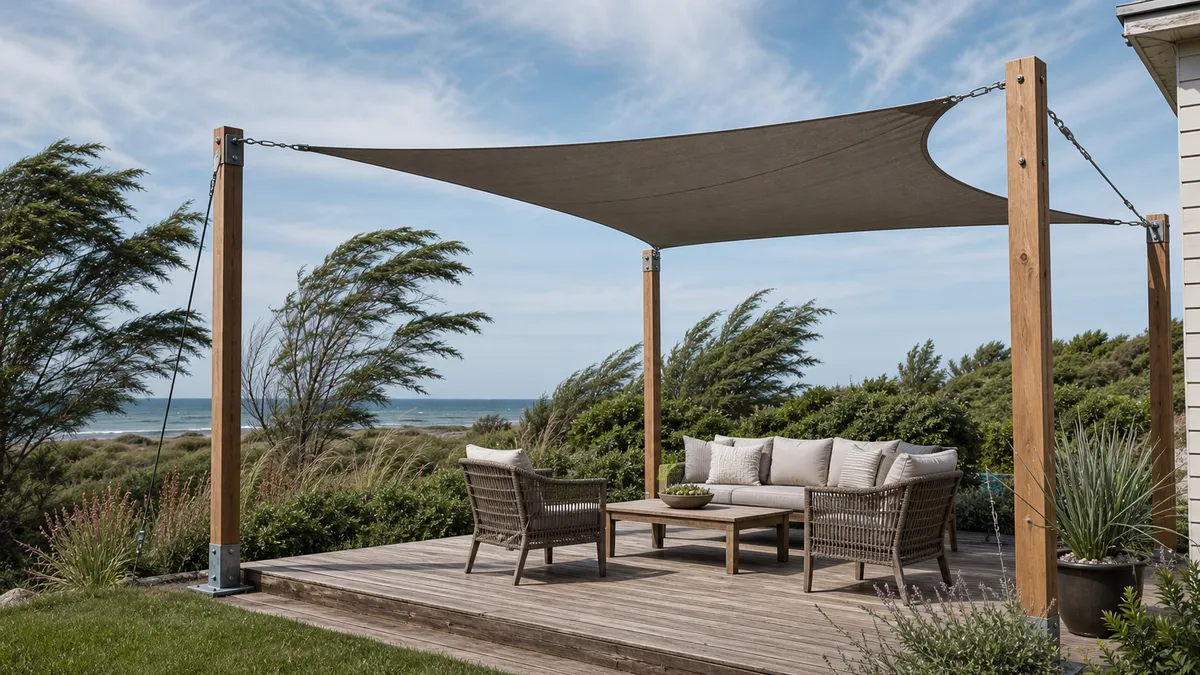
Use this when shade sail for windy areas is closer to the real constraint than the current page.
Shade Sail Tensioning Guide
Use this when shade sail tensioning guide is closer to the real constraint than the current page.
Shade Sail Installation Mistakes That Cause Sagging, Flapping and Water Pooling
Use this when shade sail installation mistakes is closer to the real constraint than the current page.
Questions
FAQ
Why does my shade sail flap even after I tightened it?
Tightening helps only when the anchors are solid, the turnbuckles still have travel and the sail is correctly sized. Flapping can continue when fabric has stretched, corner alignment is wrong, a leader is too long, a support moves, or wind funnels through one side of the patio.
Can turnbuckles stop a shade sail from flapping?
Turnbuckles can stop slack-related edge flutter when the posts, wall plates and fittings are sound. They cannot fix moving anchors, cracked masonry, stretched fabric with no take-up room, or a site that should have the sail removed before windy weather.
Is it safe to leave a shade sail up in high wind?
Do not rely on one universal wind-speed number. Follow the sail manual and take removal guidance seriously. If a high wind watch, advisory, storm forecast, snow forecast, anchor movement, torn seam or bent fitting appears, take the sail down before the wind loads it.
Will a heavier or bigger shade sail flap less?
Not if the supports are weak or the sail is already out of adjustment range. More fabric can add load at the corners and make pumping worse. Fix anchor spacing, tensioning room, fabric condition and wind exposure before choosing more sail size or weight.
How do I tell normal curved edges from actual flapping?
A smooth curved edge can be normal on a ready-made shade sail. Actual flapping has movement: snapping, corner slap, wrinkles that come and go, a loose belly, whole-sail pumping, or fittings that move. The sound and movement matter more than the curve alone.