
Quick Answer
Shade sail tensioning: the short version
There is no single safe tension number for every shade sail. Tight enough means firm, smooth fabric, the normal curved edge still visible, turnbuckles with travel left, and no moving support, puckered seam or distorted corner. Diagnose sagging, flapping and water pooling first. If hardware binds, masonry cracks or support moves, unload the sail.
Retension only after the fabric, turnbuckles and anchors pass inspection; unload the sail when movement, cracking, binding or fabric distortion appears.
Diagnosis
Diagnose the symptom before you tighten
Use the visible symptom to separate a simple retensioning job from a sizing, slope, hardware or structural problem.
| What you see | Likely cause | Safe first check | Likely fix / stop sign |
|---|---|---|---|
| Loose edge or surface wrinkles | Under-tension or uneven tightening sequence | Confirm every corner is connected and each turnbuckle still has travel | Retension evenly only if seams stay flat and anchors stay still |
| Center sag | Loose tension, stretched fabric or a sail cut too large | Check turnbuckle travel, eye-to-eye span and the real hardware gap | Do not force closed turnbuckles; use the sagging or size guide |
| One corner hangs low | Uneven hardware, wrong anchor height or local support movement | Compare the corner-to-anchor gap and watch the post or wall plate under light load | Unload if the post, footing, wall plate or masonry anchor shifts |
| Turnbuckles are fully closed but the sail is still loose | Bad hardware gap, wrong sail size, stretch or moving anchors | Remeasure from fixing eye to fixing eye and include the D shackle, pad eye or eye plate, and turnbuckle length | More force is the wrong fix when no adjustment travel remains |
| Final corner will not reach | Sail may be too small, anchors too far apart or turnbuckles not open | Reset with turnbuckles open enough, attach corners loosely, then tension in rounds | Stop before levering a corner into place |
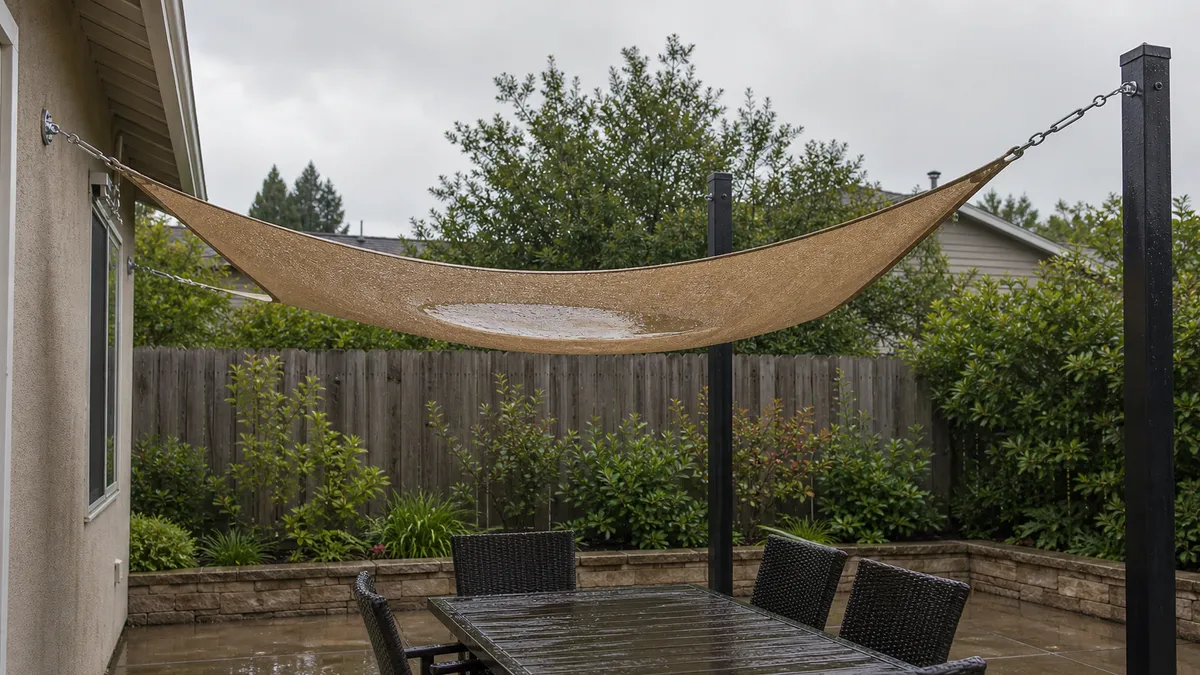
| Water pocket after rain | Poor slope, waterproof fabric behavior, fabric stretch or sag | Check high and low corners before assuming shade sail tensioning is the answer | Route persistent pooling to the water-pooling guide |
| Flutter or noise in wind | Loose fabric, exposed site, wrong size or storm condition | Inspect on a calm day and remove the sail for severe weather | Use the wind-flapping guide when movement returns after correct tension |
| Seam puckering or distorted corner webbing | Over-tension | Back off and inspect the fabric corner, stitching and hardware alignment | Do not keep tightening a corner that is changing shape |
| Wall plate, post, footing or masonry moves | Support failure risk | Unload or remove the sail before adding more pull | Get qualified help for moving supports, cracked masonry or unknown house attachment |
| Hardware binds or needs a long lever | Over-tension, seized thread or misaligned pull direction | Back off, clean or replace hardware only after the load is off | Long handles can overload fabric, fixings and anchors |
Before you turn the turnbuckle
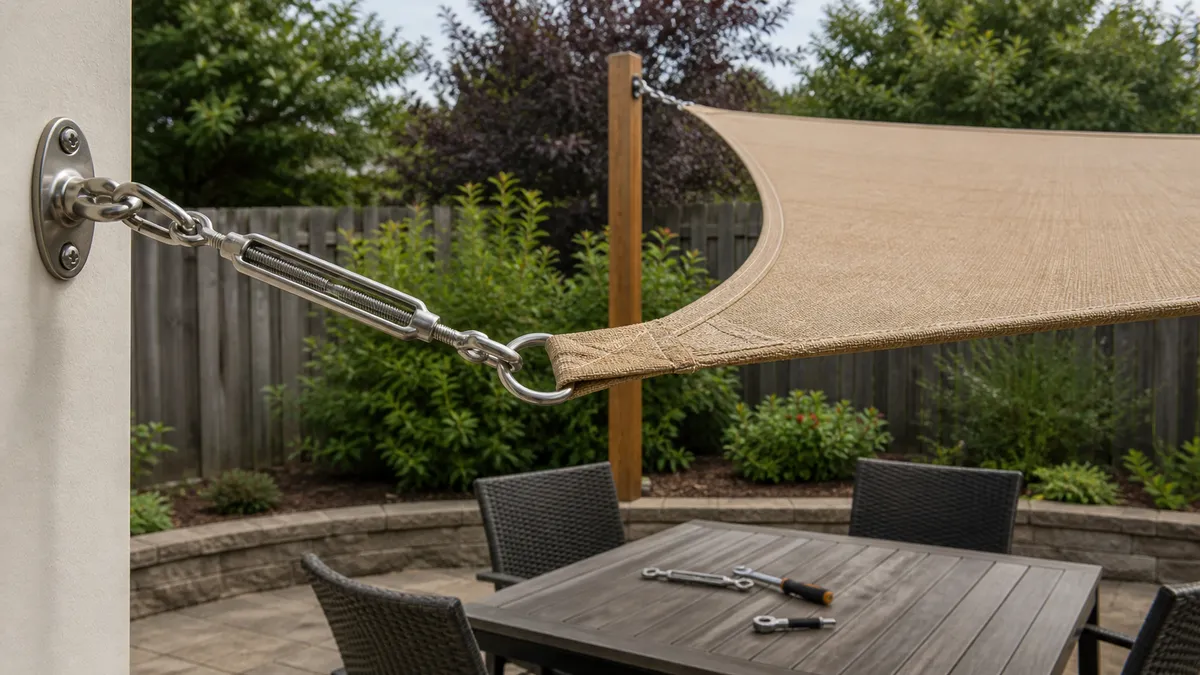
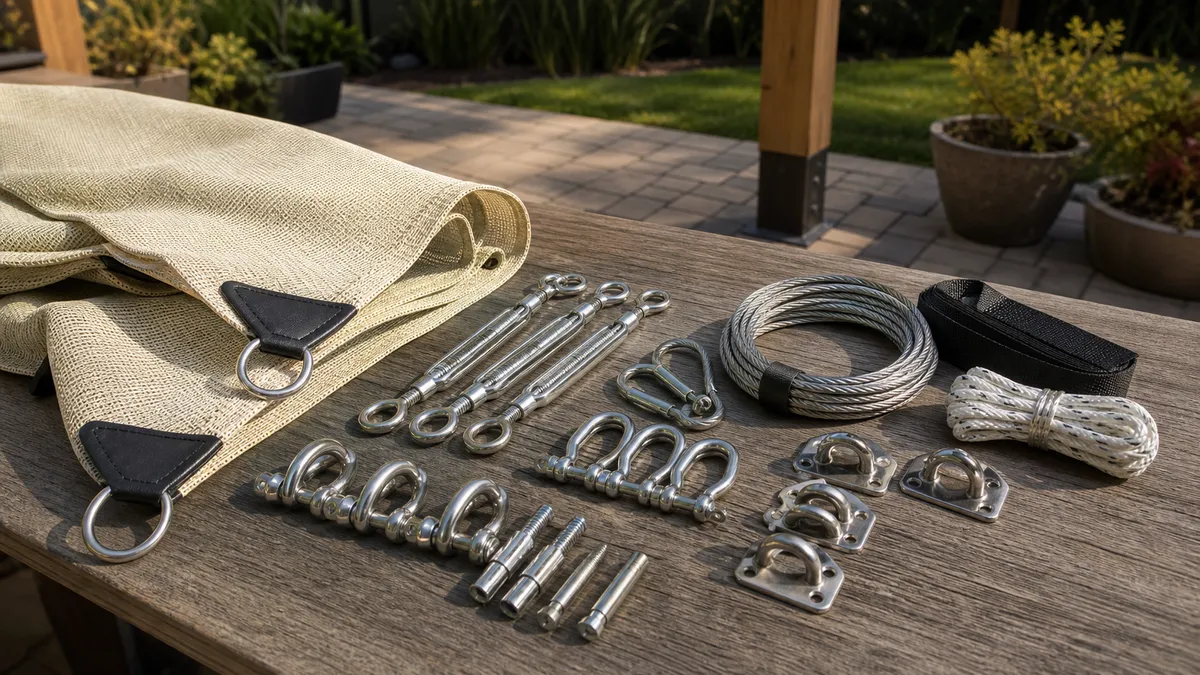
Inspect before you add pull. Lay eyes on the corner webbing, stitching, fabric edge, D shackle, pad eye or eye plate, carabiner if one is used, turnbuckle threads, wall plate, post top and masonry anchor. Shade Sails Canada recommends checking fabric and hardware before installation or takedown, and Home Depot's care manual also points readers to seams, corners and hardware inspection. Frayed webbing, torn fabric, seized threads or bent hardware are not tension problems.
Watch the support while the sail is lightly loaded. A post that leans, a wall plate that opens a gap, cracked masonry or footing movement means the load is moving into the wrong place. Shade Solutions says even small footing movement compromises tensioning. Victoria's Department of Education lists inadequate tension, tears, fraying, corrosion and post or footing movement as inspection concerns for shade sails.
Look at the weather before the wrench. Severe weather, storms, snow or winter storage are removal moments in product guidance from Home Depot and Shade Sails Canada, not times to make the sail tighter. If a water pocket is sitting in the fabric, unload the water first. If wind is shaking the sail, inspect later on a calm day.
- Confirm the turnbuckle is not already bottomed out.
- Measure the corner-to-anchor gap before blaming the fabric.
- Stop if a support, seam, corner or threaded fitting moves or deforms.
How tight should a shade sail be?
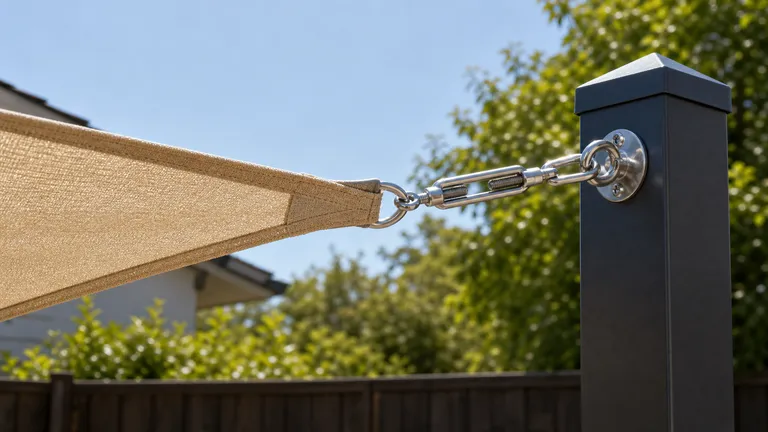
A good sail looks firm and smooth, not drum-tight. Shade Solutions describes the end point as a rigid sail with little or no creasing. Shade Sails Canada gives the same practical direction in different words: firm and wrinkle-free without overstressing the sail. That does not translate into one force number for every patio, sail size, fabric, corner ring, post or wall.
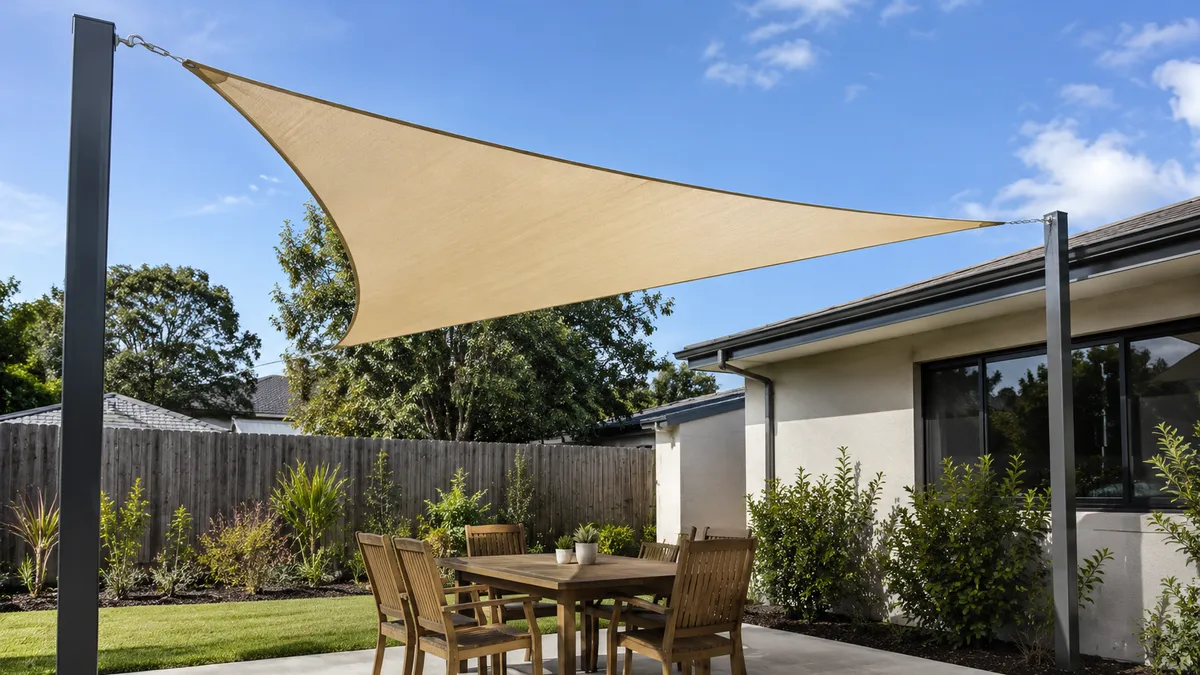
Do not chase a perfectly straight edge. ShadeSails.com notes that shade sails have curved, catenary edges. That curve is part of the shape and helps the fabric tension properly. If you keep tightening because the edge is not ruler-straight, you can distort the corners, pucker the seams or pull harder on the anchors than the installation can handle.
Correct tension still leaves control in the hardware. Turnbuckles should not finish fully closed. Shade Solutions and Mighty Covers both warn that future adjustment is needed; once the body is closed, the fitting has no room left for fabric settling or seasonal retensioning. If the sail is still loose at that point, the problem is usually measurement, hardware gap, stretch or support movement.
- Firm fabric with reduced wrinkles is good.
- A visible curved edge is normal.
- Seam puckering, distorted corners and binding hardware mean back off.
Safe retensioning sequence
Choose a calm, dry day. Remove leaves and debris, drain or lift out any water pocket, and start with the fabric unloaded. Open the turnbuckles enough to leave adjustment travel before you reconnect the corners. Shade Solutions tells installers to wind turnbuckles open before fitting, and Mighty Covers uses wide-open turnbuckles during corner attachment.
Connect the corners loosely before final tension. Shade Sails Online warns against fully tightening each corner before all fixing points are attached. Shade Solutions gives the same working rhythm: tighten each turnbuckle in turn, little by little. This keeps one corner from carrying the whole correction while the other corners are still slack.
Watch the whole installation after each round. Look at the seam line, corner webbing, shackle pin, pad eye, wall plate, masonry anchor, post top and footing area. Stop with adjustment travel left. If the fitting starts to bind, a corner changes shape or a support moves, back off and inspect. Tenshon notes that some larger or cable-edge sails may use opposite-corner work, so follow the sail and hardware manual when it gives a specific sequence.
- Open or reset turnbuckles before trying to gain tension.
- Attach all corners before final tightening.
- Use small turns around the sail instead of forcing one corner.
When tightening will not fix the sail
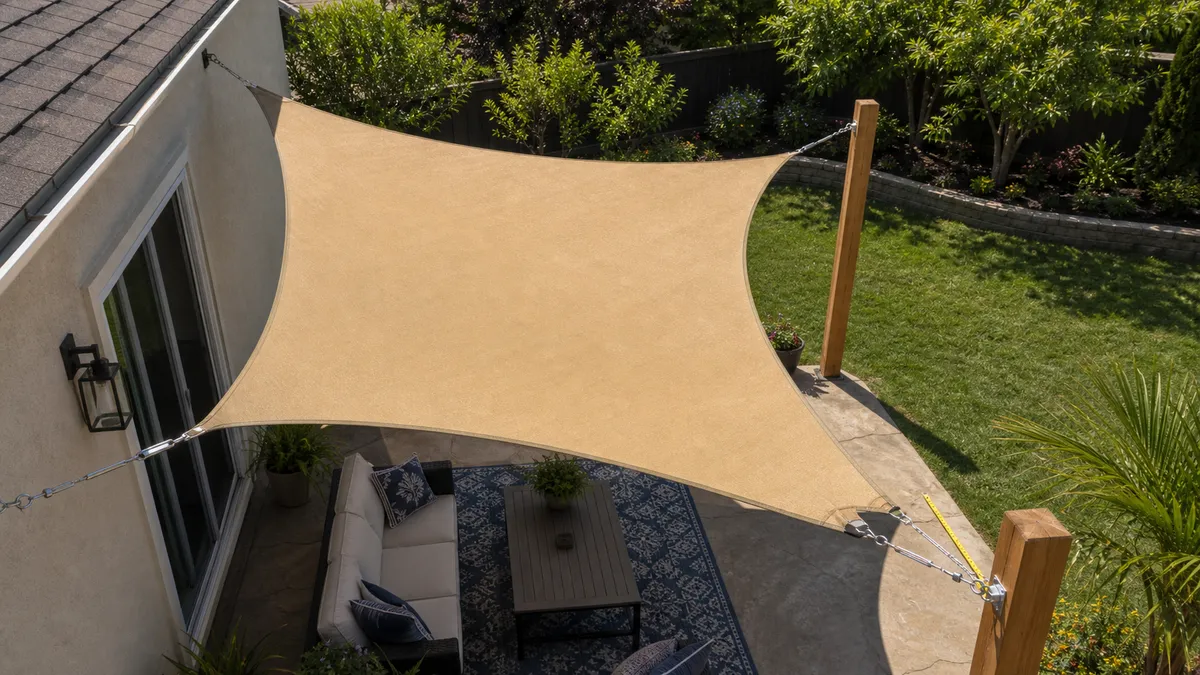
A too-large sail will stay loose even when the hardware is closed. ShadeSails.com says fixing points should be installed first and measurements should be taken eye-to-eye, not from the ground or from surface to surface. If the sail was ordered before the pad eyes, eye plates, shackles and turnbuckles were accounted for, the fabric can fill the entire span before it ever gets tight.
Tension also will not solve bad runoff. Home Depot gives one product-manual example of a 20 to 30 degree runoff angle and warns not to overstretch the fabric. Treat that as manual-specific guidance, not a universal slope rule. The larger point is simple: water pooling usually means slope, anchor height, waterproof fabric behavior or stretched fabric needs attention. Tightening may remove wrinkles, but it will not make a flat waterproof sail drain well.
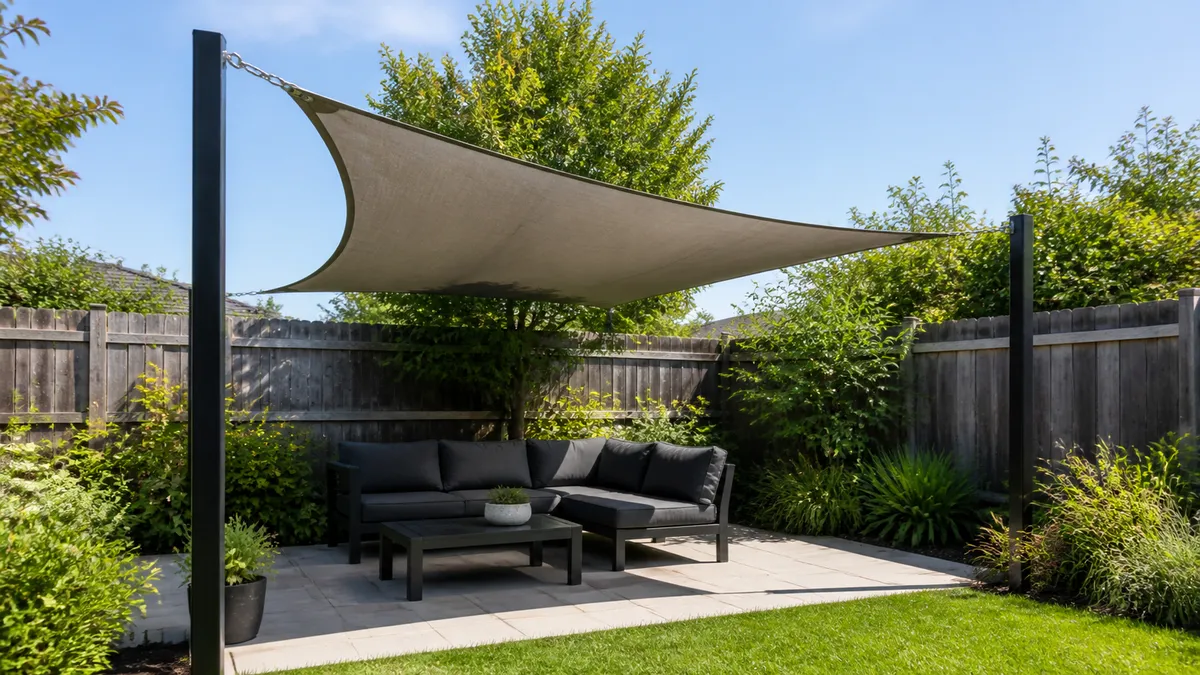
More pull will not repair a moving support. A wall plate pulling away, a masonry anchor loosening, a post leaning, or footing movement under load is a stop sign. Redland City Council's shade-sail guidance treats tie-downs, attachments, footings, wind loading and material stability as engineering-certification concerns for some waterproof shade sails. Sunshine Coast specifications make the same principle visible in public work: adjustment and failsafe hardware matter because tension hardware cannot be the unknown weak link.
- Wrong size or no hardware gap needs remeasurement, not more force.
- Poor slope or water pooling needs runoff correction.
- Moving posts, wall plates and masonry anchors need unloading and qualified inspection.
Ranked fixes
Fixes ranked by effort and risk
Use the lowest-risk fix that matches the diagnosis. Do not use hardware or fabric changes to hide a moving support.
| Fix level | Use it when | Action | What it will not solve |
|---|---|---|---|
| Low effort | Fabric is slightly loose and all supports stay still | Retension evenly with existing turnbuckles in small rounds | Wrong size, poor slope, closed turnbuckles or any moving anchor |
| Low to medium effort | The sail was tightened unevenly or turnbuckles started too closed | Open the turnbuckles, reconnect corners loosely, then retension around the sail | A final corner that needs levering or a corner that distorts |
| Medium effort | A D shackle, turnbuckle, carabiner or pad eye is mismatched, seized or too short | Replace the wrong connection hardware after the anchors and sail size pass diagnosis | Weak posts, cracked masonry, bad eye-to-eye measurement or water pooling |
| Medium to high effort | Turnbuckles are closed and measurements show the fabric is too large or stretched | Remeasure and replace the sail rather than forcing the old one tighter | Copying the old fabric size without remeasuring the real hardware gap |
| High risk / qualified help | Slope, anchor height, post position or wall attachment is wrong | Move or rebuild only after the load path and runoff direction are reviewed | Fascia, decorative trim, fence posts, weak masonry or unknown house framing |
When to remove the sail or get help
Remove or unload the sail for severe weather, storms, snow and seasonal storage when the product guidance calls for it. Tightening a sail before a storm can increase the load on the same posts, wall plates and fabric corners that are about to see wind. If the sail is already flapping in wind, use the flapping guide after a calm-day inspection instead of making adjustments while it is loaded.
Get help when the structure is uncertain. That includes cracked masonry, a loose wall plate, visible corrosion, bent shackles, distorted corner webbing, unknown house attachment, fascia attachment, a large permanent sail, a shared or public installation, or a waterproof sail with recurring ponding. Victoria's education policy points to shade-sail specialists or registered structural engineers when footings or supports show distress, wear or damage.
By the end, the decision should be clear. Retension when the fabric is sound, the hardware has travel, the slope is correct and the anchors stay still. Do not tighten when the support moves, the turnbuckles are closed, the fabric puckers, the hardware binds or water and wind are the real problem.
- Remove for severe weather, storms, snow or seasonal storage when the manual says so.
- Stop for cracked masonry, footing movement, loose wall plates or leaning posts.
- Use qualified help for unknown house attachments, large permanent sails and certification questions.
Next steps
Use the right follow-up guide
After inspecting the tension, move to the guide that matches the symptom instead of buying random hardware.
Sail still droops after adjustment
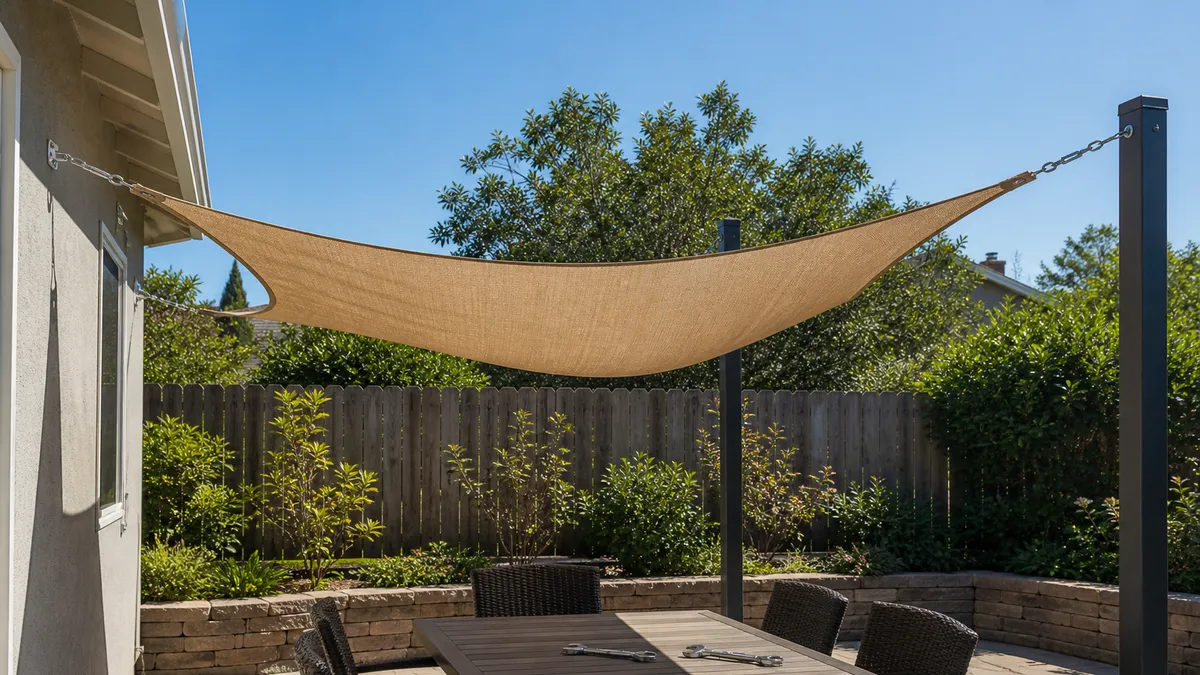
Use the sagging guide when the low point remains after balanced retensioning, the fabric looks stretched or the turnbuckles are closed.
Sail moves or snaps in gusts
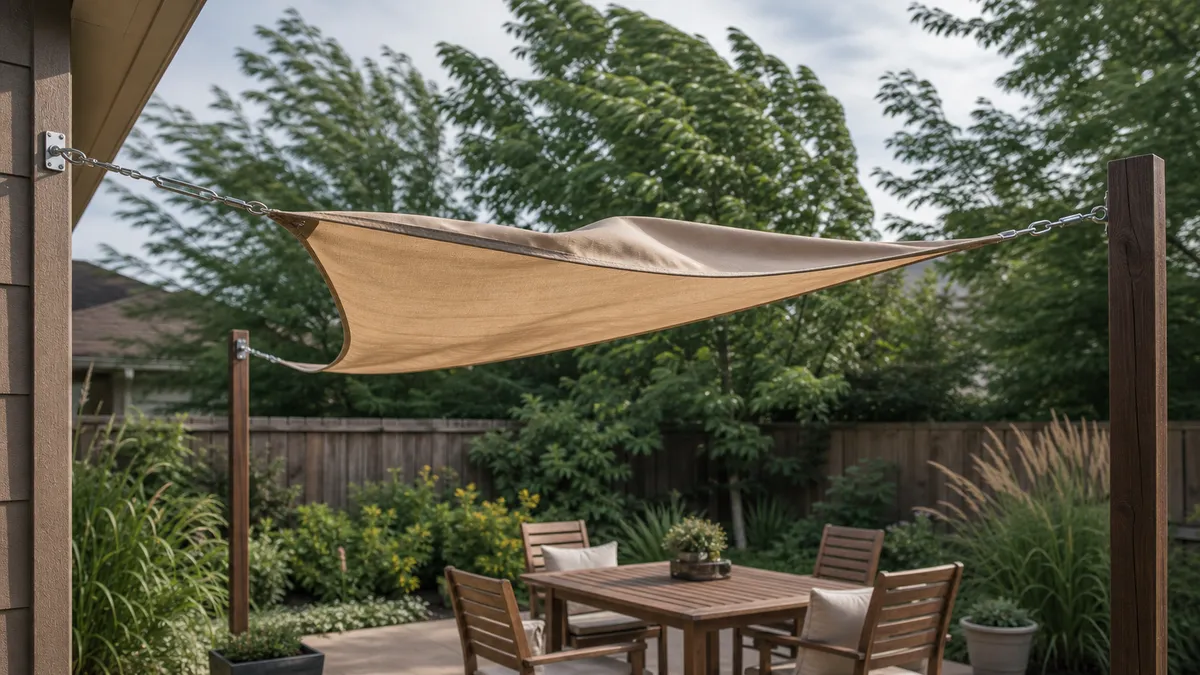
Use the flapping guide when the fabric makes noise, moves again after correct tension or needs a storm removal routine.
Turnbuckles or connectors are wrong
Use the fixing-kit guide before replacing a turnbuckle, D shackle, pad eye, eye plate or carabiner.
Water pockets keep forming
Use the water-pooling guide when slope, high-low corners, waterproof fabric or runoff direction is the likely cause.
The fabric may be the wrong size
Use the size guide before replacing a sail that was measured without the real corner-to-anchor gap and hardware length.
A post or wall attachment moves
Use the post guide only after unloading the sail; moving supports need structural review before more tension.
This won't fix it
Do not skip these checks
- Do not invent a universal tension force, torque value or load number for a shade sail.
- Do not tighten against fascia, decorative trim, fence posts, weak masonry or unknown house framing.
- Do not force a turnbuckle closed when the sail is still loose.
- Do not treat water pooling or storm flapping as a simple tension problem.
- Unload the sail before inspecting moving supports, cracked masonry or damaged fabric.
Read Next
Related fixes
Shade Sail Guide
Use this when shade sail is closer to the real constraint than the current page.
Shade Sail Sagging
Use this when shade sail sagging is closer to the real constraint than the current page.
Shade Sail Flapping in Wind
Use this when shade sail flapping in wind is closer to the real constraint than the current page.
Shade Sail Fixing Kit
Use this when shade sail fixing kit is closer to the real constraint than the current page.
Questions
FAQ
How do I know if my shade sail is tight enough?
Look for firm fabric with reduced wrinkles, a normal curved edge, turnbuckles that still have travel left, and no movement at posts or wall plates. Do not use a force number from another sail. Stop if seams pucker, corners distort or hardware starts to bind.
Why is my shade sail still sagging when the turnbuckles are fully tightened?
Closed turnbuckles with a loose sail usually point to the wrong corner-to-anchor gap, a too-large sail, stretched fabric or moving anchors. Do not add leverage. Remeasure eye-to-eye with the hardware included, then inspect posts, wall plates and masonry before choosing the next fix.
Can I stop shade sail flapping by tightening it more?
Sometimes, if the sail is simply loose and the anchors are solid. If flapping returns after correct tension, the problem may be wind exposure, wrong size, poor anchor placement or a storm condition. Inspect on a calm day and remove the sail during severe weather.
Will tightening a shade sail stop water pooling?
Only if loose wrinkles are holding a small pocket. Most water pooling comes from poor slope, wrong anchor height, waterproof fabric behavior or stretched fabric. Compare the high and low corners and use the water-pooling guide before trying to pull a flat sail tighter.
When should I stop tightening and take the sail down?
Stop when a post, footing, wall plate or masonry anchor moves, hardware binds, seams pucker, corners distort, fabric tears, or turnbuckles are already closed. Also remove the sail for severe weather, storms, snow or seasonal storage when the product guidance calls for removal.