
Quick Answer
Quick mounted-shade route
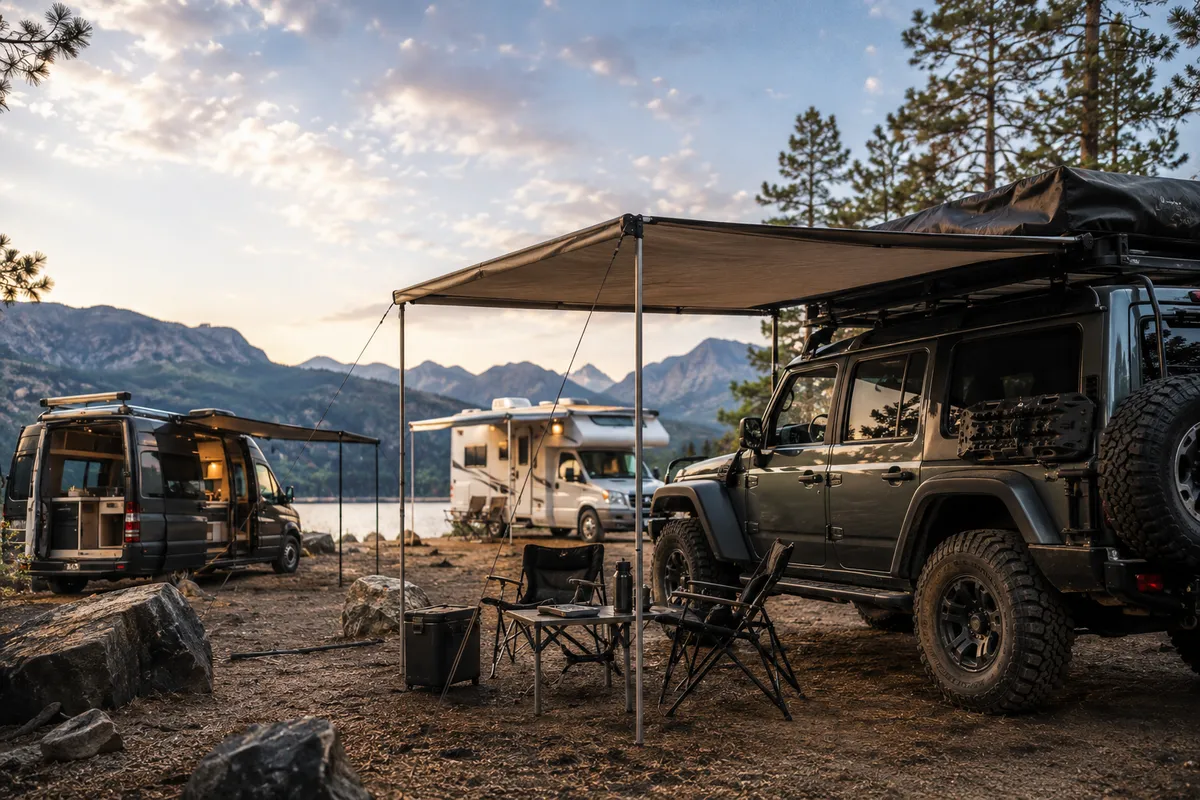
Choose mounted shade by mount and travel load before fabric size. Treat the packed case as exterior road cargo, then check the vehicle roof limit, rack or platform limit, bracket limit, remaining roof-cargo margin, door and hatch clearance, installed height and pack-down routine. Use a fixed awning only when those checks work together.
Choose a fixed awning when the rated rack, brackets, case position and pack-down routine are proven; choose a tarp, driveaway shelter, freestanding canopy or RV service path when load, clearance, wind routine or detached camp shade is unresolved.
Choose First
Choose your vehicle awning path
Start with the vehicle and camp routine, then move to rack load, brackets and fabric. A campervan, 4x4, roof-rack car, pickup and RV do not ask the same awning question.
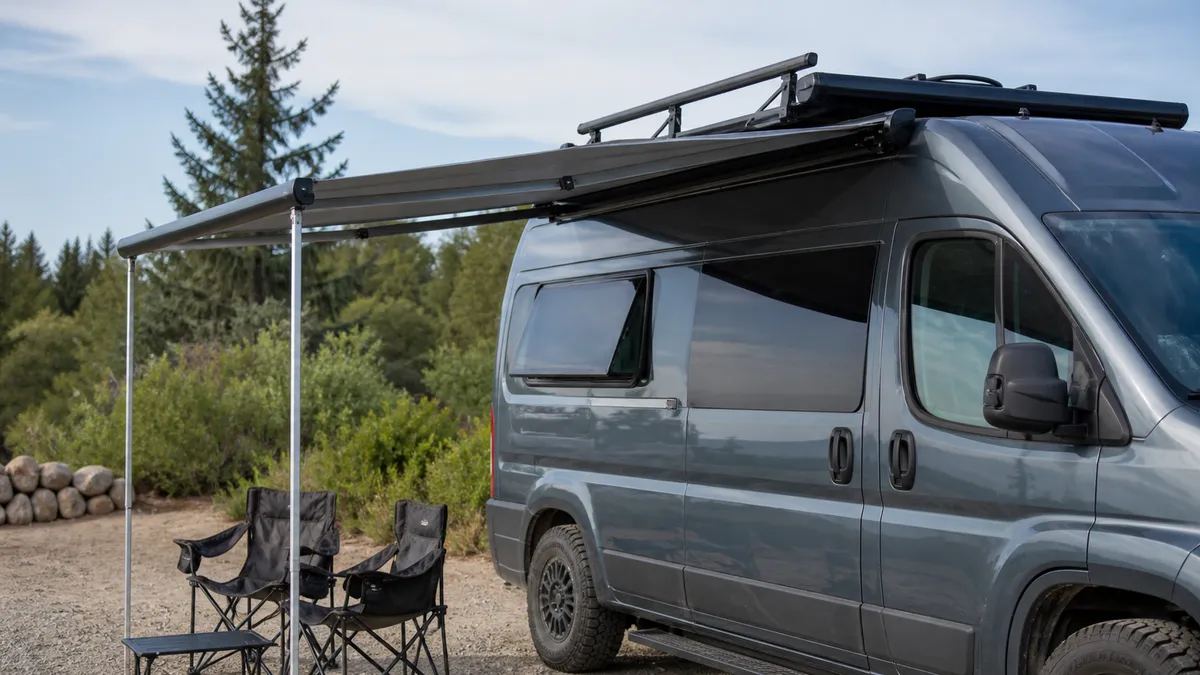
Campervan awnings
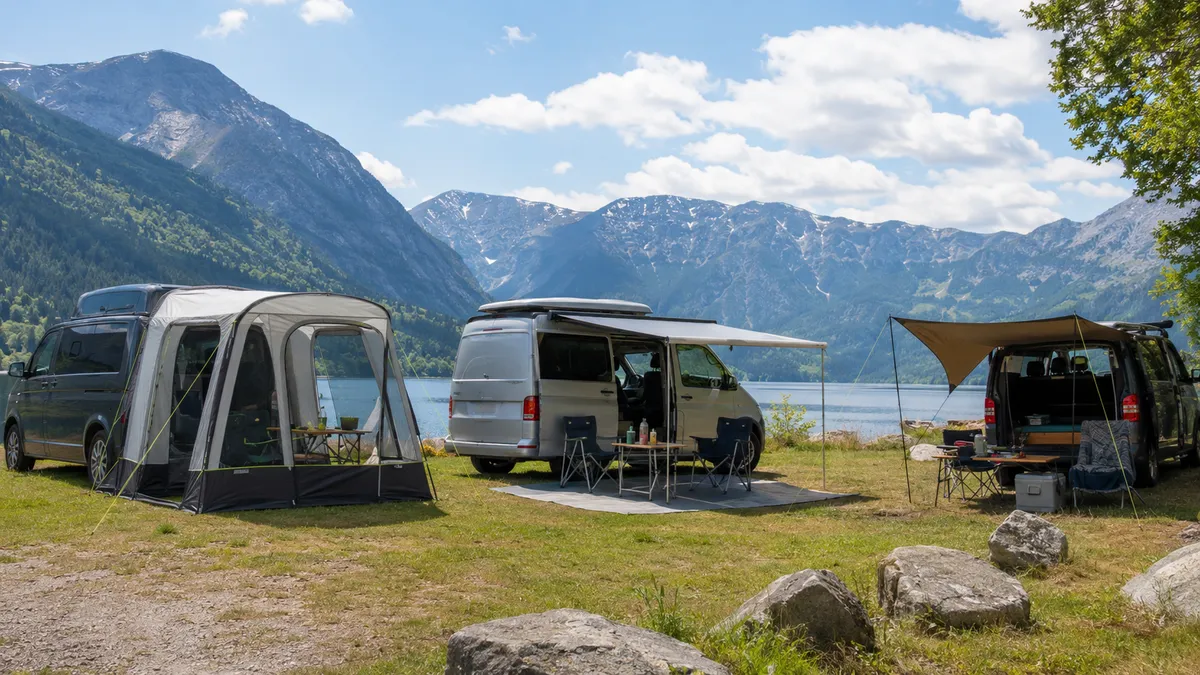
Use this route when shade beside the sliding door, side kitchen, chairs or van camp routine drives the purchase.
Keep this as a van-specific decision after the roof rail, rack, case height and leave-camp routine are clear.
Best when:The van usually parks with people working, cooking or sitting along one side.
Check first:Sliding-door sweep, roof rail or rack rating, packed height, side offset and whether the van leaves camp.
Watch out:A fixed case leaves with the van, so a driveaway shelter or tarp may serve longer campsite stays better.
Read the campervan guide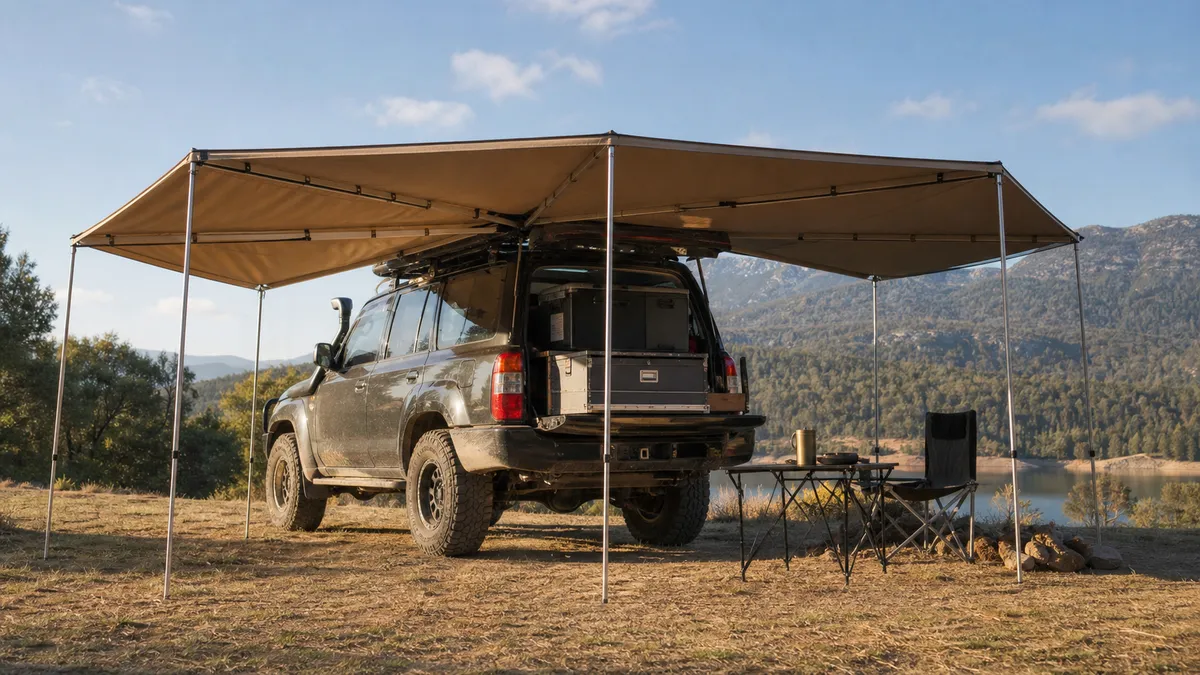
270-degree awnings
Use this route when side and rear shade matter together: tailgate cooking, rear drawers, recovery gear or a side work zone.
Keep the choice at route level here; the deeper buying checks belong in the dedicated 270-degree guide.
Best when:The rear hatch or tailgate is part of camp on most trips, not only an occasional stop.
Check first:Awning weight, hinge load, bracket kit, tailgate clearance, left/right orientation and road-height limit.
Watch out:A wraparound awning can add packed bulk and bracket demand that a straight pull-out awning avoids.
Read the 270-degree guide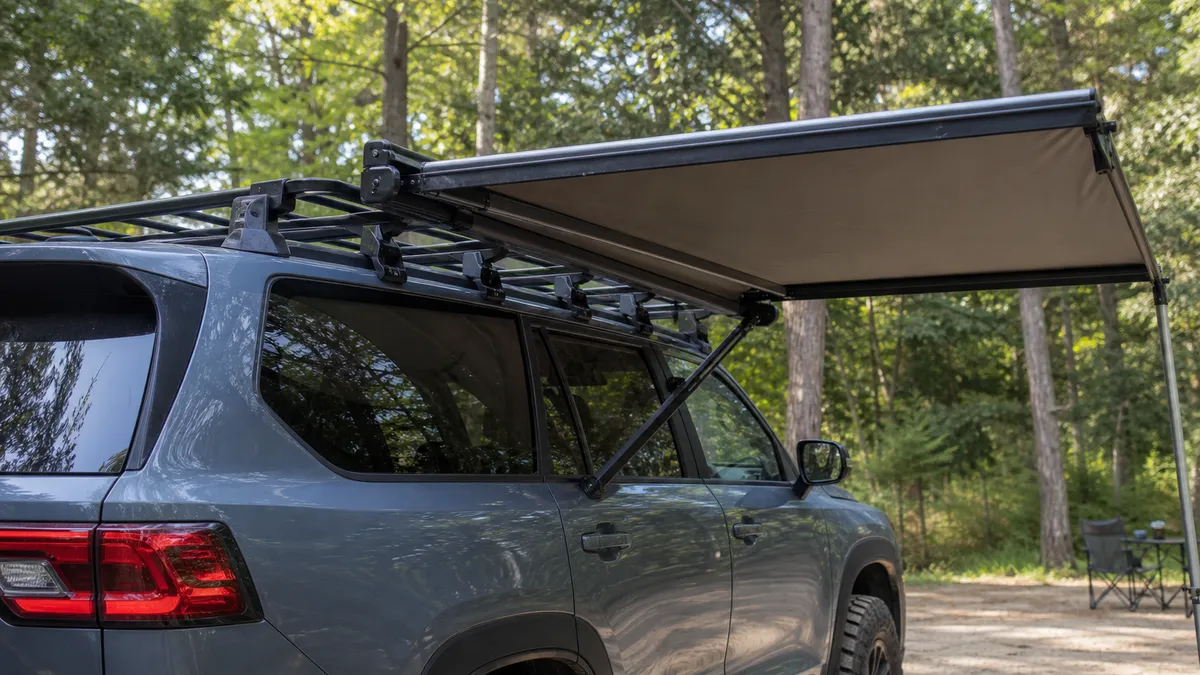
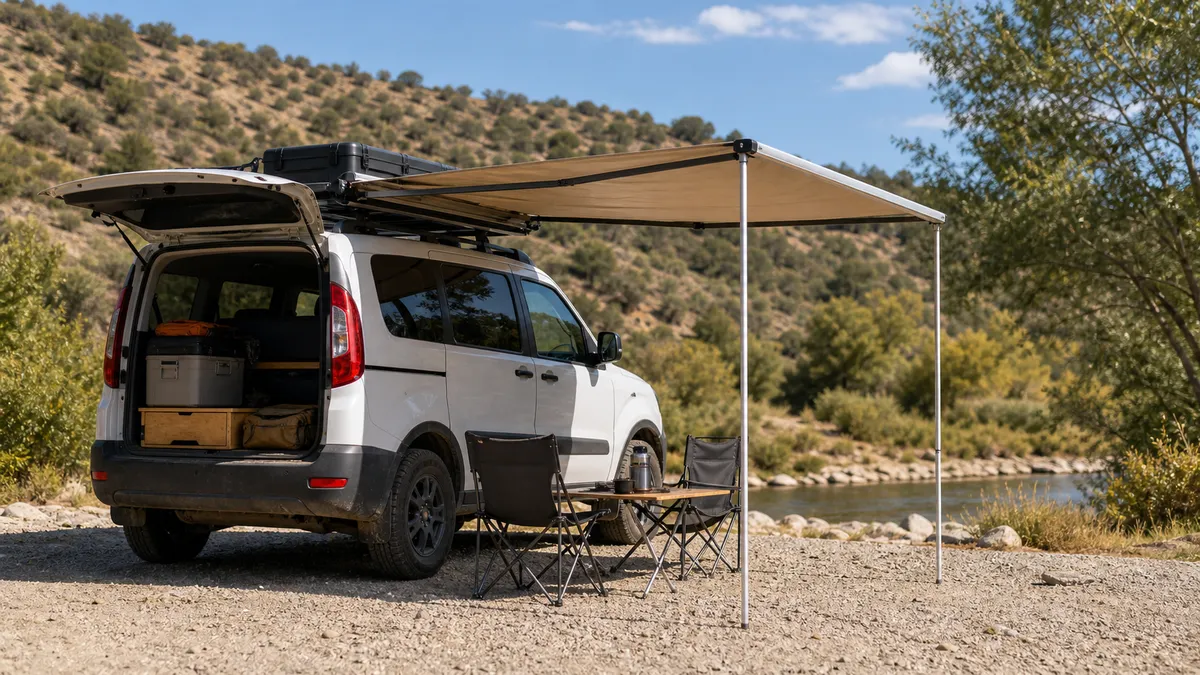
Roof-rack cars, pickups and 4x4s
Use this route for straight pull-out awnings, touring wagons, pickups and 4x4 setups where the rack and brackets decide the purchase.
The same fabric size can be reasonable on one platform rack and a poor match on light crossbars.
Best when:Fast rectangular side shade is useful and the vehicle already has a proven rack or platform.
Check first:Vehicle roof rating, rack dynamic load, crossbar spread, bracket spacing, road vibration and other roof cargo.
Watch out:Universal clamps, unknown gutters and overloaded factory rails are not proof that the case should travel there.
Read the roof-rack guide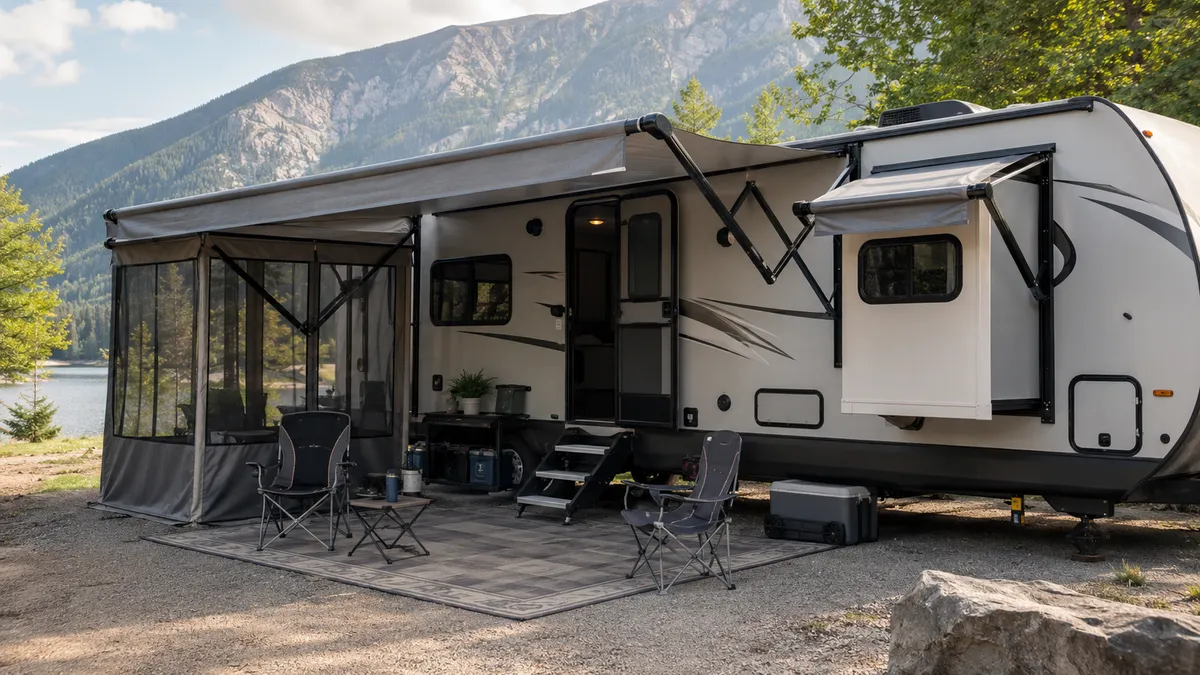
RV and factory awnings
Use this route when the vehicle already has a sidewall awning, roller tube, arms, powered controls or a factory rail.
RV awnings are usually a manual, fabric, arm, pitch and service question rather than a roof-rack question.
Best when:A motorhome, trailer or camper already has a factory-style patio awning or awning rail.
Check first:Owner manual, model number, arm condition, roller tube, fabric damage, door clearance and travel lock routine.
Watch out:Do not apply roof-rack bracket advice to sidewall awnings with powered arms or model-specific sensors.
Read the RV awning guide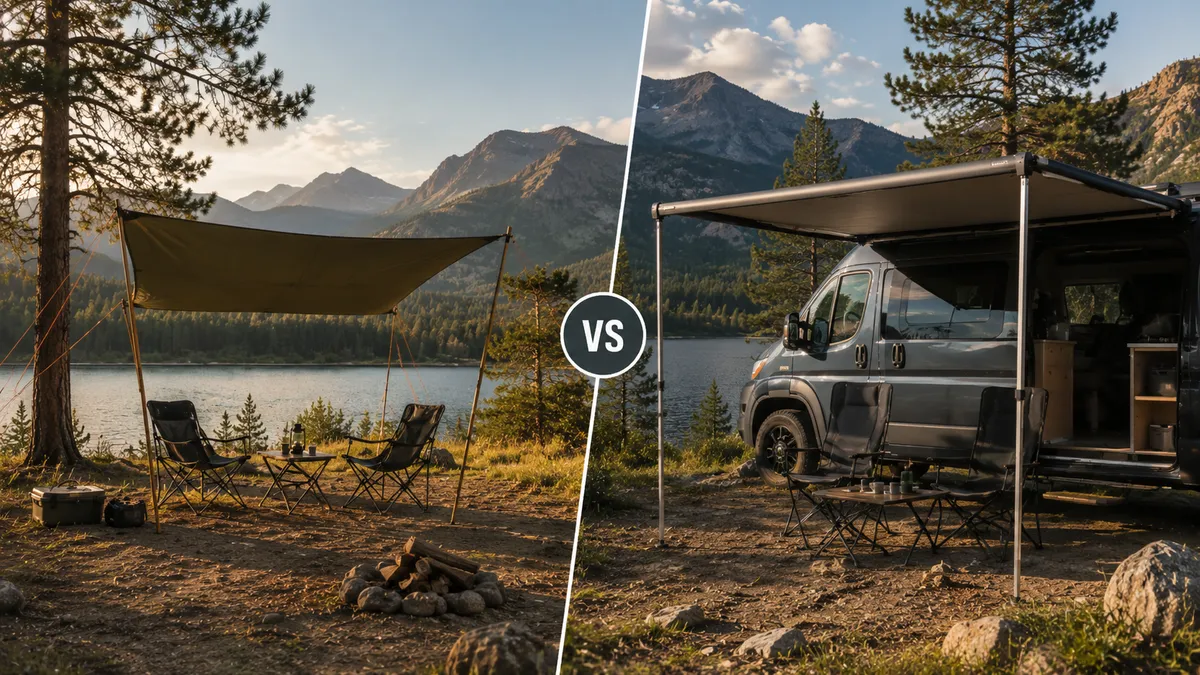
Tarp, driveaway or freestanding shade
Use this route when shade has to stay at camp, move away from the vehicle or avoid permanent road-carried hardware.
This often fits rental vehicles, light racks, full roofs or occasional camp shade better than a fixed case.
Best when:The table, chairs or cooking area should stay shaded after the vehicle leaves.
Check first:Pole kit, guy lines, ground anchors, drying space, packed volume and whether exposed wind makes setup realistic.
Watch out:Detached fabric still needs anchors and weather care; freestanding does not mean windproof.
Compare tarp and awningNo fixed awning yet
Skipping the case is a valid answer when load limits, clearance, roof height, bracket access or wind pack-down remain uncertain.
Resolve the physical checks first; then shop for the smallest mounted awning that covers the repeated task.
Best when:The roof is already busy or the vehicle is not ready for permanent exterior cargo.
Check first:Roof tent ladder, solar, roof box, lights, board mounts, garage height and bolt access after installation.
Watch out:A larger fabric panel cannot fix an unclear load chain, blocked door or case that cannot be secured for travel.
Start with the vehicle, rack and road load
Treat the packed awning as exterior road cargo before treating it as shade. NHTSA's secure-load guidance is broader than awnings, but it supports the core duty: exterior cargo has to be secured and checked before driving. For a mounted side case, the cover, brackets, fasteners, rack and other roof items are part of the road-travel plan.
Use the lowest proven rating in the chain. Yakima's weight-limit support distinguishes dynamic load while the vehicle is moving from static parked load, and it says the rack and accessory weight reduce the remaining available capacity. Thule's rack guidance gives the same practical warning in a different form: a bar rating does not replace the vehicle roof capacity. If the vehicle, roof rail, crossbar, platform slot, bracket kit or awning mount has the lower limit, that lower limit controls.
Count the full roof load, not the fabric case alone. A roof tent, ladder, roof box, solar panel, light bar, recovery boards, ski rack, work pipe, wall kit or room kit can steal capacity or block the clean bracket zone. The awning brackets and adapter plates also count. If the vehicle manual, rack instructions or bracket instructions do not cover the combination, do not treat the install as proven.
Road checks continue after fitting. Yakima instructions call for reviewing vehicle and rack instructions together and checking attachment hardware before travel, after a short first drive, on long trips and on rough terrain. Rhino-Rack Sunseeker instructions also call for bolt checks after initial driving and at intervals. That is the right habit for any rack-mounted case because vibration can loosen hardware before the awning ever opens at camp.
RV and factory awnings follow a different path. Lippert tells RV owners to consult the owner manual, and Dometic travel instructions for case awnings focus on preparing the awning for travel and inspecting damaged fabric or loose parts. If the awning is sidewall-mounted, powered or sensor-equipped, use the model manual and service route rather than roof-rack assumptions.
- Use the moving-vehicle dynamic load for road travel; do not substitute a higher parked/static number.
- Count rack, brackets, awning case, walls, roof tent, solar, boxes and other roof gear together.
- Recheck fasteners after the first drive and before rough or long travel, following the rack and awning instructions.
Compare the main mounted and detached setups
Once the load chain is believable, choose the awning family. A straight pull-out awning gives the simplest rectangular side shade for a sliding door, side kitchen, pickup bed or work truck. It usually asks less from hinges and arms than a wraparound design, but it still needs rated brackets, leg or pole support, guying where the manual requires it and a clear pack-down routine before travel.
A 180-degree or 270-degree awning is a larger camp setup. Some 270-degree product sheets, such as 23ZERO's Onyx example, show why: the coverage, arm design, packed weight and mounting area can be much larger than a basic side awning. Use those model details as examples, not universal specs. The practical question is whether the vehicle regularly uses both side and rear work zones.
Rear and shower awnings solve a smaller problem: privacy, tailgate shade or a wash area. RV and factory awnings solve a different problem through sidewall rails, support arms, roller tubes, pitch adjustment and manual-specific travel steps. Tarps, driveaway shelters and freestanding canopies can be the better fit when shade must detach from the vehicle or stay at camp.
Compare Types
Vehicle awning types at a glance
Use this after the route cards and load checks, not before them.
| Awning type | Best for | Mount / load check | Watch out |
|---|---|---|---|
| Straight pull-out | Quick rectangular side shade for vans, pickups, touring wagons and roof-rack cars | Rack or rail rating, crossbar spread, bracket access and case road security | Narrow coverage can miss rear drawers, tailgates and low side sun |
| 180-degree | Wider side or rear-corner coverage without a full wraparound case | Hinge support, bracket spacing, hatch movement and packed side length | May add enough bulk to lose garage, branch or rear-door clearance |
| 270-degree | Side-plus-rear camp zones with tailgate kitchens, drawers or recovery gear | Awning weight, hinge leverage, bracket kit, platform compatibility and rear clearance | Can be too much hardware for quick shade stops or light racks |
| Rear or shower awning | Privacy, tailgate shade, changing space or a compact wash zone | Rear-door swing, spare tire, swing-out carrier, ladder and wet-fabric storage | Small coverage does not remove the need for pegs, straps or drying |
| RV or factory awning | Motorhome, trailer or camper sidewall patio shade | Owner manual, arms, roller tube, rail, pitch, motor, wind sensor and travel lock | Roof-rack advice can be wrong for sidewall hardware and powered controls |
| Tarp, driveaway or freestanding shelter | Detached camp shade, rental vehicles, full roofs or occasional use | Pole kit, guy lines, anchors, drying space and exposed-site setup time | Can be slower and less tidy, but it stays put when the vehicle moves |
Fit, clearance and roof-cargo conflicts
Fitment fails in small ways before it fails in dramatic ways. Packed length can block a rear hatch or sit past the usable rail. Case depth and bracket offset can hit a sliding door, passenger door, barn door, tailgate, swing-out carrier or canopy window. ARB awning mount instructions explicitly call for checking clearances to panels, doors and windows, and some mount instructions specify spacing or distance limits for the awning on the bracket.
Make a practical case-position check before buying. Tape the proposed case outline or hold a cardboard strip where the awning would sit, then open every door, hatch, roof box, tent ladder and swing-out. This is not an engineering proof. It is a way to catch obvious conflicts before freight, drilling or bracket assembly makes the mistake expensive.
Roof cargo changes both fit and service. A roof tent ladder may land exactly where the awning wants a bracket. A solar panel can be shaded by the opened fabric or blocked from service by the case. A roof box lid may need more side space than it appears to need. Lights, boards and recovery gear can cover bolt heads that must be reachable for inspection after road travel.
Installed height affects normal life. Add the bracket thickness and case depth to the real vehicle height, then check garages, ferries, carports, trail branches and daily parking. Also check whether the awning can be deployed and closed at that height. A lifted pickup or tall 4x4 that needs a step for the zipper may be fine in camp and awkward in sudden weather.
Fit Checks
Fit checks before ordering
Work through these before buying the awning, bracket kit, wall kit or room.
| Check | What can fail | Practical test | Stop if |
|---|---|---|---|
| Packed length | The case overhangs the usable rack or blocks a hatch path | Measure supported rail or crossbar length, not total roof length | The bracket spread or end overhang conflicts with the mount instructions |
| Case depth and side offset | A door, sliding rail, canopy window or mirror path touches the case | Mark the case with tape and open every door fully | Any moving part crosses the marked case or bracket zone |
| Roof tent and ladder | The tent ladder, hinge or cover wants the same rack slot | Plot tent open direction and ladder landing before placing awning brackets | The awning forces the tent into a weaker or unusable position |
| Solar, boxes, lights and boards | Other roof gear steals capacity, service access or clean mounting length | Draw every roof item and mark bolt access for later checks | A panel, box or light blocks hardware inspection |
| Vehicle height | The added case changes garage, ferry, branch or daily parking clearance | Measure final height after brackets and case are included | The new height breaks a route or parking limit you use regularly |
Coverage size, packed dimensions and installed height
Coverage size matters only after the mounted case works on the vehicle. Many straight side awnings are sold in model families around 2.0 to 2.5 m projection, but that range is only a market clue. Use the exact model sheet for open size, packed length, packed depth, case weight and bracket spacing. Do not assume two awnings with similar open fabric fit the same rack.
Shade area changes with sun angle, pitch and vehicle height. A high 4x4 can throw the outer edge higher than a low campervan, which can make low afternoon sun reach under the fabric. A steeper pitch can help water runoff where the manual allows it, but it can lower the front edge into chairs or a side kitchen. The useful shadow is the one that lands on the door, table, tailgate or drawer area at the hour you use it.
Packed dimensions decide road and storage comfort. Long cases can affect roof-rack access, roof-box lids, roof-tent covers, mirror sightlines and branch clearance. Deep cases and offset brackets can change side clearance even when the open fabric looks modest. Heavy cases can also make installation or removal a two-person job on tall vehicles.
Treat installed height as a purchase spec. Measure from the ground to the highest part of the rack, bracket, case and roof cargo after fitting. Write it down for garages, ferries, carports and trail approaches. If the awning will need a ladder or step for every deployment, count that before buying instead of discovering it during the first wet pack-down.
Cost and accessories that change the real budget
Do not compare only the awning case. The real budget includes the bracket or adapter kit, lock hardware, reinforcement plates where specified, wall kit or room, storm poles, guy lines, sand anchors, lighting, wiring, replacement covers, hinges, zippers, freight and installation help. Without verified current pricing for a specific model and region, treat exact prices as shopping data, not page-level advice.
The cost driver should match the vehicle. A roof-rack car used for occasional beach shade may be better with a smaller straight awning or a tarp. A pickup with a tailgate kitchen may justify stronger arms and a compatible wall kit. A motorhome with a worn factory awning may need fabric repair, arm service, sensor troubleshooting or replacement parts instead of a second independent shade product.
Accessories also add pack-down work. A wall kit can improve privacy, but it adds fabric to dry and pack. Storm poles and sand anchors can help in exposed places when the awning instructions call for them, but they add pieces that have to be placed, tensioned and removed before the vehicle moves. Lighting can help the side kitchen, yet it adds cable routing and one more item to protect for road travel.
Budget Drivers
Cost components to include
Use this as a budget checklist, not a live price list.
| Cost component | Why it changes the bill | Budget risk |
|---|---|---|
| Awning case | Size, arm design, fabric, cover and replacement-part support change the base cost | A larger case can force stronger brackets or freight handling |
| Bracket or adapter kit | The mount must match the rack, rail, platform or sidewall hardware | A cheap universal clamp can become expensive if it cannot be proven for the vehicle |
| Walls, room or screens | Adds privacy, rain shielding or side coverage around the open awning | More fabric means more drying time, storage volume and wind exposure |
| Storm poles, guy lines and sand anchors | Supports exposed campsite setup where the manual requires anchoring | Loose ground, beach sand or hardpan may need different hardware |
| Lighting and wiring | Improves a side kitchen or rear drawer area after dark | Adds cable routing, switch placement and road-protection work |
| Covers, hinges, zippers, freight and install help | Keeps the awning repairable and makes long or heavy cases manageable | Replacement parts and delivery can outweigh small differences in fabric price |
Exact prices change by brand, size, vehicle and region. Verify current model pricing before buying.
Materials, arms, hinges and bracket specifications
Read material claims as model-specific, not universal. Commercial examples from ARB and 23ZERO use terms such as PU-coated fabric, ripstop, polyester, polycotton, GSM, UPF-style claims, water resistance, transit cover, poles and guy ropes. Those words are useful for comparison only when the exact product sheet lists them. If the sheet does not give fabric weight, coating, waterhead, UV claim or replacement cover details, do not invent them.
Arms and hinges matter because an open awning is wind-loaded fabric. A straight pull-out awning often relies on legs, rafters and guy lines for support. Some 180-degree and 270-degree awnings use hinged arms or truss-like arms and may advertise freestanding setup in mild conditions. Freestanding should not be read as windproof, stormproof or safe to leave unattended.
Bracket specifications deserve the same attention as fabric. ARB mount instructions show why: some brackets have explicit limits, specified hardware, torque language, clearance checks and spacing requirements. A strong fabric panel on unknown brackets is still an uncertain installation. Check bolt size, bracket material, rack compatibility, hardware access and whether heavier awnings need extra mounting points.
Repairability is part of the spec. Covers, zippers, poles, hinges, arms, wall kits and mounting hardware wear differently from the main fabric. A cheaper awning can become expensive if a damaged cover or hinge cannot be replaced. A premium awning can still be a poor purchase if its bracket kit does not match the vehicle cleanly.
Wind, rain, wet fabric and pack-down rules
Do not assign a universal wind limit to these awnings. Use the manual for the exact model. Rhino-Rack Sunseeker instructions call for pegs and ropes when the awning is open, caution in wind, stowing in strong wind and not leaving the awning open unattended. ARB instructions also use guy ropes, rain runoff angle and high-wind cautions. Build those steps into setup and pack-down.
Rain is a load problem when water pools. Airstream warns that strong wind and heavy rain can damage an awning and the vehicle body, and it tells owners to prevent pooling by lowering a side or retracting. Lippert similarly tells RV owners to adjust pitch for runoff, roll up in wind or rain and avoid leaving the awning unattended. For a rack awning, pitch, guying and early pack-down matter for the same reason: fabric and arms should not be treated like a roof.
Wet pack-down can happen, but wet storage should be short. Rhino-Rack says to dry the awning before stowing. Lippert says that if fabric is retracted wet, extend it later to dry. The practical routine is to close it for the drive when necessary, then open it as soon as practical so the fabric, cover and seams are not left damp in the case for long periods.
Road security matters after weather too. Before driving, close the fabric, cover, zipper, straps and end caps as the model requires. Dometic instructions for RV case awnings warn against travel with damaged fabric and call for checking loose or unstable parts before travel. A loose cover or torn fabric is not just untidy; it can become unstable at road speed.
When a mounted awning is not the answer
Do not mount an awning when the rack is already saturated. Roof tents, roof boxes, solar panels, boards, work gear and recovery gear can use up the clean mounting zone or the remaining dynamic load. If Yakima-style remaining-capacity math leaves little room after accessories are counted, a tarp or freestanding shelter is often the cleaner answer.
Do not mount an awning when shade must stay behind. Campervans and touring vehicles often leave camp during the day. A fixed side awning leaves with the vehicle. A driveaway shelter, tarp or freestanding canopy takes more setup time, but it can hold the table, chairs or cooking area while the vehicle goes to town, a trailhead or a dump station.
Do not mount a large awning to solve a small problem. A rear/shower awning, smaller straight pull-out, side screen, tarp or no fixed case may be enough when the need is occasional tailgate privacy or short lunch shade. Extra arms, hinges, wall kits and road height only make sense when that extra coverage is used often.
Do not bypass the RV service path. If a motorhome or trailer already has a sidewall awning, start with the owner manual, fabric condition, arm condition, roller tube, pitch controls, travel locks and repair parts. A separate roof-rack case can create duplicate hardware while the original awning still needs maintenance.
Use the narrower guide next
Move to the campervan guide when the questions are sliding-door shade, side cooking, driveaway camp routine, roof height and pack-down speed. Move to the 270-degree guide when the question is whether side-and-rear shade is worth the weight, hinge demand, orientation checks and packed bulk.
Use the roof-rack and 4x4 pages when the decision is mostly crossbars, platform racks, bracket spacing, quick-release hardware, rough-road inspection and tailgate work zones. Use the car or van awning pages when the vehicle is lighter, lower or more road-use focused than a touring 4x4.
Use the RV guide when the awning is built into the vehicle body or the decision involves fabric replacement, arms, roller tubes, shade screens, pitch and model-specific service. Use the tarp-versus-awning comparison when the camp needs shade away from the vehicle or a setup that can stay pitched while the vehicle leaves.
Watch-outs
Before you buy or install
- Do not treat open fabric size as proof that the rack, bracket or sidewall can carry the awning.
- Do not use static parked load claims to justify a heavy case for highway or rough-road travel.
- Do not leave an awning open unattended when wind, rain, water pooling or a quick vehicle move is possible.
- Do not store wet fabric closed for long periods; reopen it to dry as soon as practical after a wet pack-down.
- Do not apply roof-rack mounting advice to RV/factory awnings that have sidewall arms, motors, sensors or model-specific travel locks.
Read Next
Related hub
Campervan Awning Guide
Use this when campervan awning is closer to the real constraint than the current page.
270-Degree Awning Guide
Use this when 270 degree awning is closer to the real constraint than the current page.
Roof Rack Awning Guide
Use this when roof rack awning is closer to the real constraint than the current page.
Van Awning Guide
Use this when van awning is closer to the real constraint than the current page.
Car Awning Guide
Use this when car awning is closer to the real constraint than the current page.
RV Awning Guide
Use this when rv awning is closer to the real constraint than the current page.
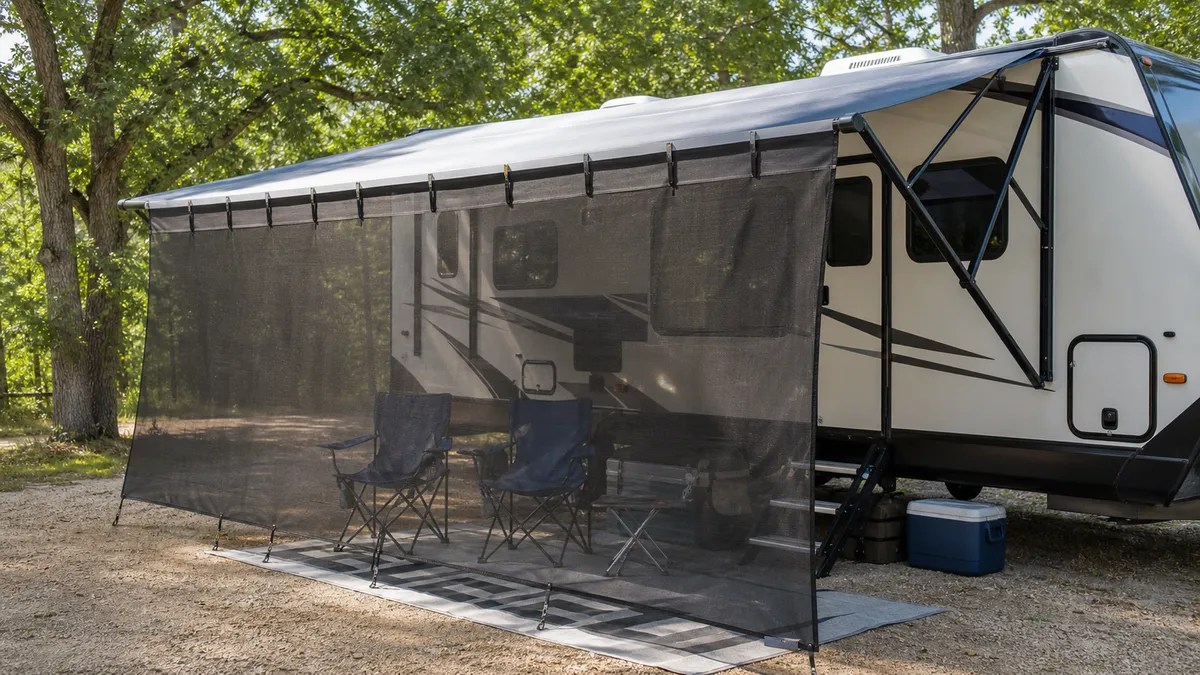
RV Awning Shade Screen
Use this when rv awning shade screen is closer to the real constraint than the current page.
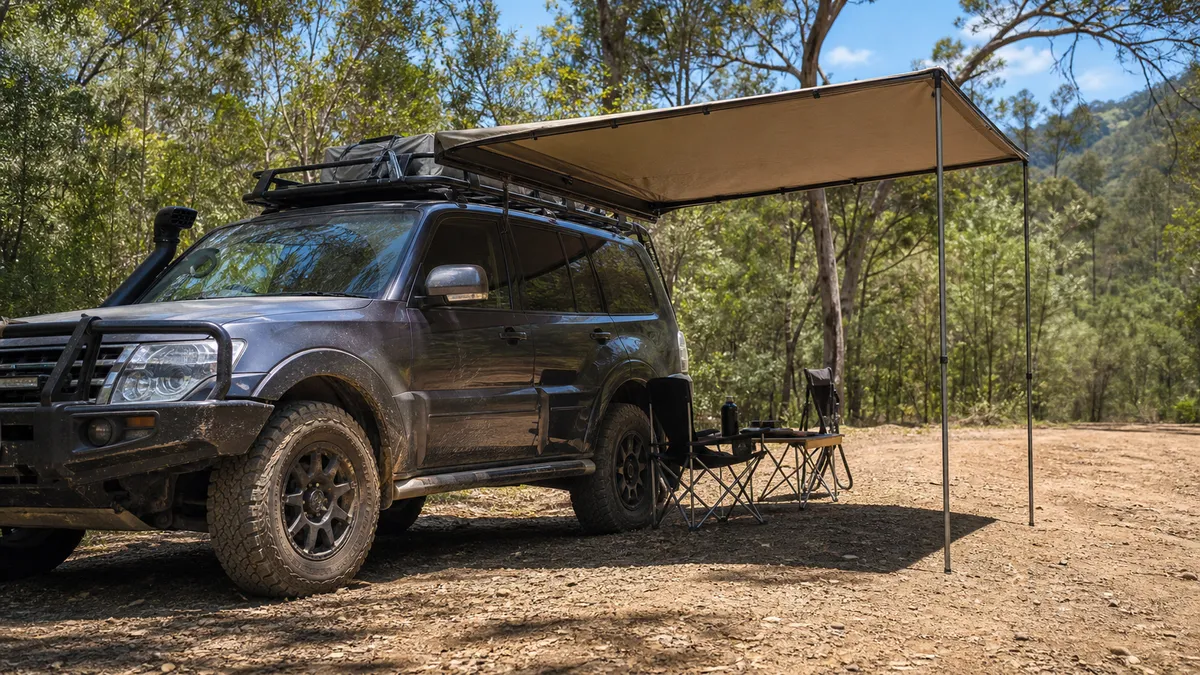
4x4 Awning Guide
Use this when 4x4 awning is closer to the real constraint than the current page.
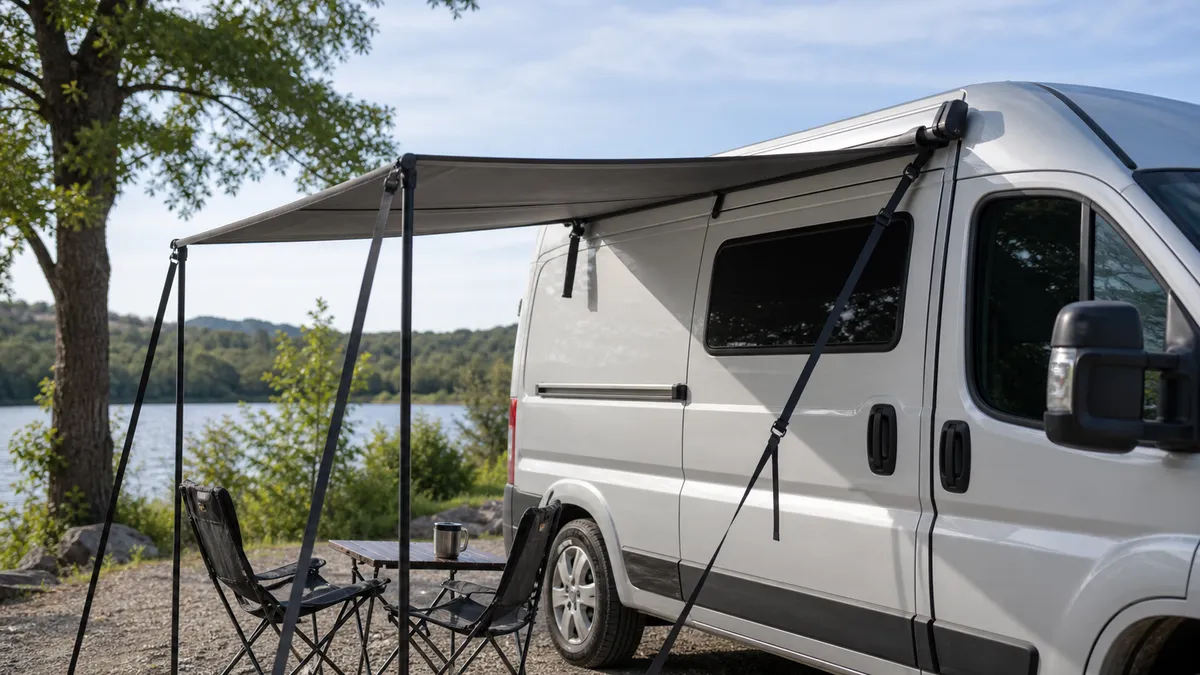
Awning for Van Without Roof Rack
Use this when awning for van without roof rack is closer to the real constraint than the current page.
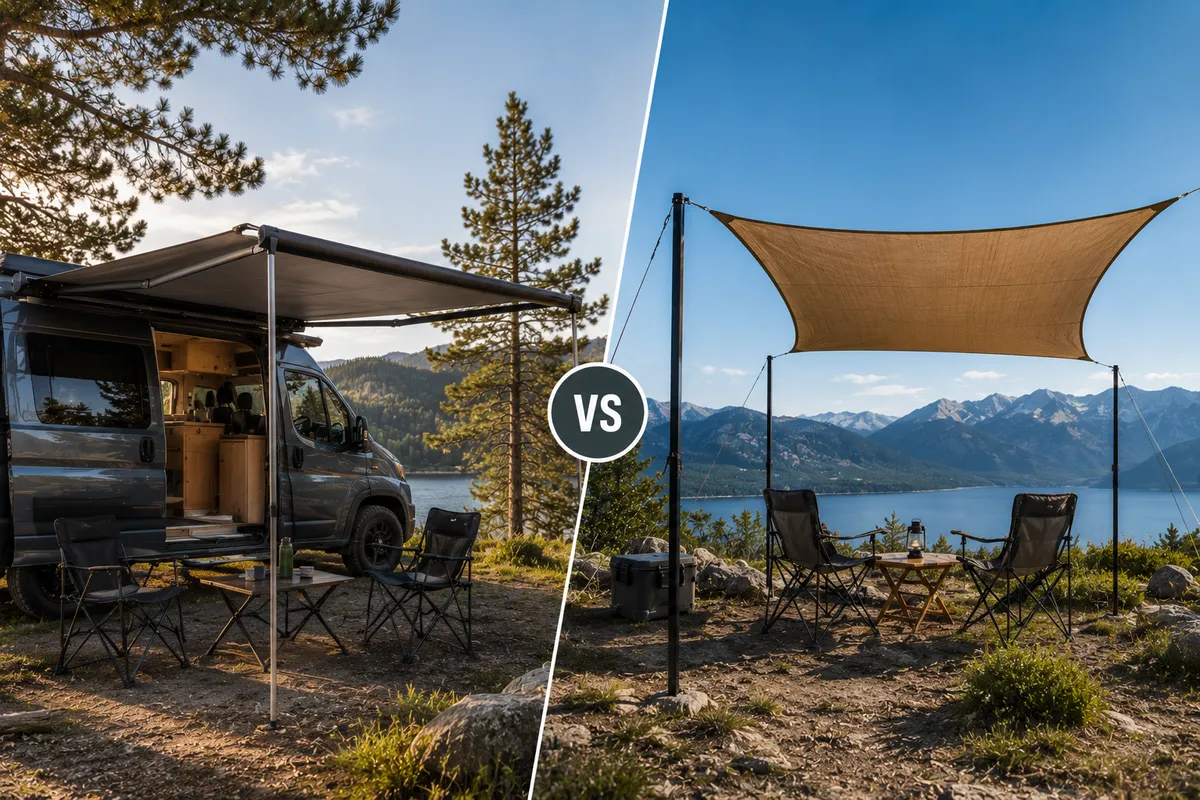
Campervan Awning vs Shade Sail
Use this when campervan awning vs shade sail is closer to the real constraint than the current page.
Questions
FAQ
Can any roof rack carry an awning?
No. Check the vehicle roof limit, rack or platform limit, bracket instructions and remaining dynamic road-load margin after other roof cargo is counted. Yakima-style load math subtracts rack and accessory weight, so a rack that carries a light case may not have margin for walls, a roof tent and extra gear.
Is a 270-degree awning worth it for a 4x4 or pickup?
It is worth considering when side and rear shade are used on most trips, such as tailgate cooking, rear drawers or recovery work. It is a poor upgrade when the rack load is tight, the hatch cannot clear, the vehicle height is already awkward or quick side shade is the real need.
Is a straight pull-out awning better than a tarp?
A straight pull-out awning is better for repeated fast shade beside the same door, kitchen or work zone. A tarp is often better when shade must stay at camp, move away from the vehicle, avoid permanent roof cargo or fit a rented vehicle without brackets.
Should RV owners use a normal roof-rack awning guide?
Use RV-specific guidance first when the vehicle has a factory or sidewall awning. RV awnings use rails, arms, roller tubes, pitch rules, powered controls, travel locks and model manuals. A roof-rack awning may still be useful on some vehicles, but it does not replace the factory awning service path.
What should I do if the awning is packed away wet?
Close it for travel if the weather or site requires it, then open it to dry as soon as practical. Rhino-Rack and Lippert both support drying wet awning fabric after pack-down. Long closed storage while damp can create avoidable fabric and odor problems.
How do I check door, hatch and roof-tent clearance before buying?
Mark the planned case and bracket position on the vehicle before ordering. Open sliding doors, passenger doors, tailgate, rear hatch, swing-outs, roof box lids and roof-tent ladders. The tape or cardboard check is practical screening, not proof of structural fit, but it catches conflicts early.