
Quick Answer
Shade sail installation: the short version
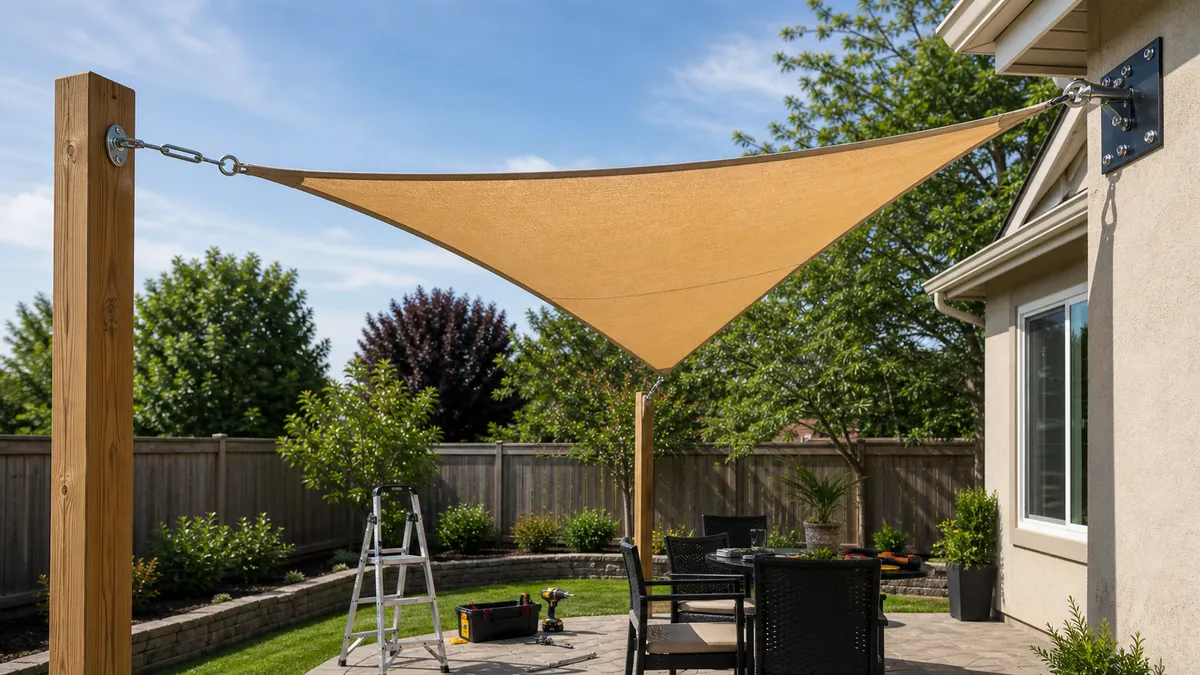
Plan the anchor route, hardware gap, drainage slope, tensioning sequence and storm removal before ordering fabric. Stop before drilling or tightening if any post, wall, fascia, masonry, permit, utility locate or wind question is unresolved.
Install a shade sail only when every corner has a confirmed anchor, adjustment room, drainage slope and removal plan; otherwise move the sail, resize it or get qualified help.
Installation routes
Choose the installation route before buying fabric
A shade sail is easy to buy and hard to rescue after the anchors are wrong. Pick the route that matches the posts, wall, masonry, approvals and weather exposure first.
Use existing anchors only after structural confirmation
Continue only when each anchor point is confirmed structural. Coolaroo says existing fixing points must be structurally sound; fascia skin, loose masonry, rails and fence posts do not pass by looking solid.
Use new posts after 811 and local approvals
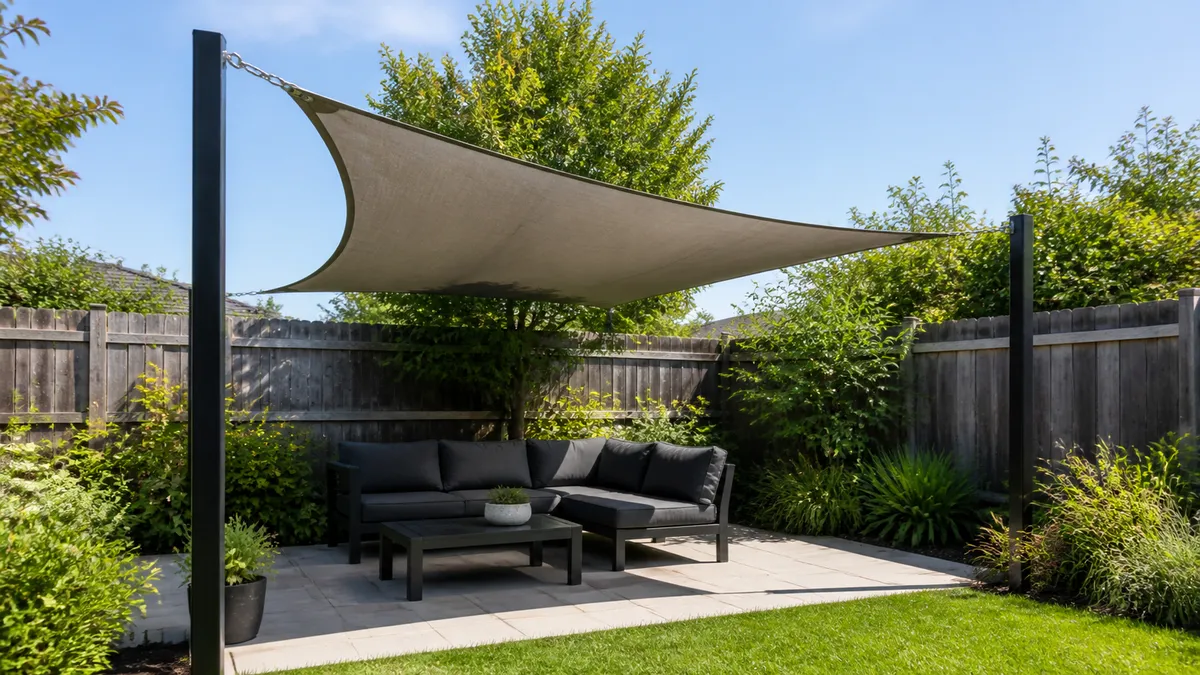
Call or click 811 before digging in the US, then confirm approvals and plan the post height plus footing depth. Use the post guide before setting steel, timber or hardwood posts.
Use a wall only when the load goes into real structure
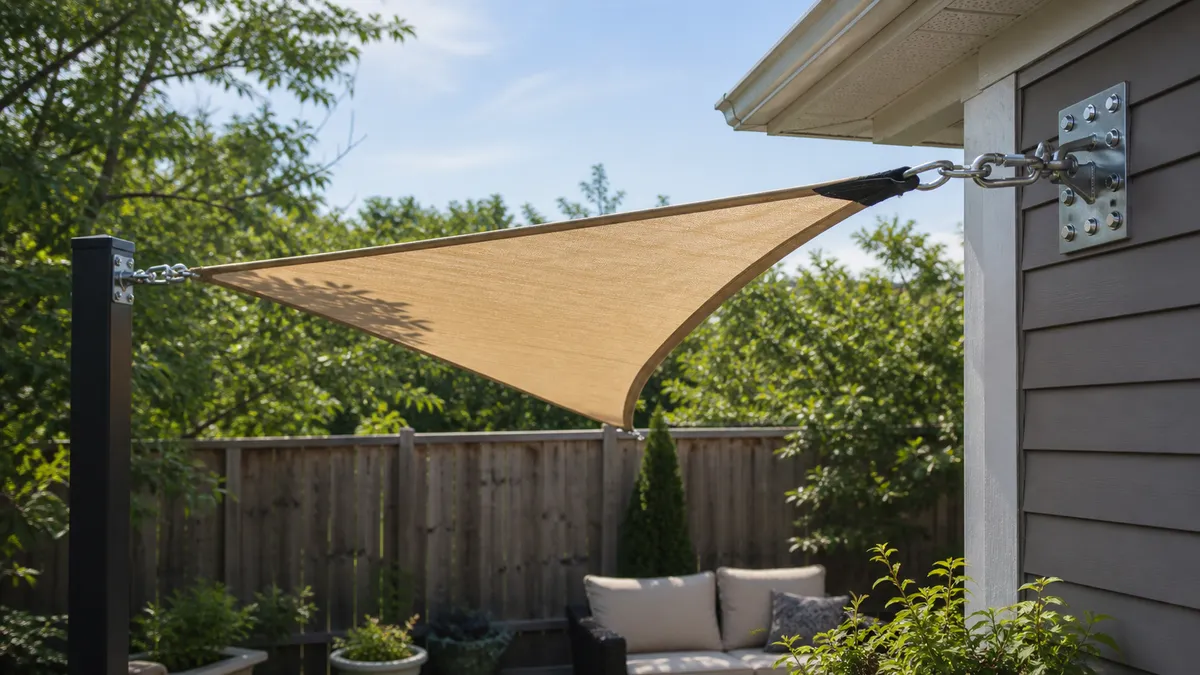
A wall plate, eye bolt or pad eye must pull into suitable framing or masonry. Coolaroo recommends fascia support tied back to rafter or truss overhangs when fascia is used.
Use temporary shade only as a light test
A no-drill test can show whether the seat or door needs shade, but it is not a permanent tensioned sail. Do not turn clamps, buckets or light frames into loaded corner anchors.
Bring in a builder or engineer when load or approval is unclear
Use qualified help for house attachment, large spans, waterproof fabric, high-wind exposure, public areas, boundary issues or any permit question.
Stop when anchors, drainage or approvals are unresolved
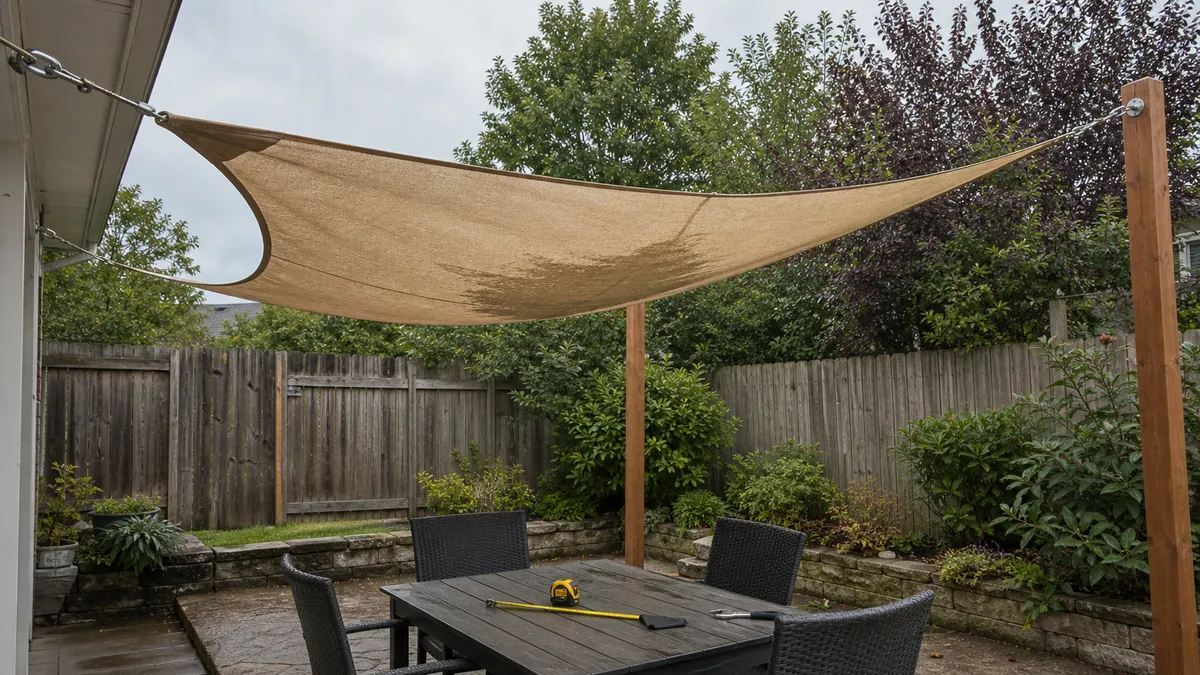
Do not buy a bigger kit to cover an unsafe layout. If the sail cannot drain, the turnbuckles will max out, or utilities and local rules are unknown, solve that first.
Walk the site before measuring the sail
Walk the patio at the hour that actually fails. Note where the shade must land, where the sun enters from the side, which doors swing through the area, and where people carry food or tools. Coolaroo's planning guide treats usable space and sun direction by time of day as pre-install work, so do this before comparing sail shapes.
Mark the water exit before the fabric is ordered. The low corner should send runoff to gravel, planting, lawn or a drain, not toward a doorway, steps, a grill, a pool edge or a walkway. If the only possible low corner creates a head-clearance problem, change the anchor route instead of forcing a flat sail.
Keep heat and open flame out of the covered zone. Coolaroo's premium triangle manual warns against fire, open flame, barbecue, grill or fire pit use under or near the shade structure. If the cooking area is the problem, move the shade to the dining or prep area and keep the grill clear.
Look for buried or hidden conflicts. Posts can hit utility lines, and wall anchors can land near pipes, cables, rotten trim or unknown framing. Indiana OUCC says 811 utility locating matters no matter how shallow the dig because utilities can sit at different depths.
- Use the failed sun hour, not only noon.
- Mark doors, walkways, grill heat, runoff and head clearance before measuring.
- Call or click 811 before post holes in the US.
Measure around anchors, posts and hardware
Do not measure anchor-to-anchor and order that exact sail size. Tenshon explains that listed sail dimensions are relaxed fabric dimensions, not pole spacing. The corner needs room for the turnbuckle, D-shackle or bow shackle, pad eye, snap hook or S-hook, and any short chain or cable extension approved by the sail maker.
Coolaroo's planning guide says at least two fixing points should include turnbuckles for tensioning. Treat those corners as adjustment points, not decoration. If the sail fills the whole distance before the hardware is installed, there is no room left to pull the fabric tight or retension it after the first weather.
Above & Beyond gives source-specific retail guidance of 35 cm minimum and 100 cm maximum between sail and fixing point. Use that as a measuring reminder, not a universal rule. The real gap still depends on the sail maker, edge curve, hardware length, anchor surface and wind exposure.
Long chain or cable should not hide a bad measurement. A short non-stretch extension may solve one corner when the maker allows it. Several long leaders can add movement in wind and make the final corner harder to control. Use the fixing-kit guide for the hardware breakdown before buying turnbuckles, pad eyes or shackles.
- Leave a hardware gap for every corner fitting.
- Start turnbuckles with adjustment travel still available.
- Use extensions deliberately, not to rescue the wrong fabric size.
Hardware checklist
Hardware to confirm before tensioning
This list is not a product review. Each part has to match the anchor, sail corner and manufacturer instructions.
| Part group | What it does | Before buying |
|---|---|---|
| Anchor hardware | Pad eyes, wall plates or eye bolts give each corner a fixed point. | Confirm the substrate: timber, masonry, steel post, concrete or properly supported fascia. |
| Tension hardware | Turnbuckles let the sail tighten and later retension after fabric settles. | Confirm open length, closed length, thread travel and access for later adjustment. |
| Joining hardware | D-shackles, bow shackles, snap hooks or S-hooks connect rings, eyes and turnbuckles. | Match pin size, jaw width, metal grade and pull direction. |
| Short extensions | Chain or cable can bridge a small approved gap. | Do not use a long leader to cover wrong sail size or weak anchor placement. |
| Setting and locking parts | A strap tensioner, lock wire or safety cable can help with the final pull and vibration control. | Use them where the maker or installer calls for them; do not use force to over-tighten fabric. |
Category research
Installation hardware categories to compare
Search hardware categories only after anchor material, sail shape and slope are known.
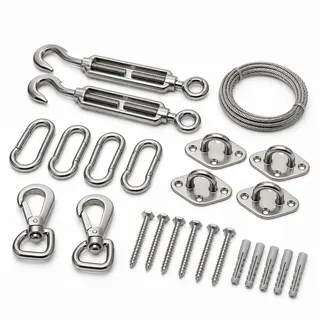
Kit
Shade Sail Installation Kit
For gathering common hardware after the layout is planned.
- Hardware bundle
- Layout-dependent
Check:Material grade and fasteners.
Search on Amazon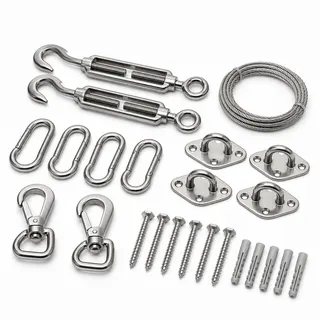
Tensioner
Shade Sail Turnbuckle
For controlled tension at sail corners.
- Adjustable tension
- Corner setup
Check:Thread size and working load.
Search on Amazon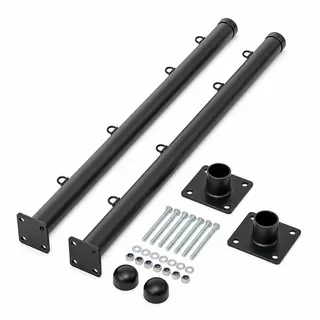
Post kit
Shade Sail Post Kit
For freestanding corners where wall anchors are not available.
- Independent corner
- Footing needed
Check:Height, soil and wind exposure.
Search on AmazonUse only anchors that can take sail tension
A shade sail installation fails at the corner before it fails in the middle. The fabric pulls on posts, wall plates, masonry and brackets every time wind loads the sail. Coolaroo calls the fixing-point stage critical and says all fixing points must be structurally sound.
Treat weak-looking anchors as a stop sign. Fascia-only attachment, cracked masonry, hollow block, thin cladding, fence posts, guard rails, light pergola trim, tree limbs and unknown brick veneer are not proven load points. Do not make those points acceptable by buying a larger turnbuckle or heavier-looking shackle.
Posts need more planning than a visible above-ground height. Coolaroo's installation instructions say post planning has to include the intended sail height plus footing depth. The same instructions cover bracing posts during installation, sloping concrete away from posts for drainage, and allowing concrete-set time before loading the sail.
House attachment needs particular caution because the visible face is often not the structure. If fascia is involved, Coolaroo strongly recommends fascia support connected back to rafter or truss overhangs. When the wall is brick veneer, old masonry or unknown framing, have the anchor inspected before drilling.
If any anchor moves during a test pull, stop. Movement at the post top, plate, bolt, mortar joint or fascia board means the fabric is reporting a support problem. Remove load and use the installation-mistakes guide before more tension is added.
- Reject anchors that are decorative, cracked, loose or unconfirmed.
- Brace new posts and let concrete cure before loading the sail.
- Do not rely on fascia unless proper support is confirmed.
Set slope, tension and weather rules before final tightening
Plan high and low corners before the final measurement. Coolaroo's planning guide gives source-specific drainage guidance of at least 16% height difference from low to high points for regular shade fabric and 20% for All Weather fabrics. Its FAQ also says Weather Proof cloth should be installed at a minimum 20 degree angle for runoff. Do not treat those numbers as engineering approval for every sail; use the maker's instructions for the product in front of you.
A flat waterproof sail is a bad gamble. Above & Beyond warns that flat sails are only suited to ideal dry, low-wind conditions and that water can pool and stress the fabric and fixing points. Breathable fabric can also hold water faster than it drains during heavy rain, especially when the middle sags.
Tension in stages. Attach all corners loosely, start turnbuckles open enough to leave thread travel, and tighten each side gradually. Plumridge notes the last corner is often the tightest and may need rope or a ratchet strap for the final pull. Coolaroo says to stop when the sail is rigid with little or no creasing and does not sag.
Do not chase every small wrinkle. Coolaroo's planning guide warns that over-tensioning adds unnecessary stress to fabric and stitching. If turnbuckles are fully closed before the sail is taut, the answer is not more force. Revisit sail size, hardware gap, anchor position and corner sequence.
Set the weather routine while the sail is still easy to remove. Coolaroo's premium triangle manual says to temporarily remove the shade sail during storms and periods of strong winds. Plumridge also recommends locking or safety-wiring turnbuckle and bow-shackle pins where vibration may loosen hardware, especially on larger or more exposed sails.
- Create a real high-to-low runoff direction before final tightening.
- Tighten evenly and stop before over-tensioning.
- Remove the sail before storms or strong winds when the manual calls for it.
Stop signs
When DIY should stop
A shade sail is a loaded outdoor structure, not a curtain. ASCE 7-22 covers structural design loads such as wind, rain, snow and load combinations, which is why large, fixed or exposed sails should be treated carefully rather than guessed from a product photo.
Permit rules also vary. Fort Collins lists shade sails as an exterior building-permit item, while Broome's high-wind-region sheet asks for structural details and engineer certification. Use those as examples that local rules can matter, not as universal permit numbers.
- Stop if a wall, fascia, masonry joint, post or footing is not confirmed structural.
- Stop if 811 utility locating is not complete before digging post holes in the US.
- Stop if permit, HOA, strata, rental, boundary or local council approval is unclear.
- Stop if the sail cannot slope to a safe runoff point.
- Stop if the turnbuckles are maxed out before the fabric is taut.
- Stop if the site is high-wind, open exposure, large span, waterproof fabric or house-attached and no builder or engineer has checked it.
Watch-outs
Before you buy or install
- Do not attach a tensioned sail to fascia skin, fence posts, rails, tree limbs, cracked masonry, thin cladding or unknown brick veneer.
- Do not use force or a strap tensioner to hide a wrong sail size, moving anchor or maxed-out turnbuckle.
- Do not put a shade sail over grills, fire pits, heaters or open flame unless the product manual and local rules explicitly allow it.
- Do not assume a permit is unnecessary; local rules can treat shade sails as structures.
Read Next
Related ideas
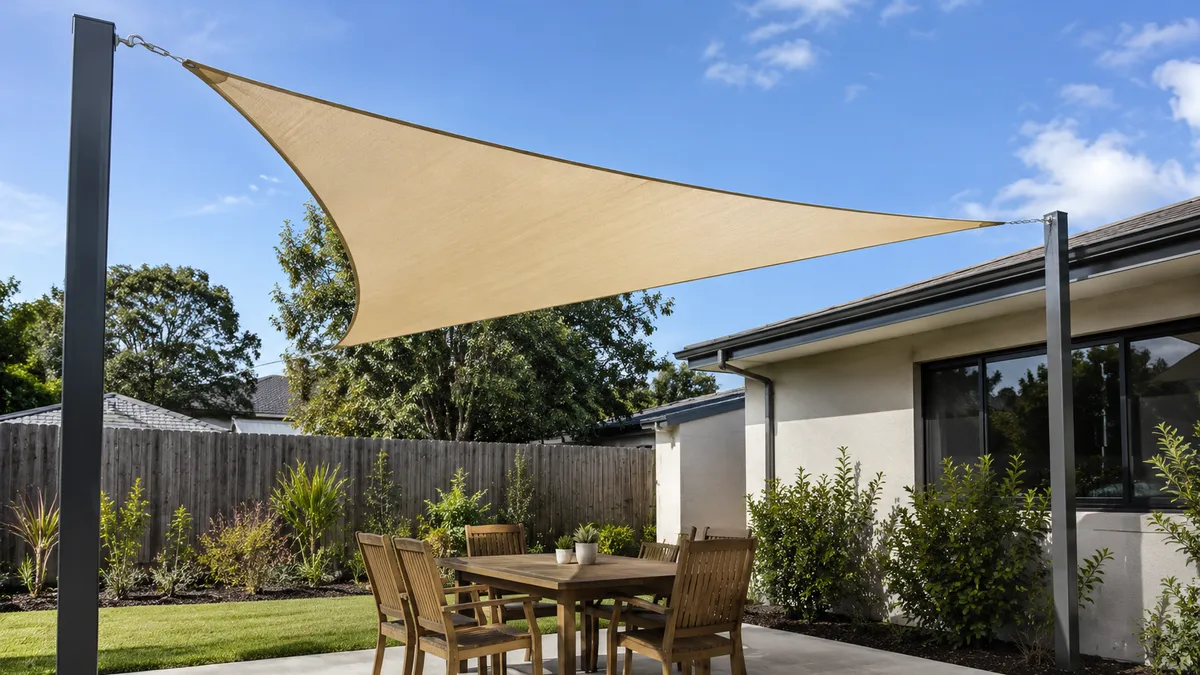
Shade Sail Guide
Use this when shade sail is closer to the real constraint than the current page.
Shade Sail Posts
Use this when shade sail posts is closer to the real constraint than the current page.
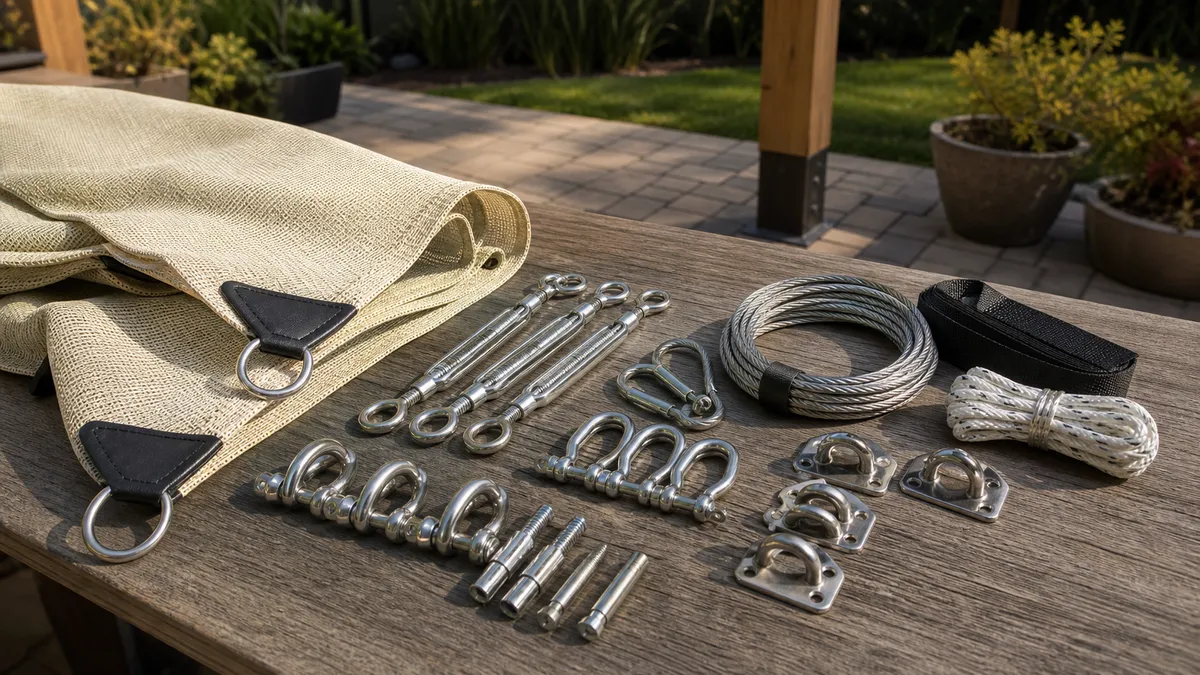
Shade Sail Fixing Kit
Use this when shade sail fixing kit is closer to the real constraint than the current page.
Shade Sail Installation Mistakes That Cause Sagging, Flapping and Water Pooling
Use this before drilling or final tensioning to catch weak anchors, poor slope, maxed-out turnbuckles, and other failure patterns that cause sagging, flapping, or pooling.
Questions
FAQ
Can I install a shade sail myself?
Yes, but only when the anchors are structurally confirmed, the sail is modest, utility locating and approvals are handled, and the slope and tension can be set without force. If the project involves house attachment, large spans, waterproof fabric, high wind or unclear permits, hire qualified help.
Can I attach a shade sail to fascia, a fence post or a tree?
Do not assume any of those can carry sail tension. Fascia needs proper support tied back to structure, and fence posts, rails, tree limbs, cracked masonry and unknown brick veneer should stop the job until a builder, engineer or suitable installer confirms the load point.
How much gap should I leave for turnbuckles and shackles?
Leave enough space for the turnbuckle, shackle, anchor plate and later adjustment. Anchor-to-anchor distance is not the same as sail size. Above & Beyond gives 35 cm minimum and 100 cm maximum as retail guidance, but the sail maker's measuring instructions control the final layout.
Do I need a permit or utility locate for shade sail posts?
Use 811 before digging post holes in the US. Permit, HOA, strata, rental and boundary rules vary by location. Some municipalities and high-wind regions treat shade sails as permit-controlled structures, so confirm local rules before digging, drilling or ordering a permanent sail.
Should I take a shade sail down in storms or strong wind?
Yes when the manufacturer calls for removal or severe weather is forecast. Inspect and retension after the first rain or wind. Heavy-looking hardware, stainless steel and a tight sail do not make fabric safe to leave up through storms.